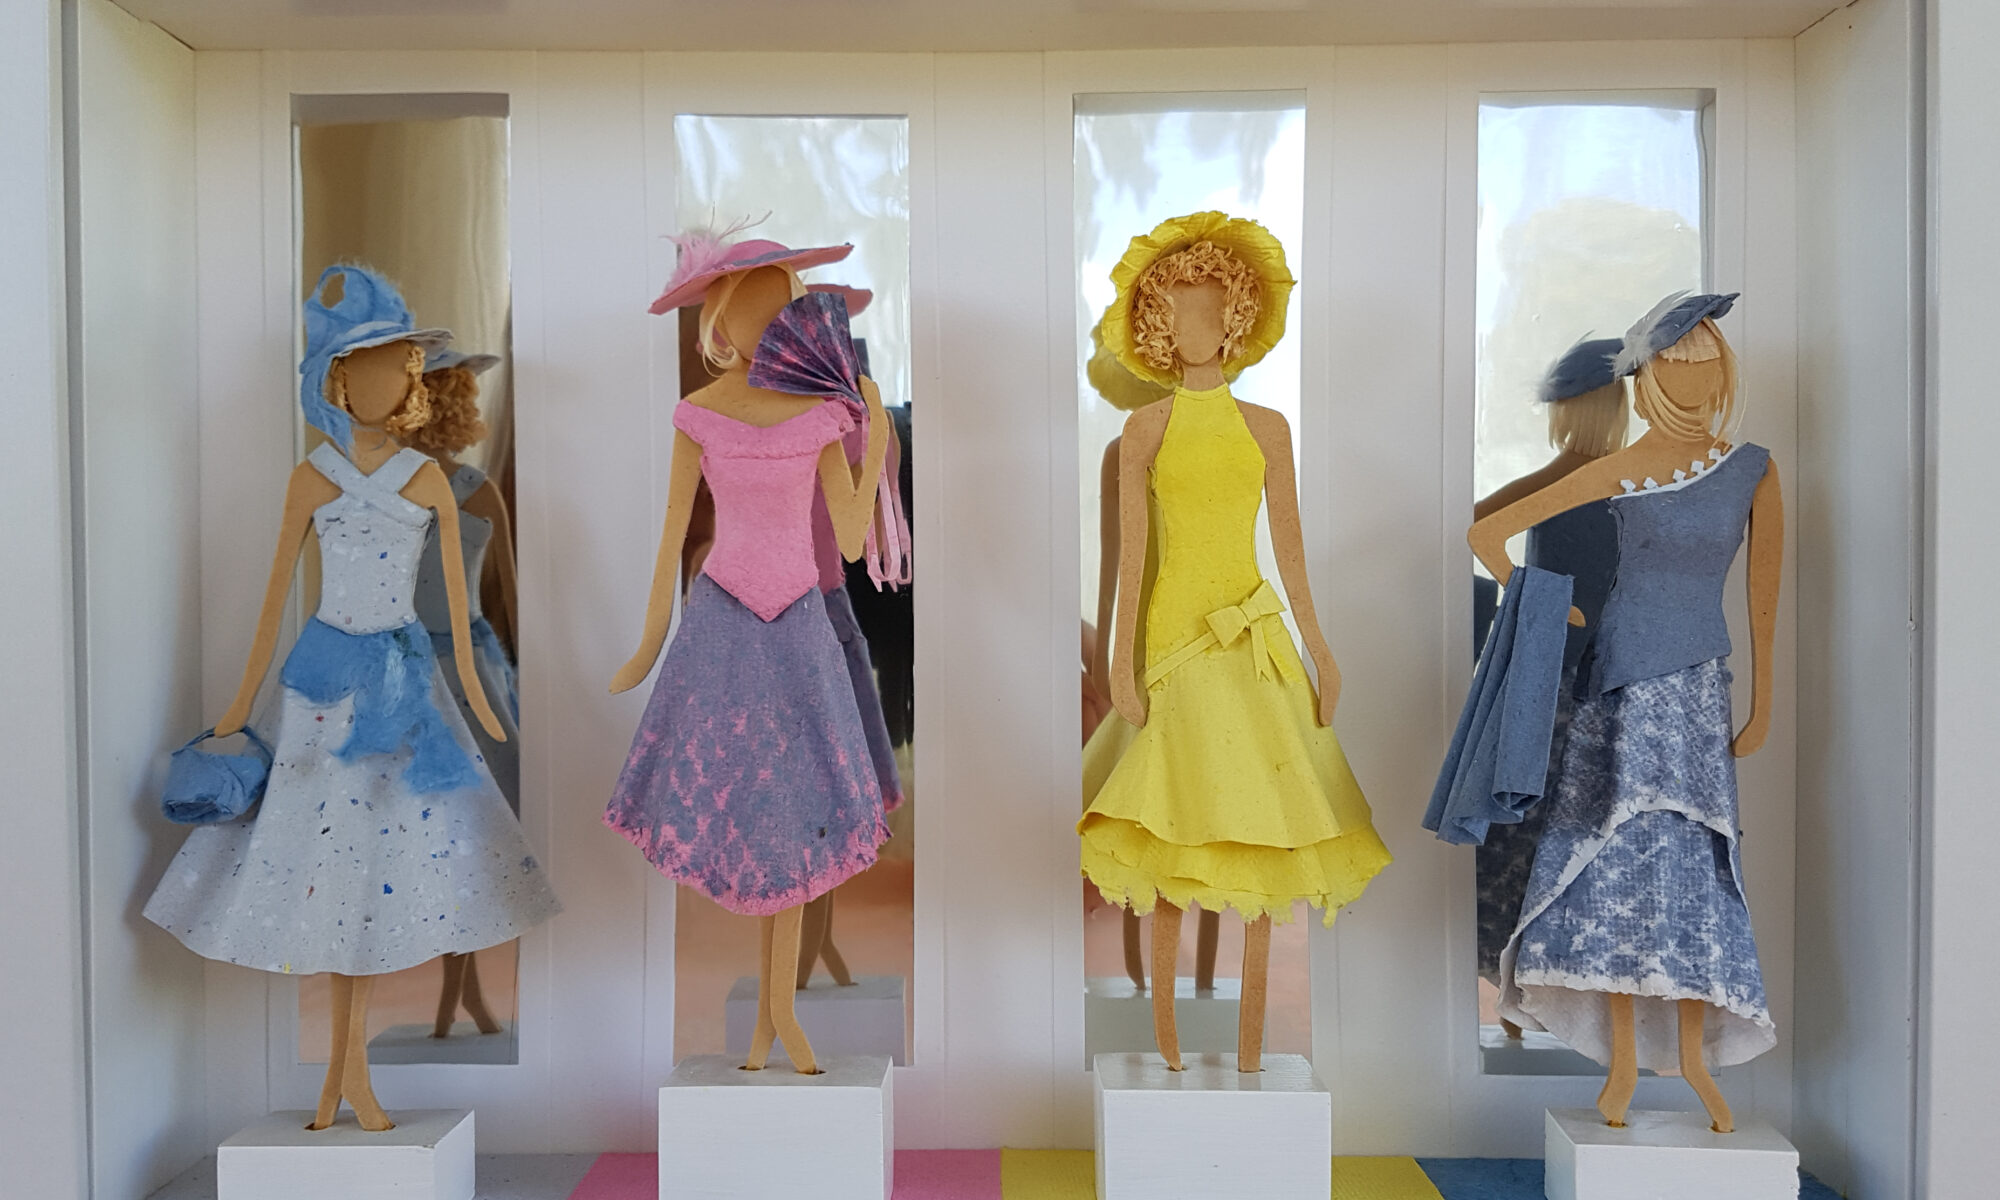
This ‘boutique’ shop window was inspired by memories of dressing paper dolls as a child, together with my love of op-shops and sewing, although creating paper clothing is much more challenging than fabric!
The mannequins are shaped with a scroll saw from offcuts of mdf (medium density fibreboard). While mannequins don’t usually have hair, I’ve used wood shavings as hair made their hats look and fit so much better.
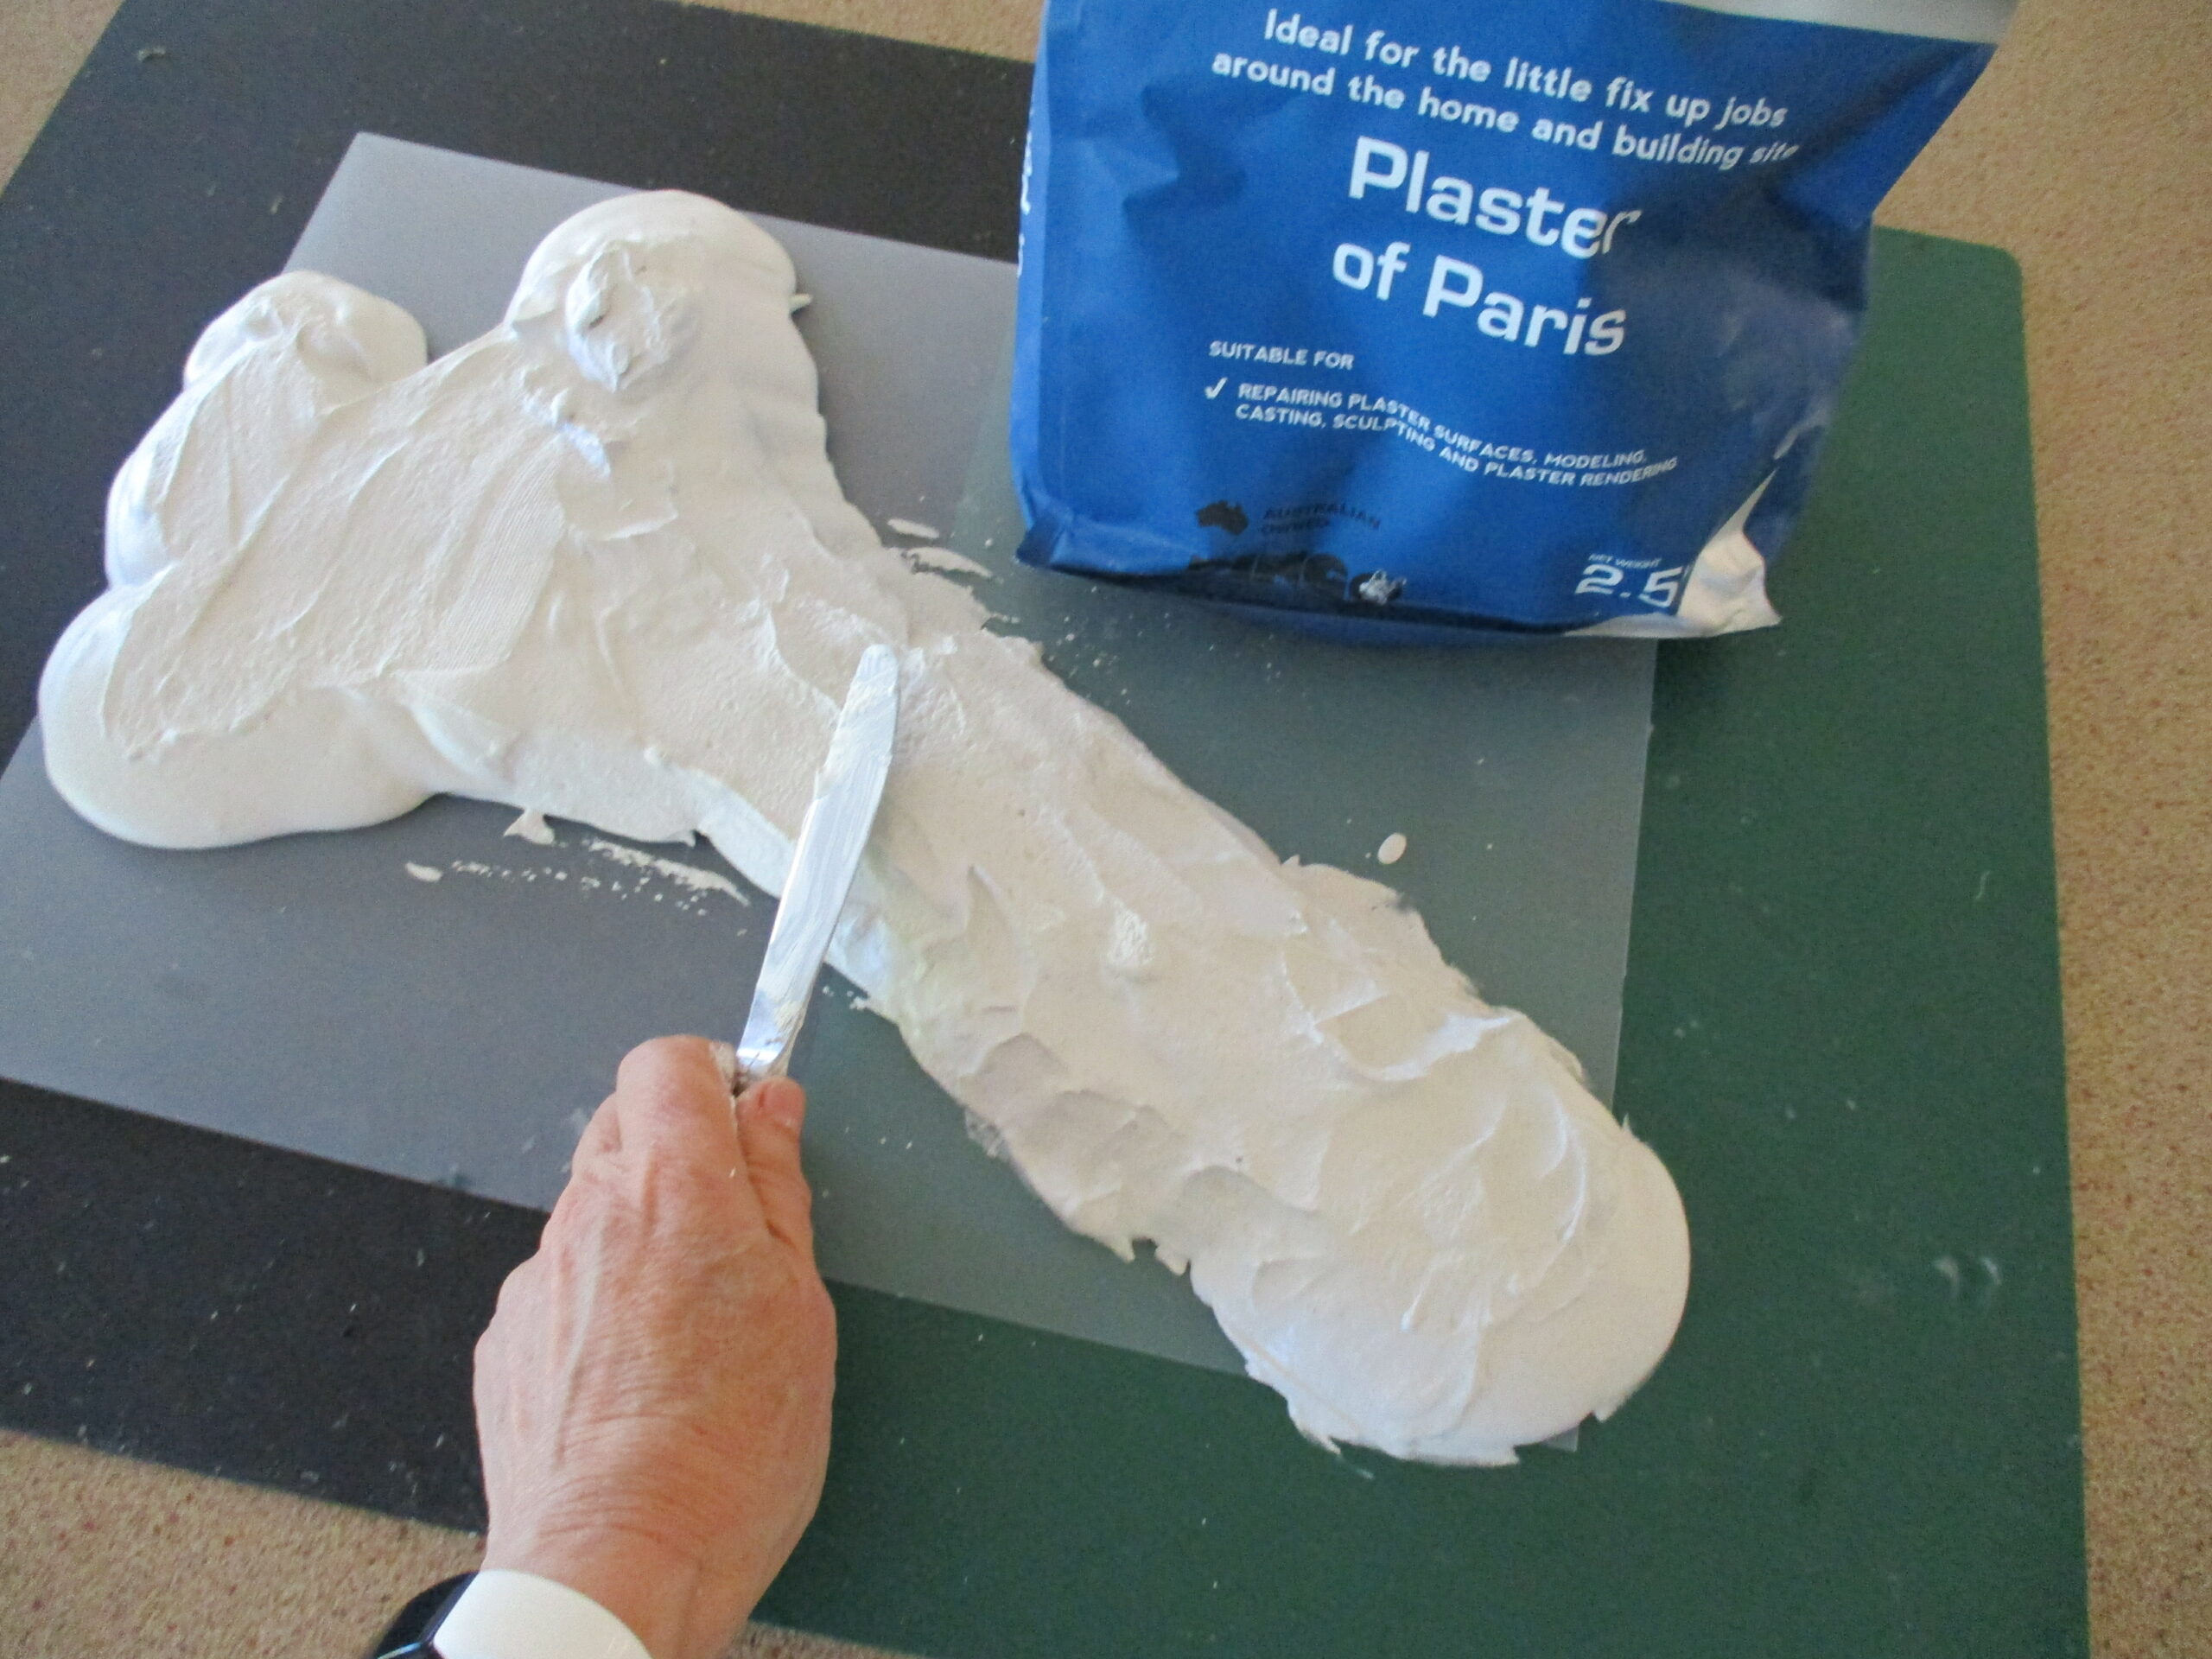
Paper scraps from office stationery, wrapping paper, craft offcuts etc, are shredded and mulched into paper pulp. The clothing is then constructed by experimenting with a variety of paper sculpture techniques; cast paper formed in plaster moulds (to give shape to the bodices and accessories), fluting and shaping the skirts by gently pulling wet pulp sheets onto fabric pieces and leaving them to dry, and by layering sheets of different coloured pulps together.
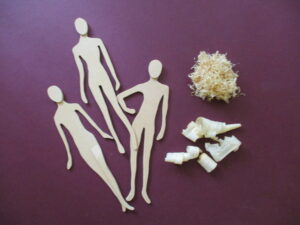
Mannequins 
Moulded & shaped paper 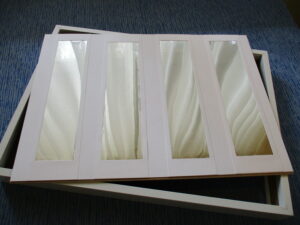
Mirrored ‘shop window’


I’ve used mirror paper in the background to give the impression of a shop window, and also to show off the back of the models.
This piece was created for a Fringe exhibition in 2022 at Gallery 1855 called “Fashion – Make a Statement”.