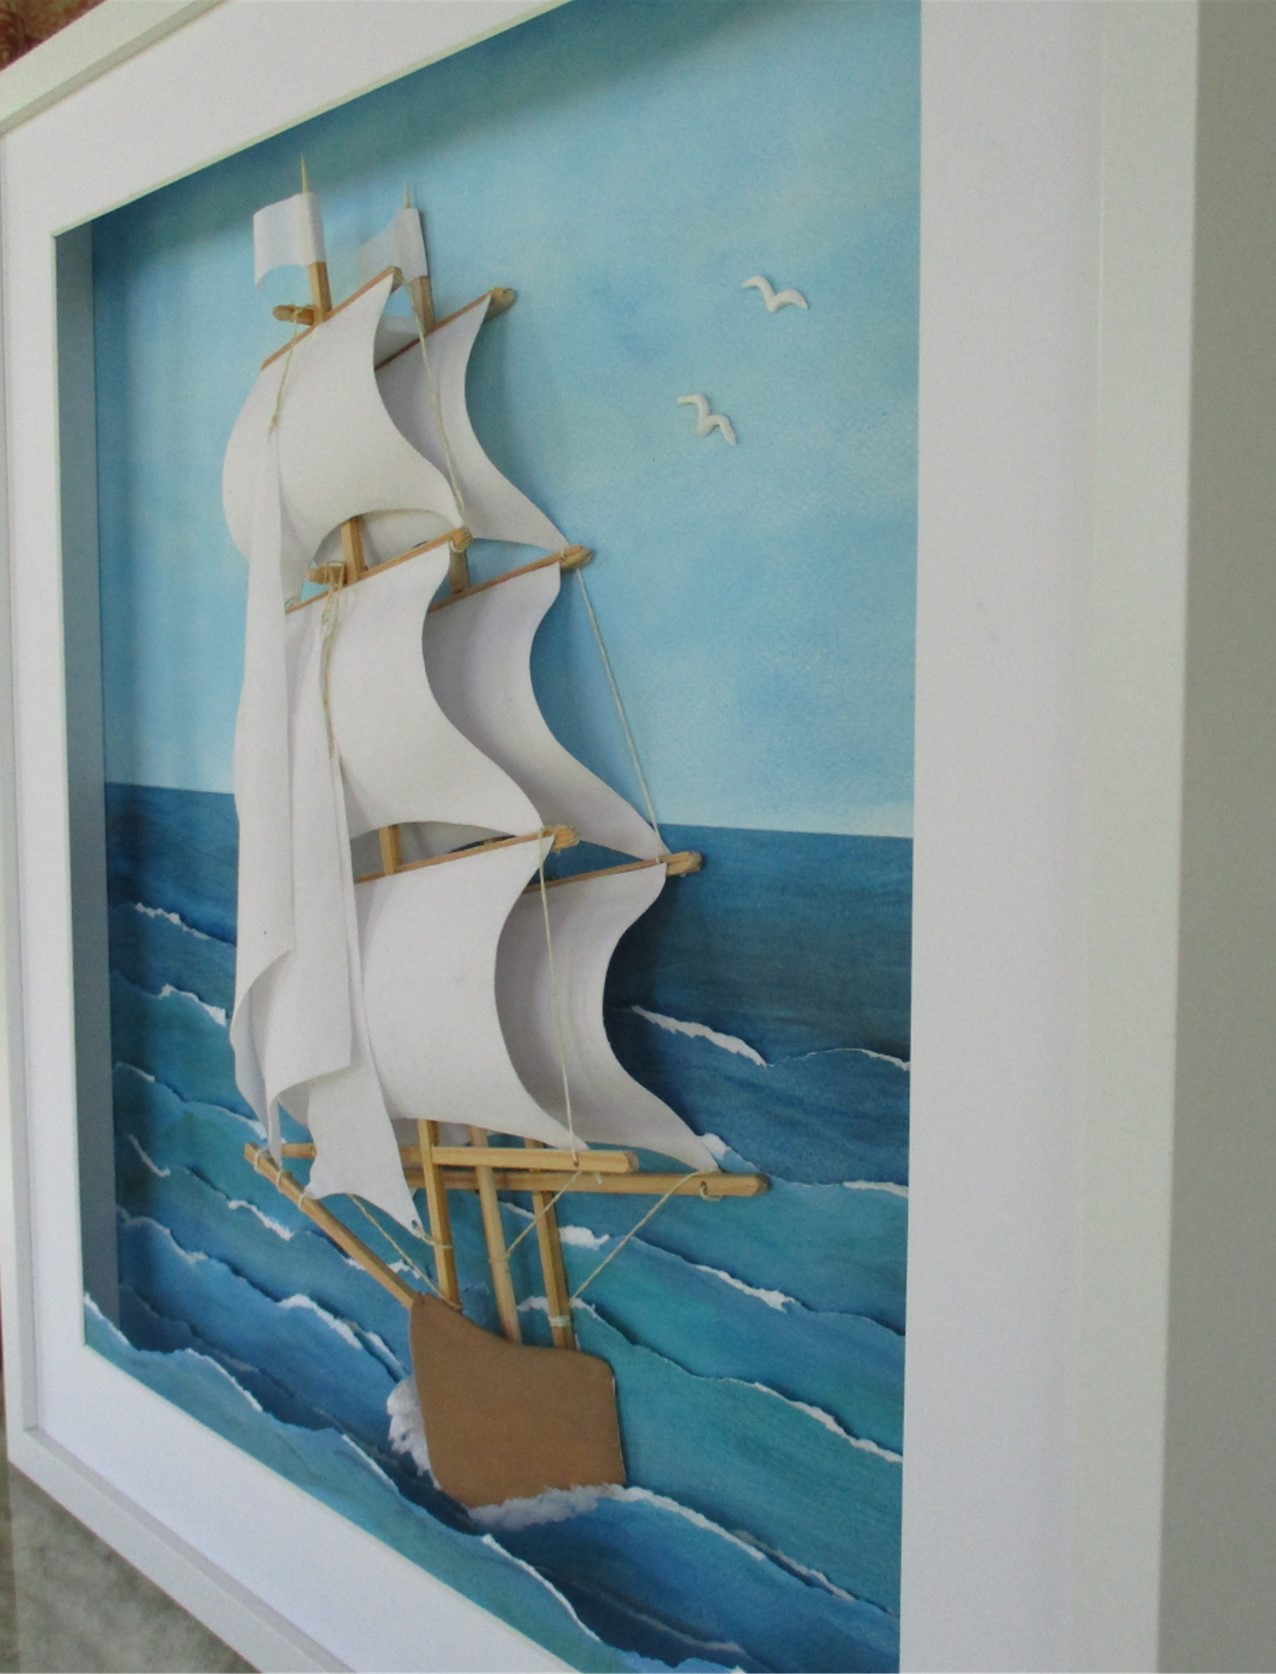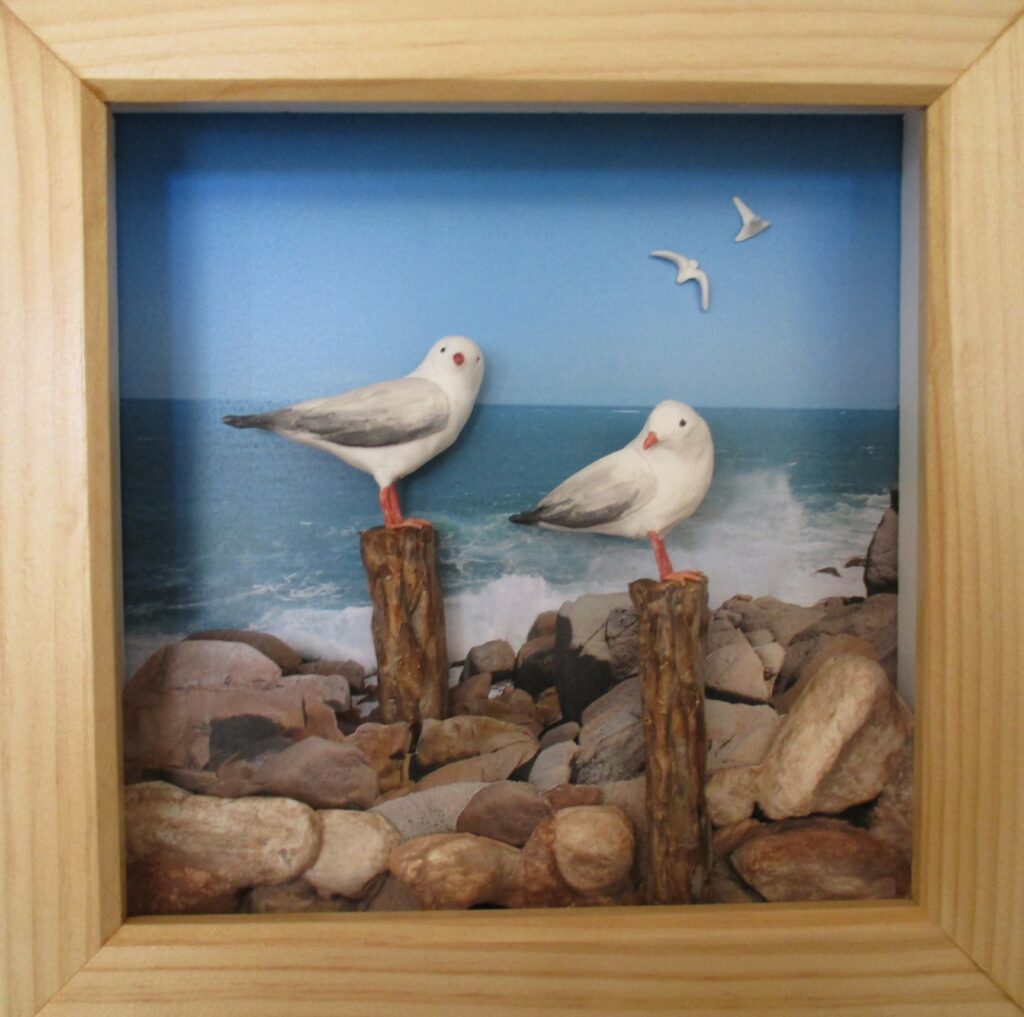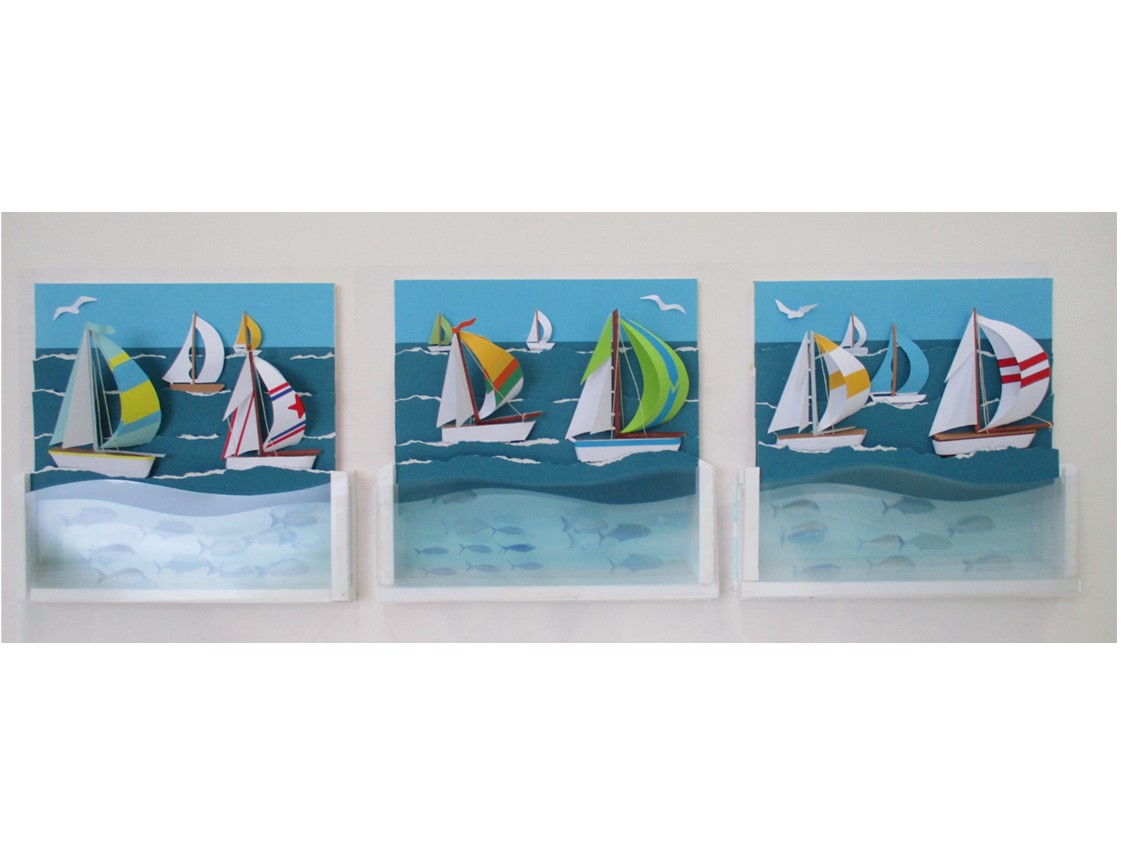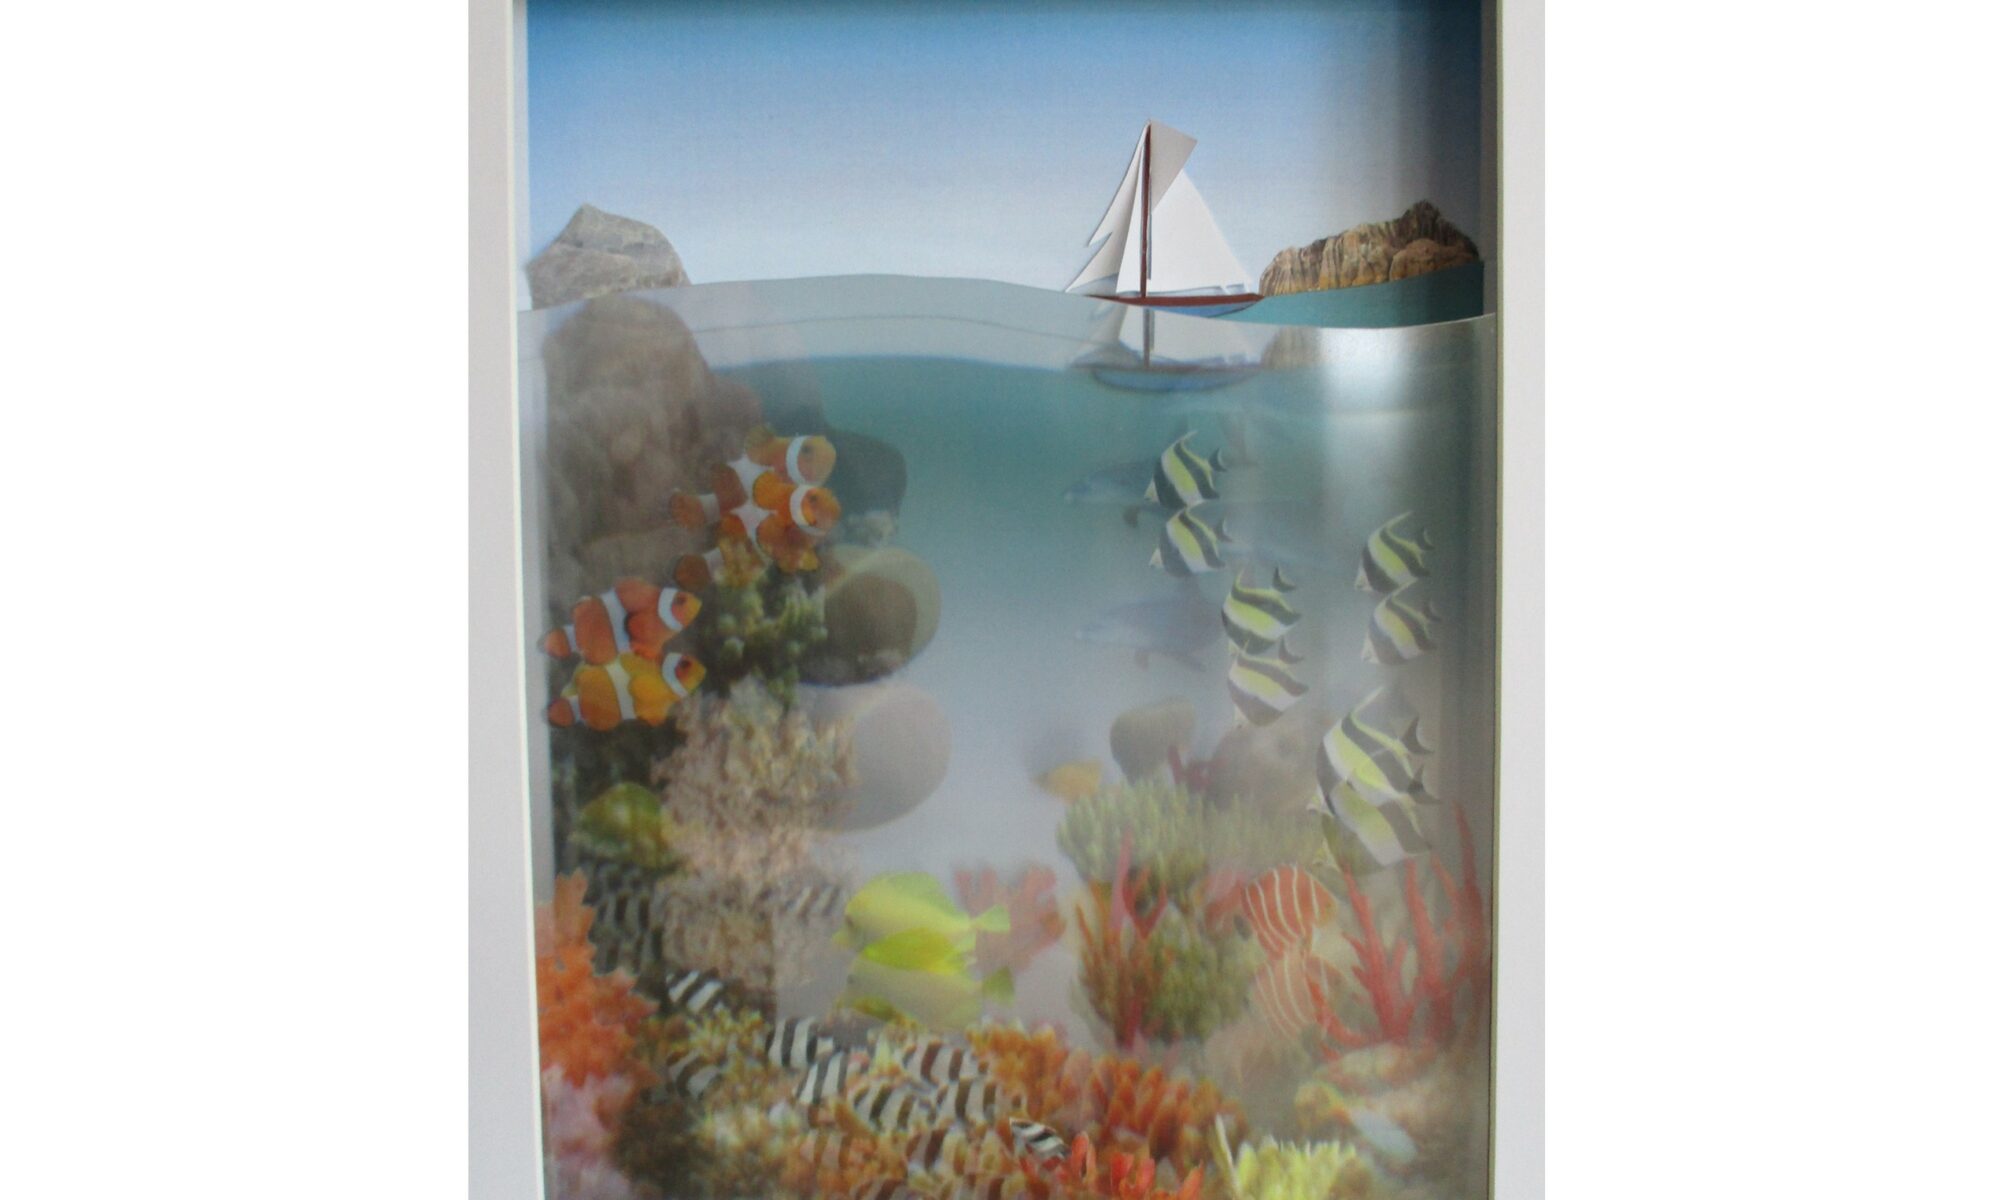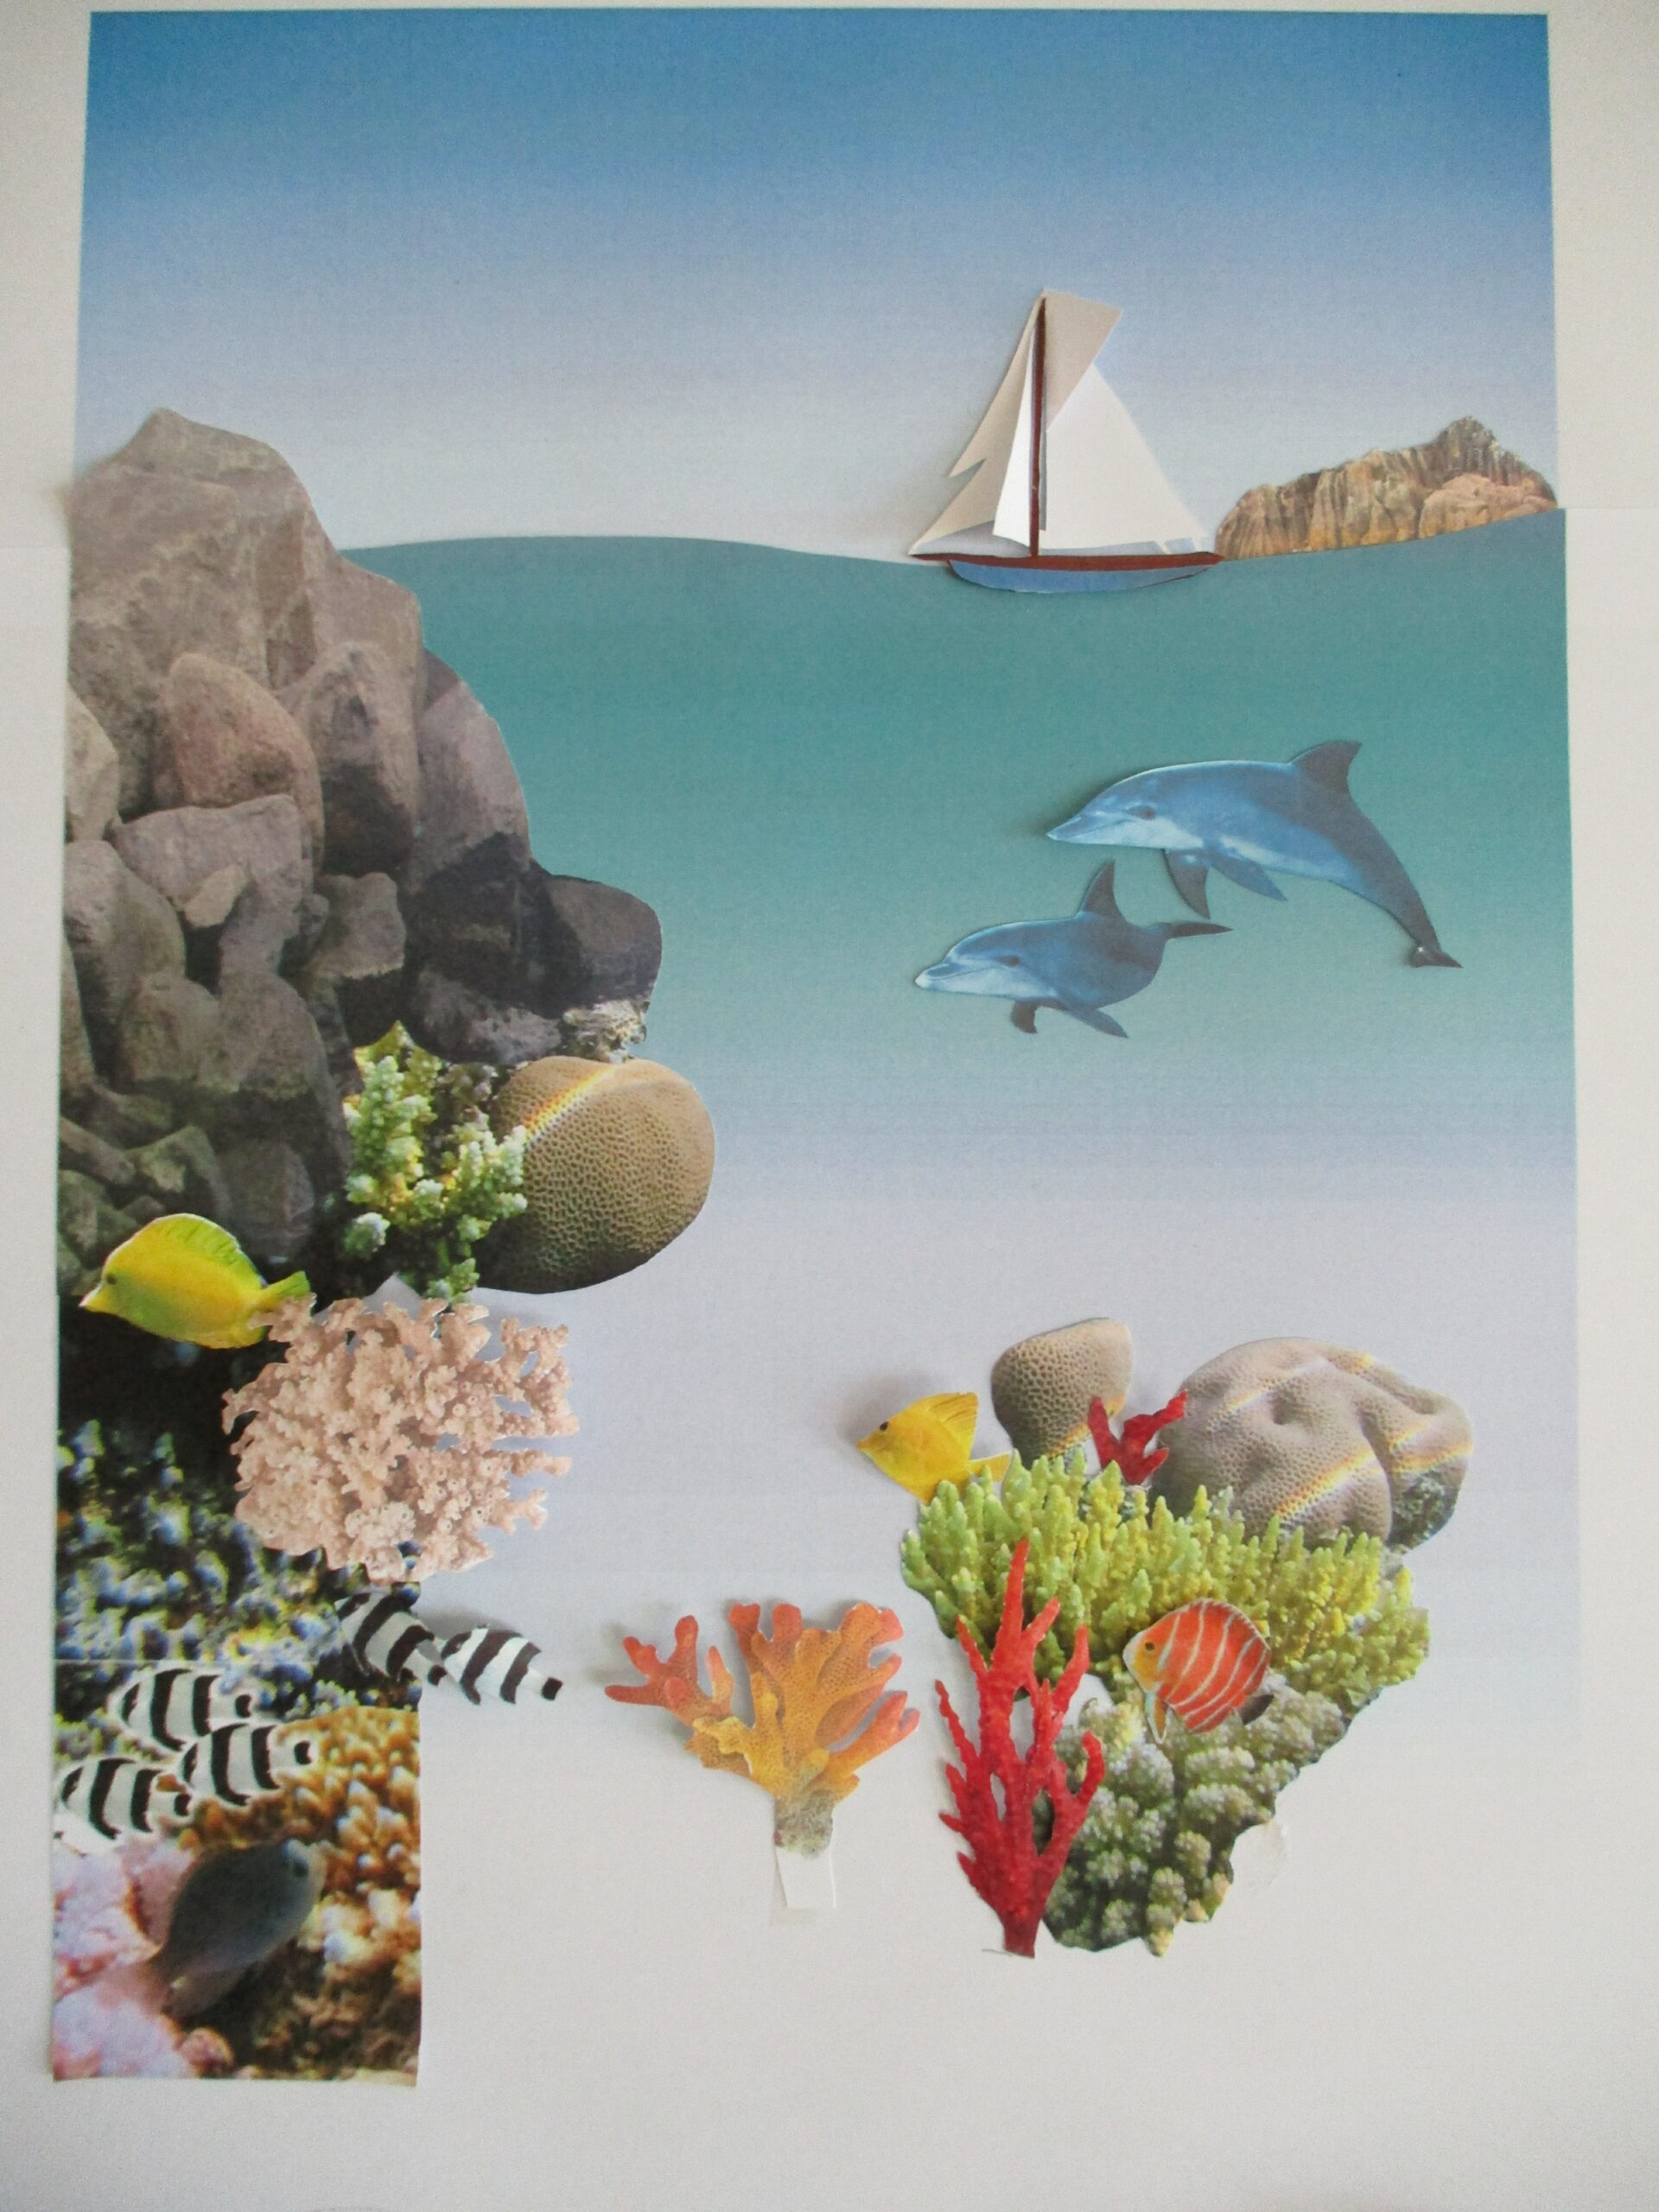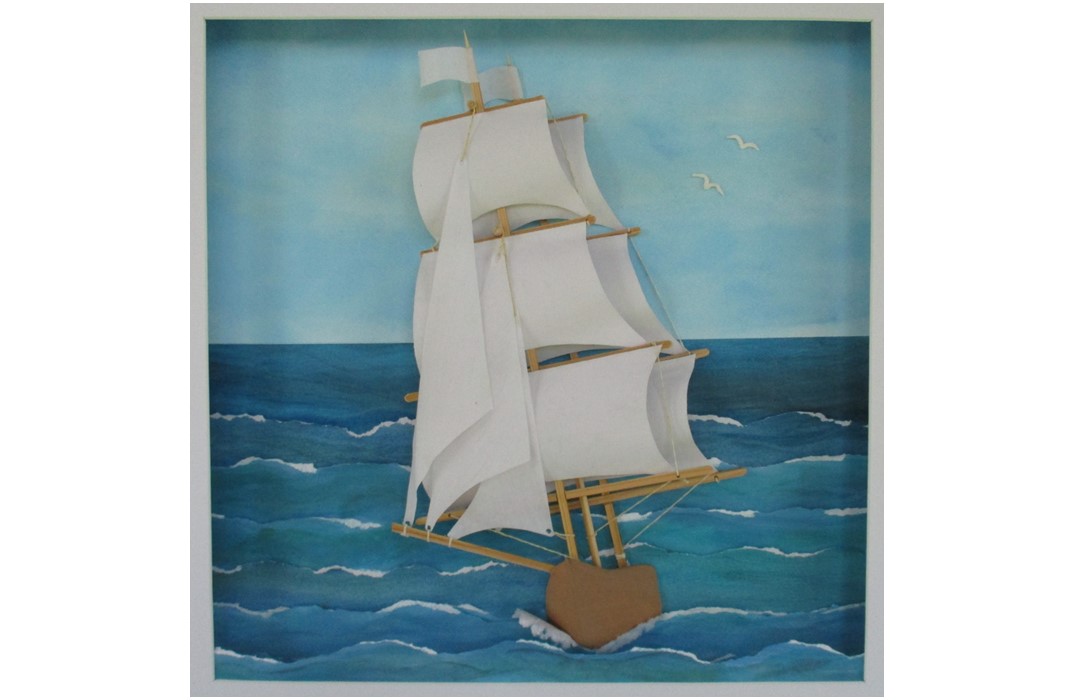
This new project is one of the most ambitious I’ve crafted. I was unsure of where to categorize it in my ‘gallery’ as it includes papercraft, recycled materials and woodcraft. It’s also the largest piece I’ve made – the frame is 50cm square.
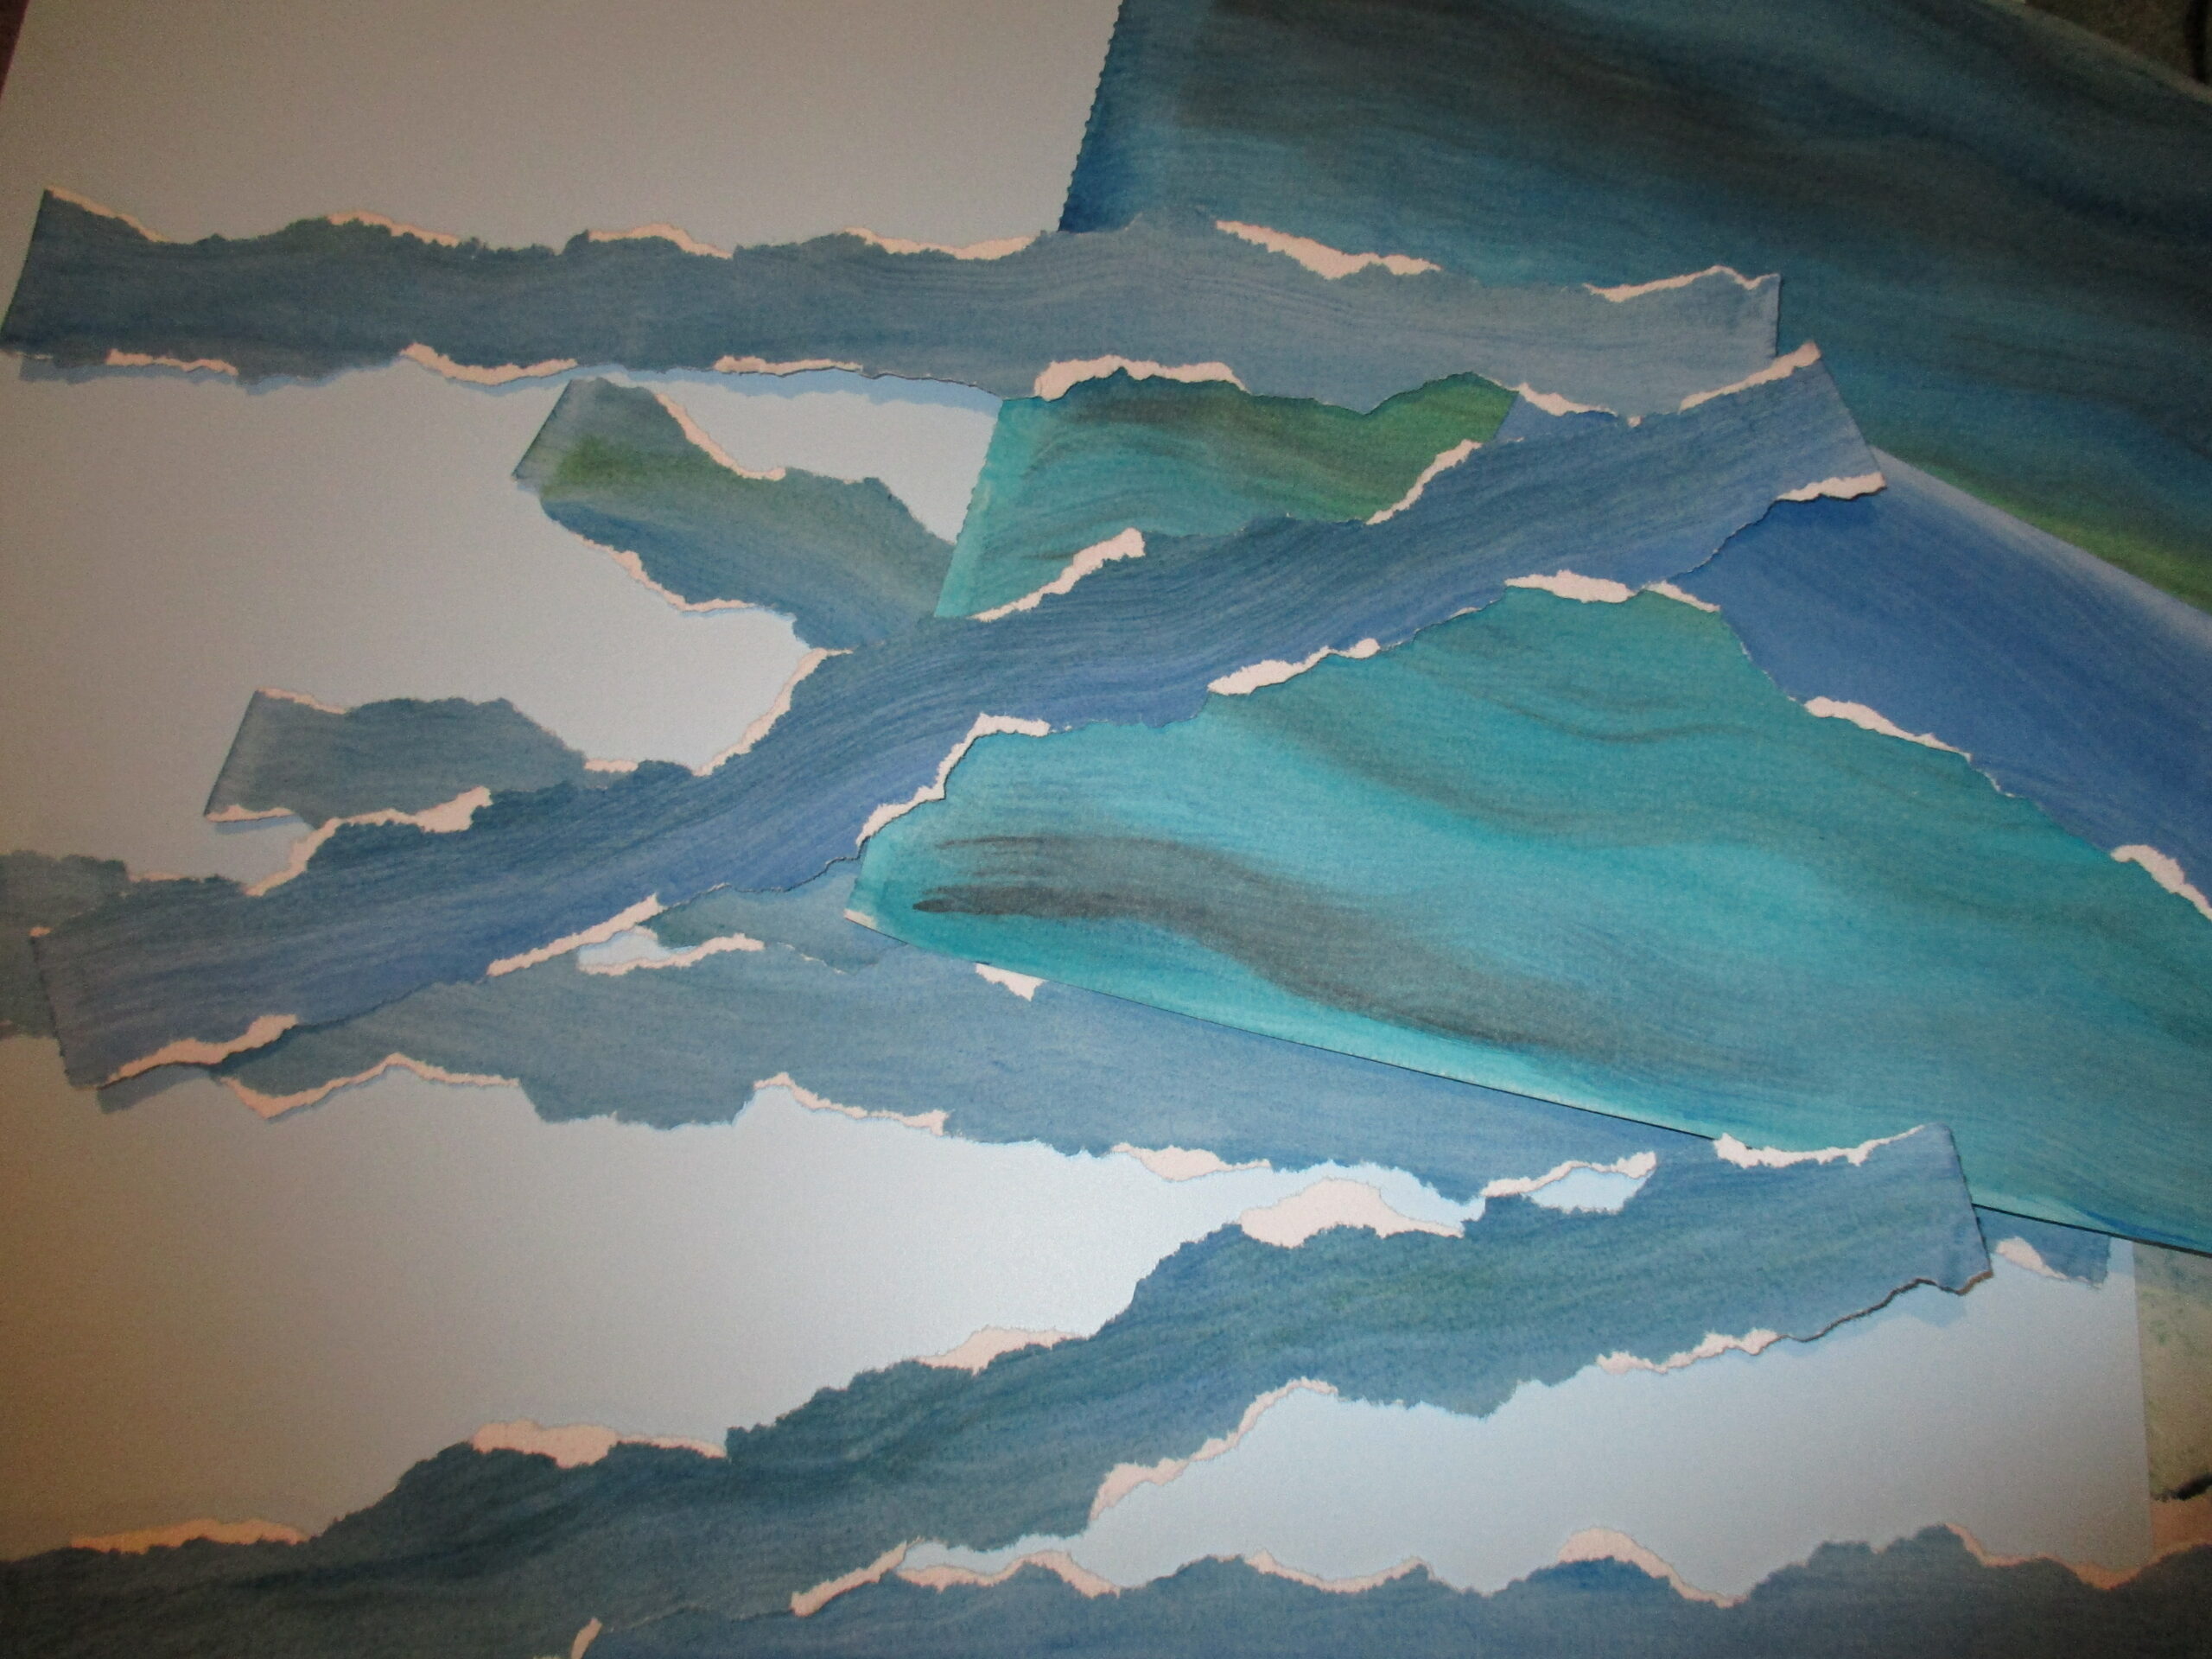
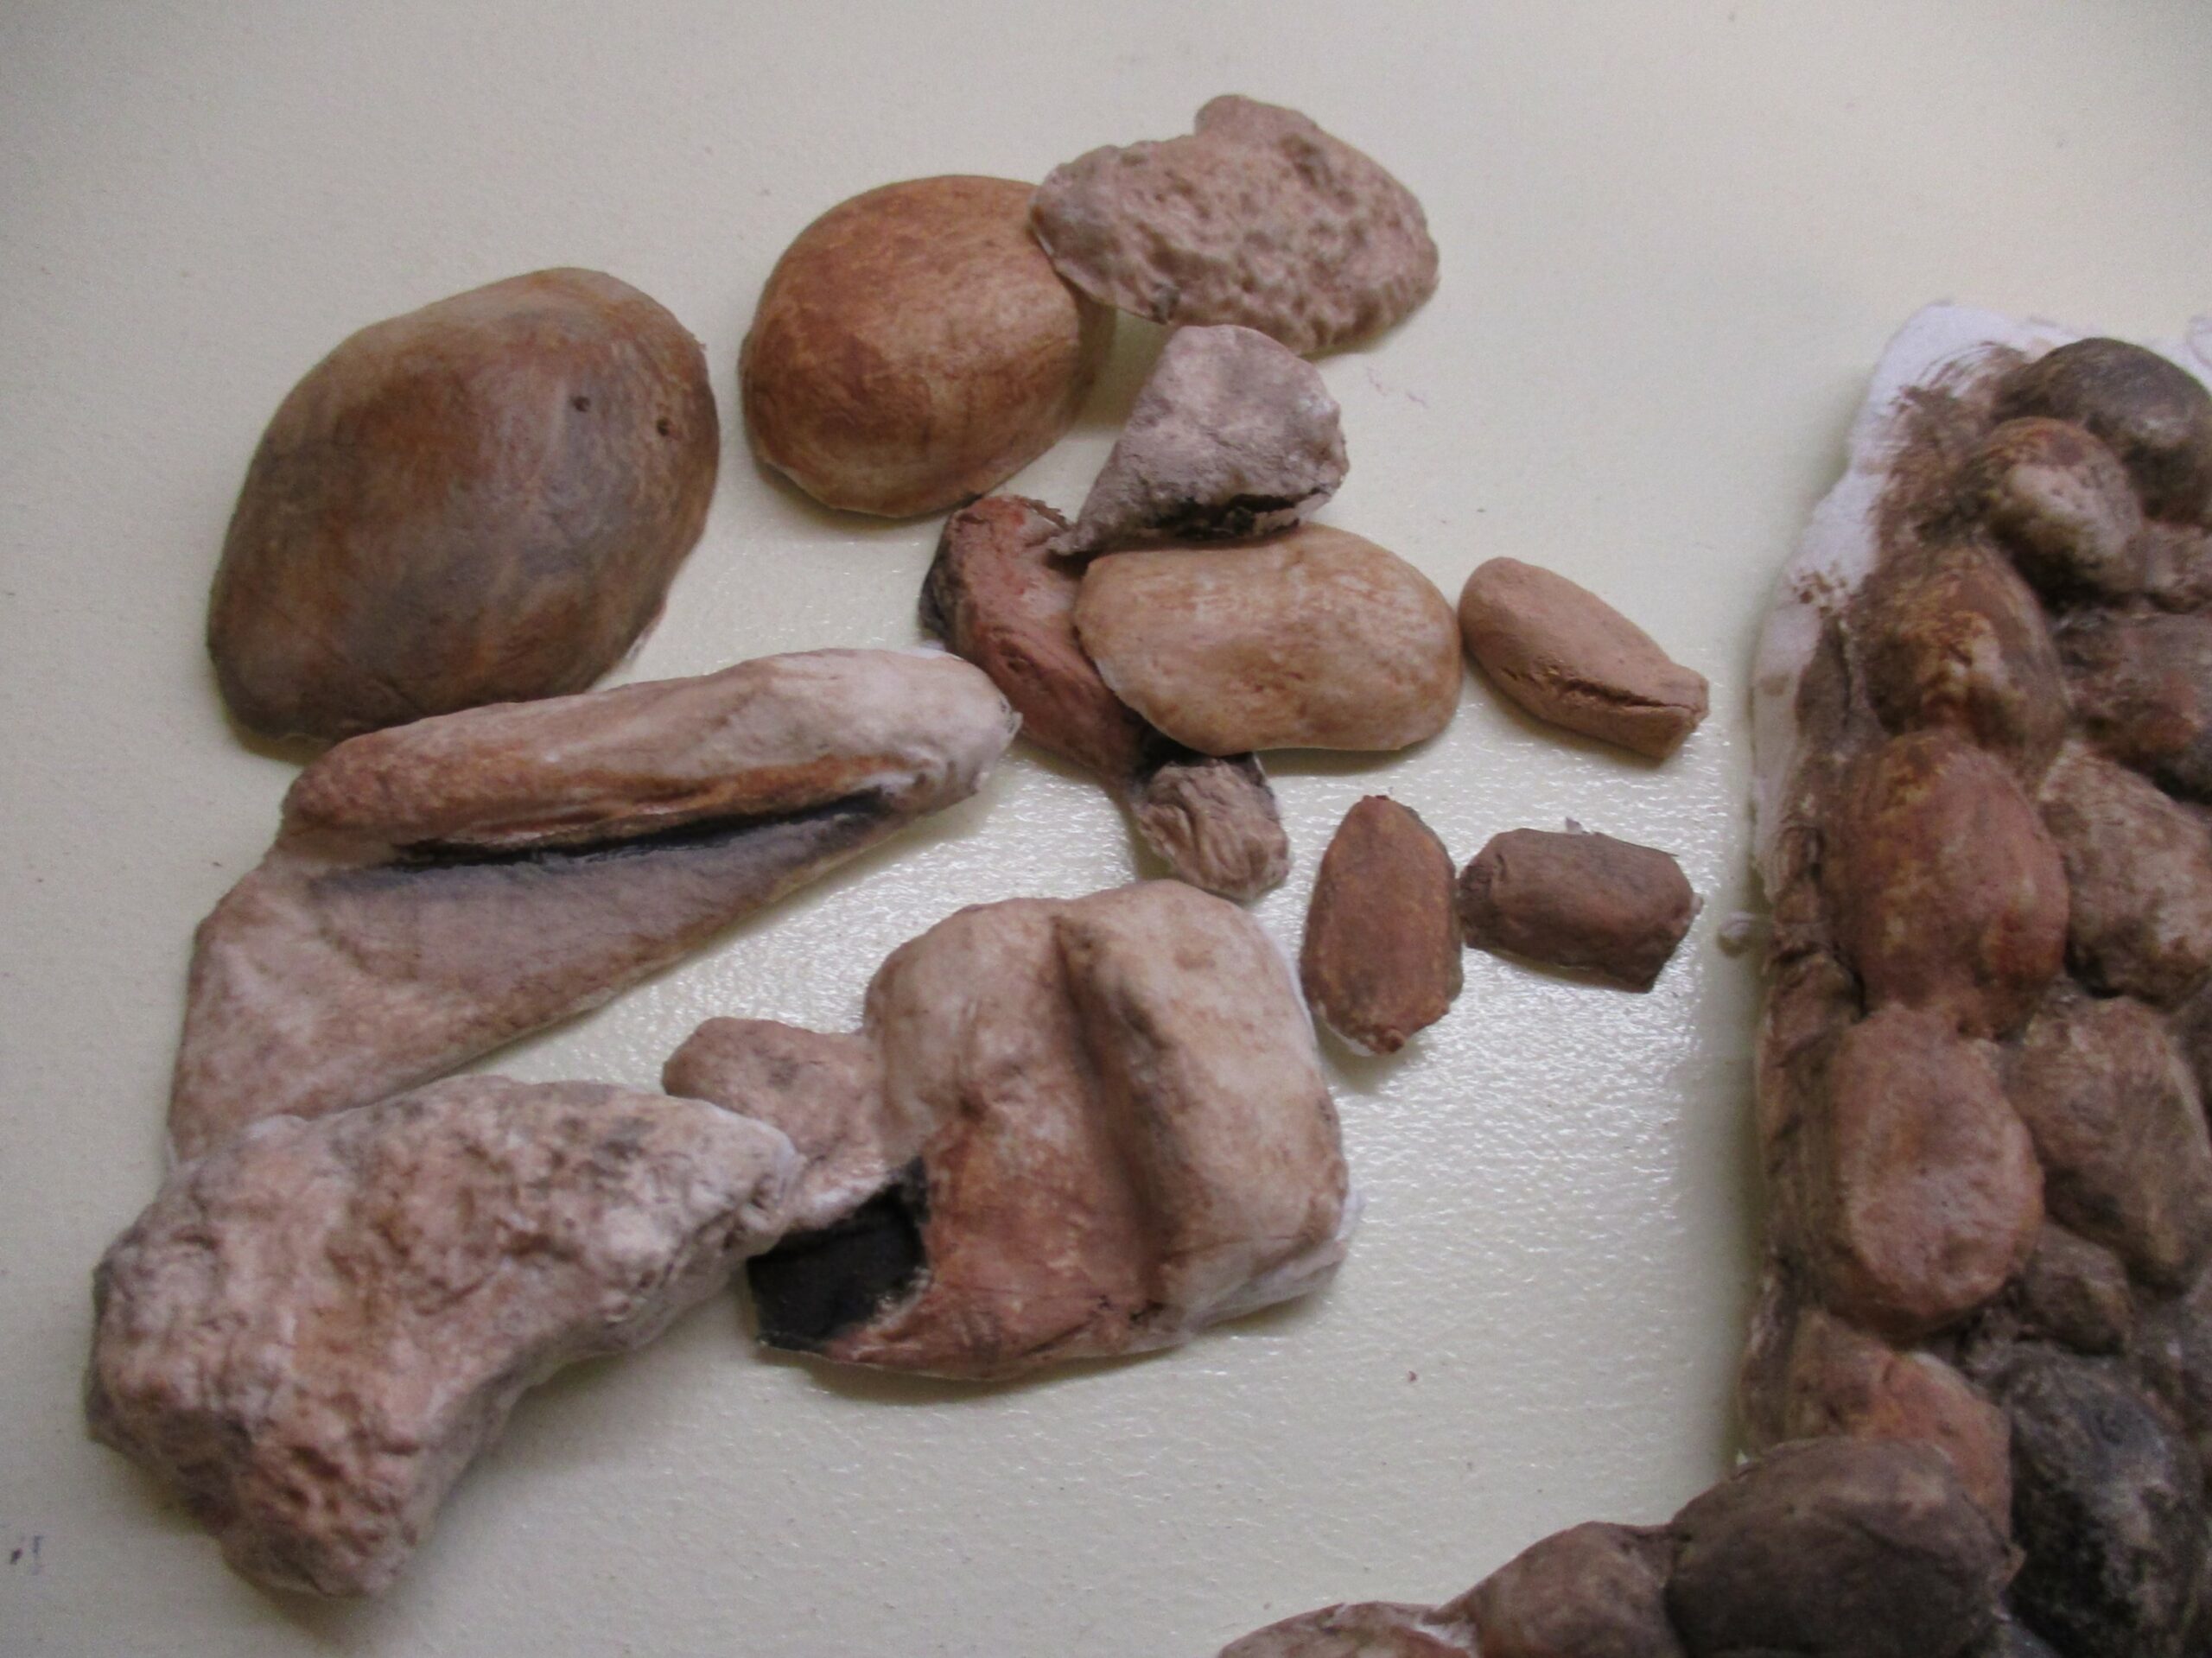
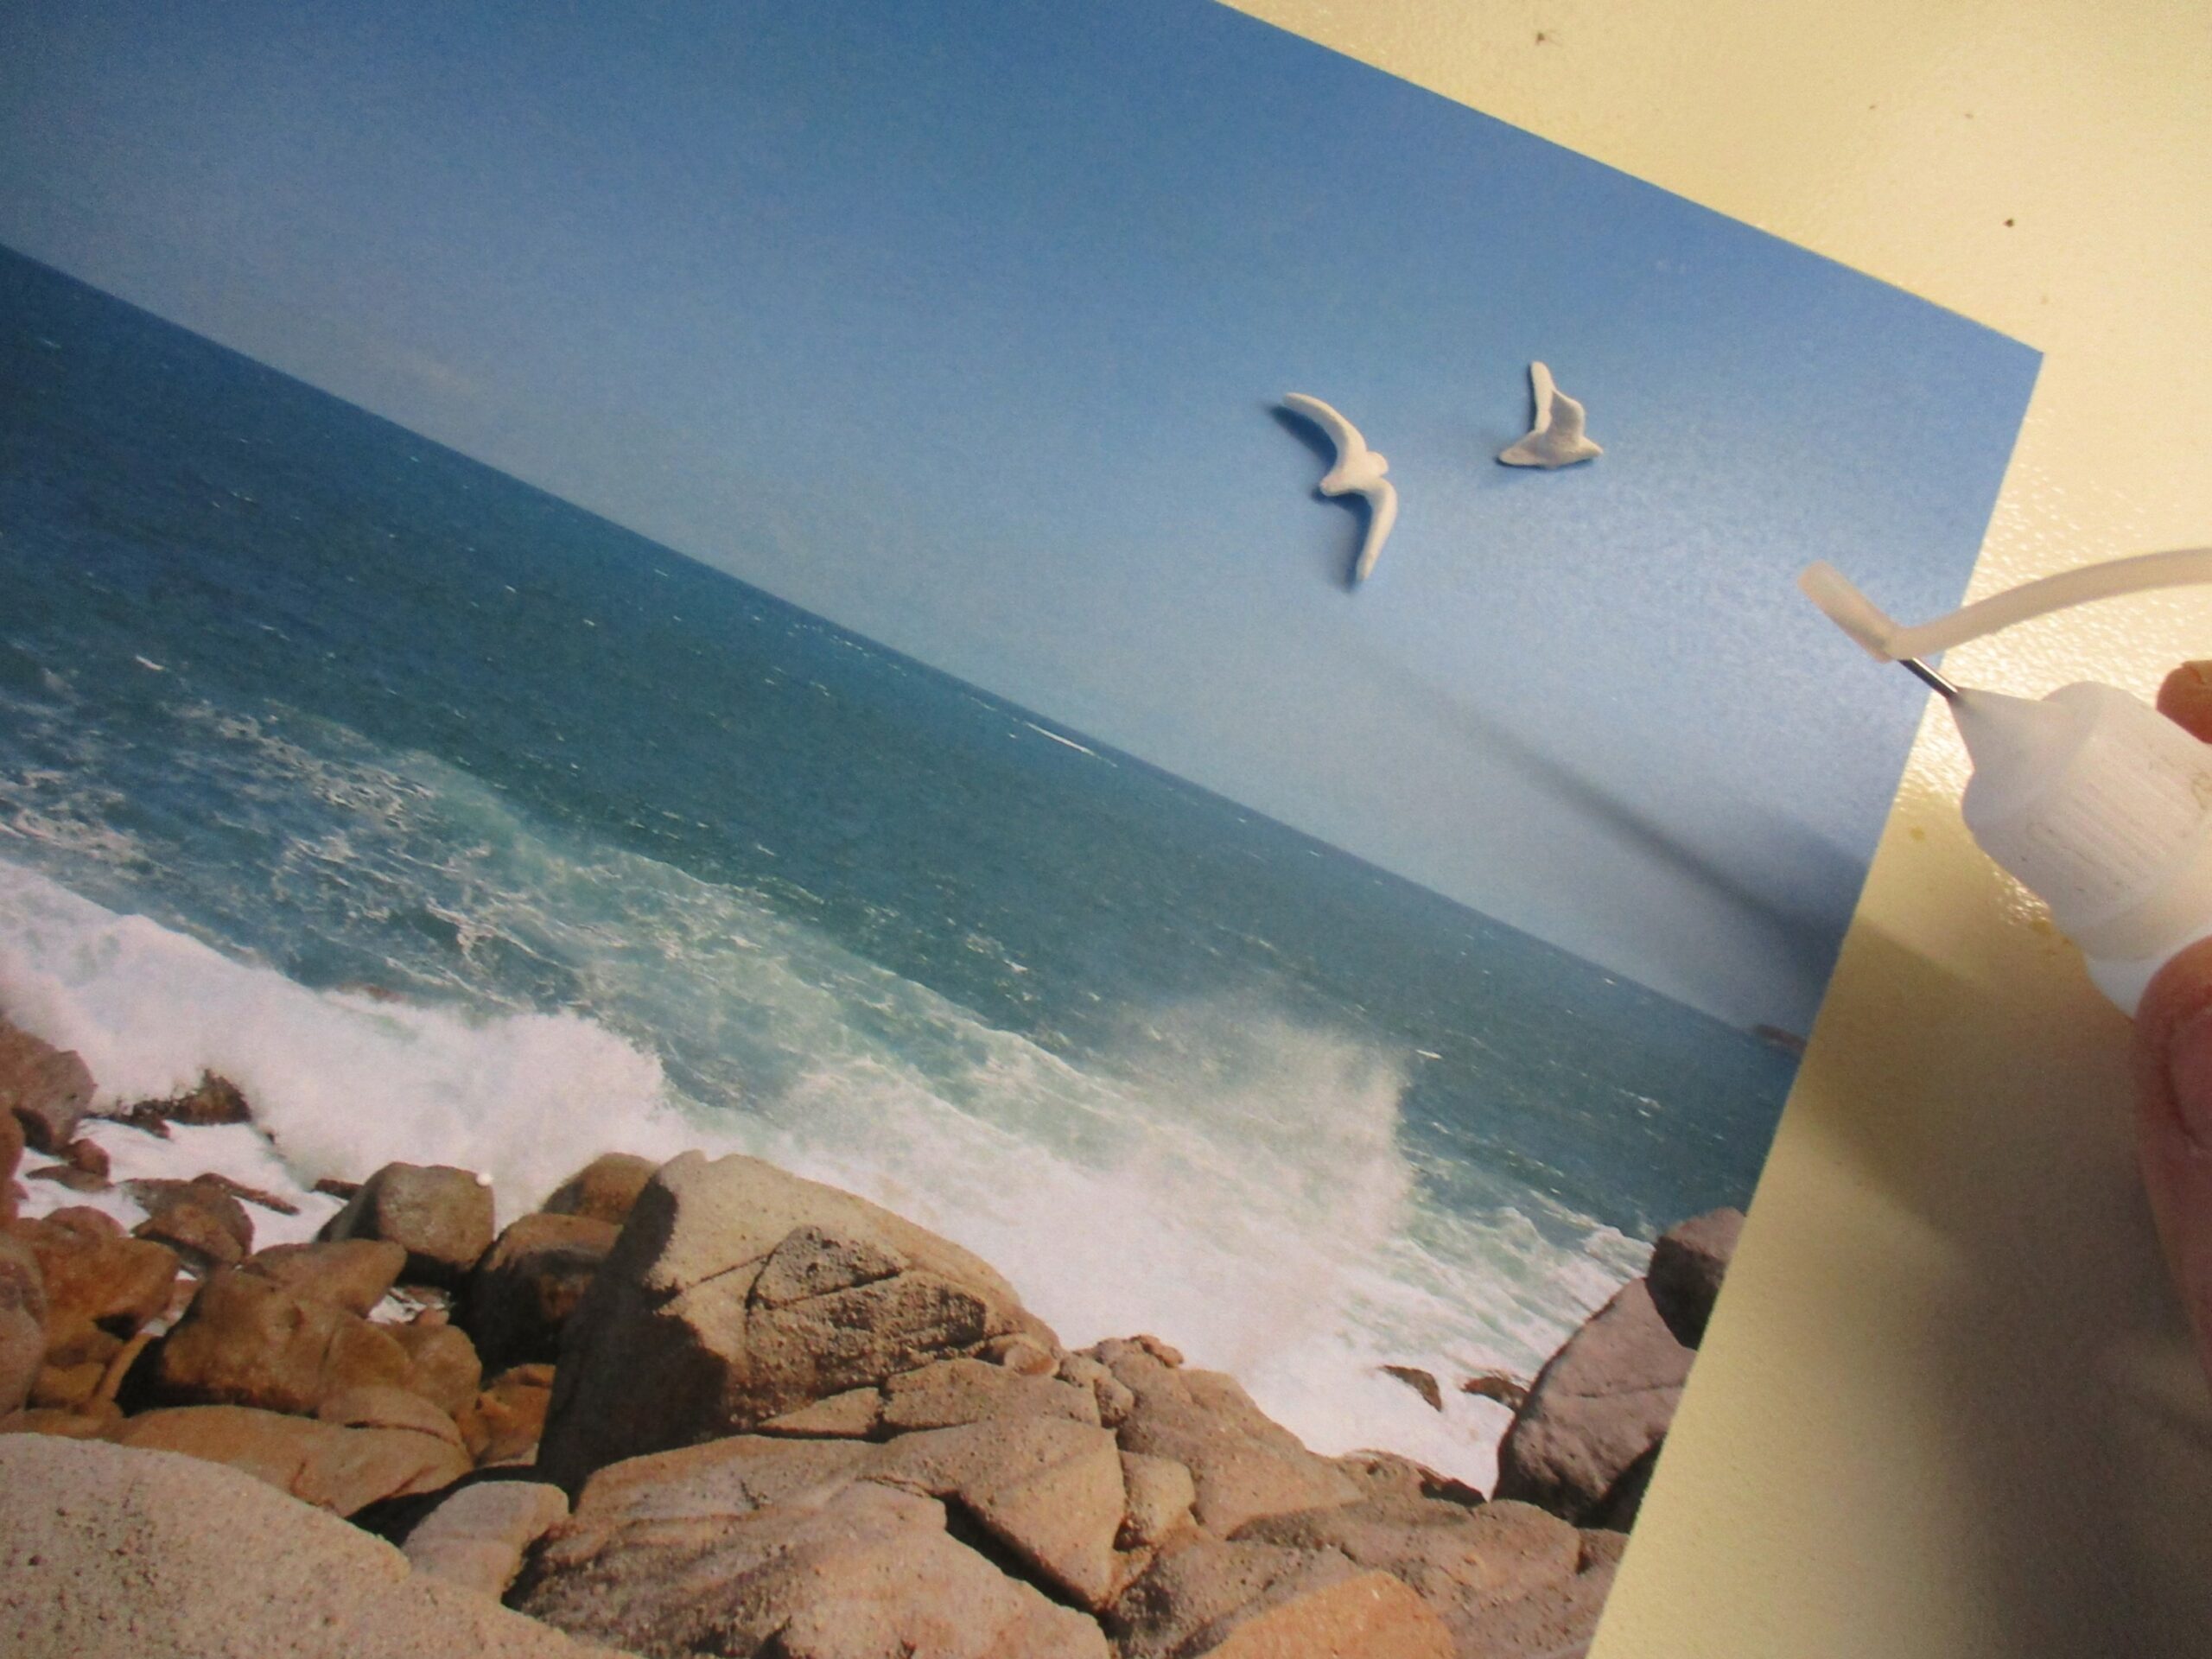
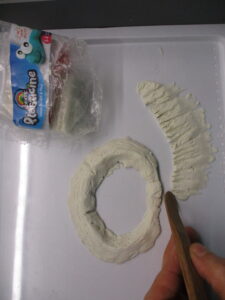
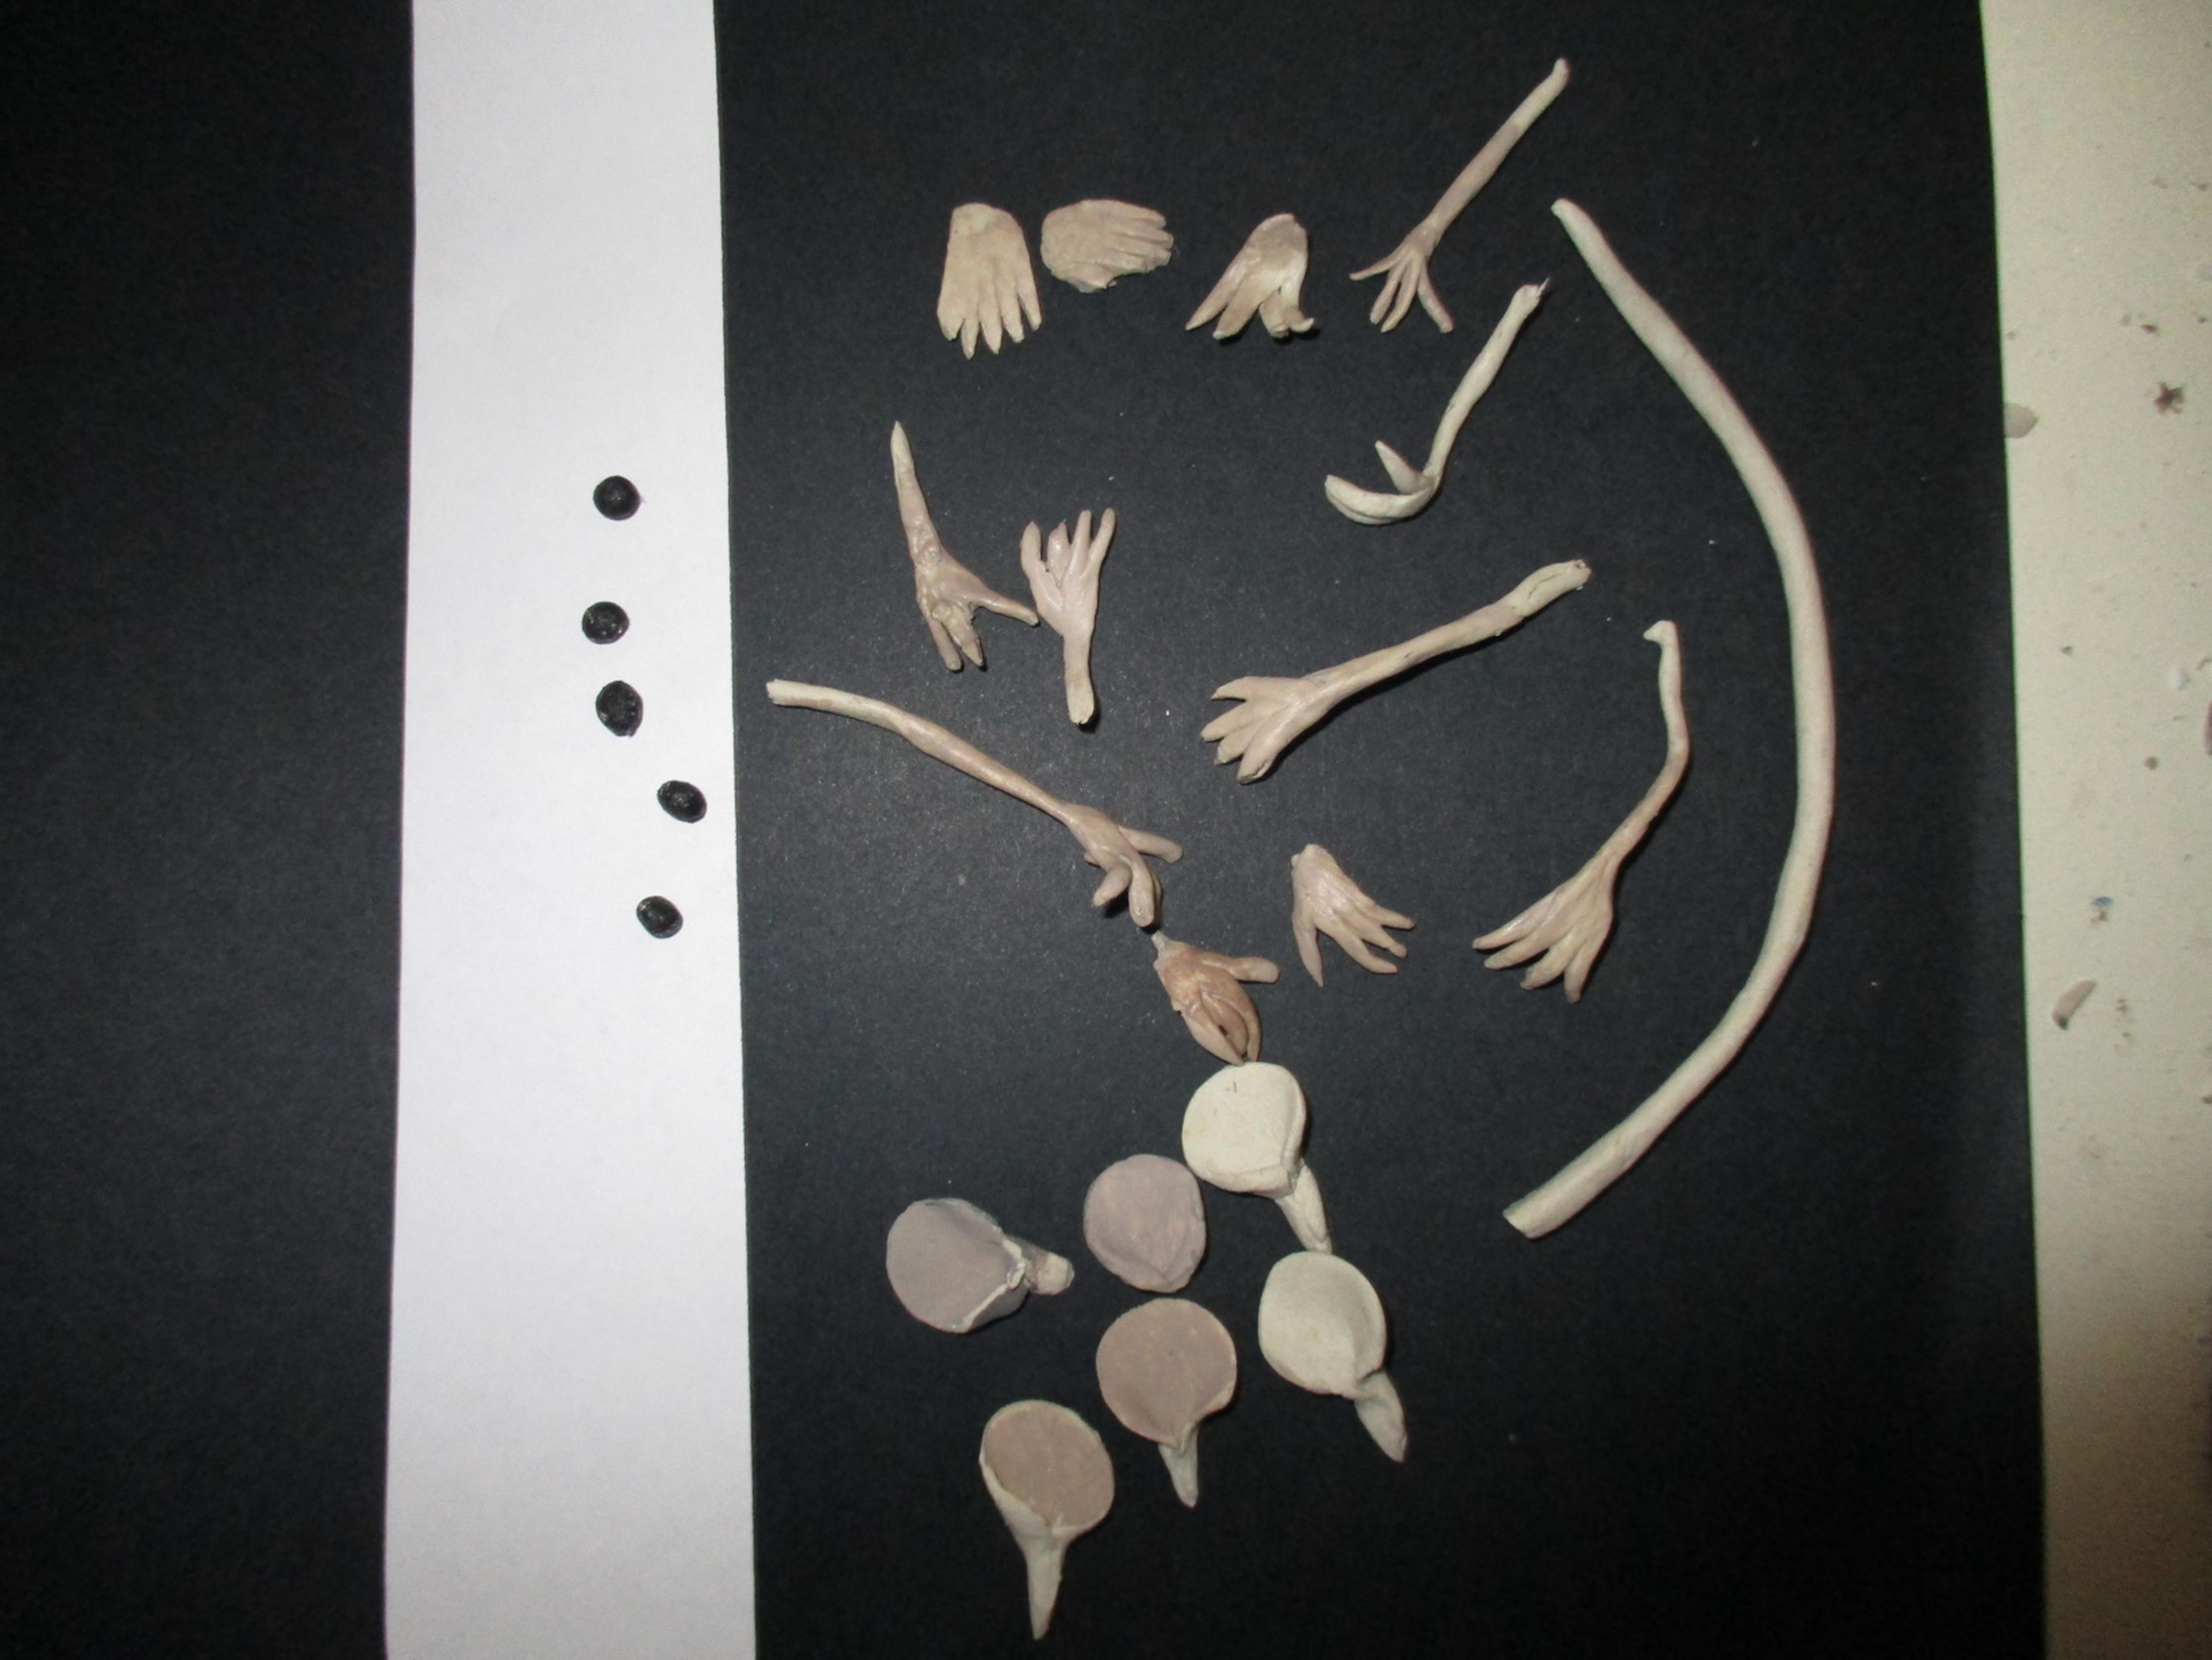
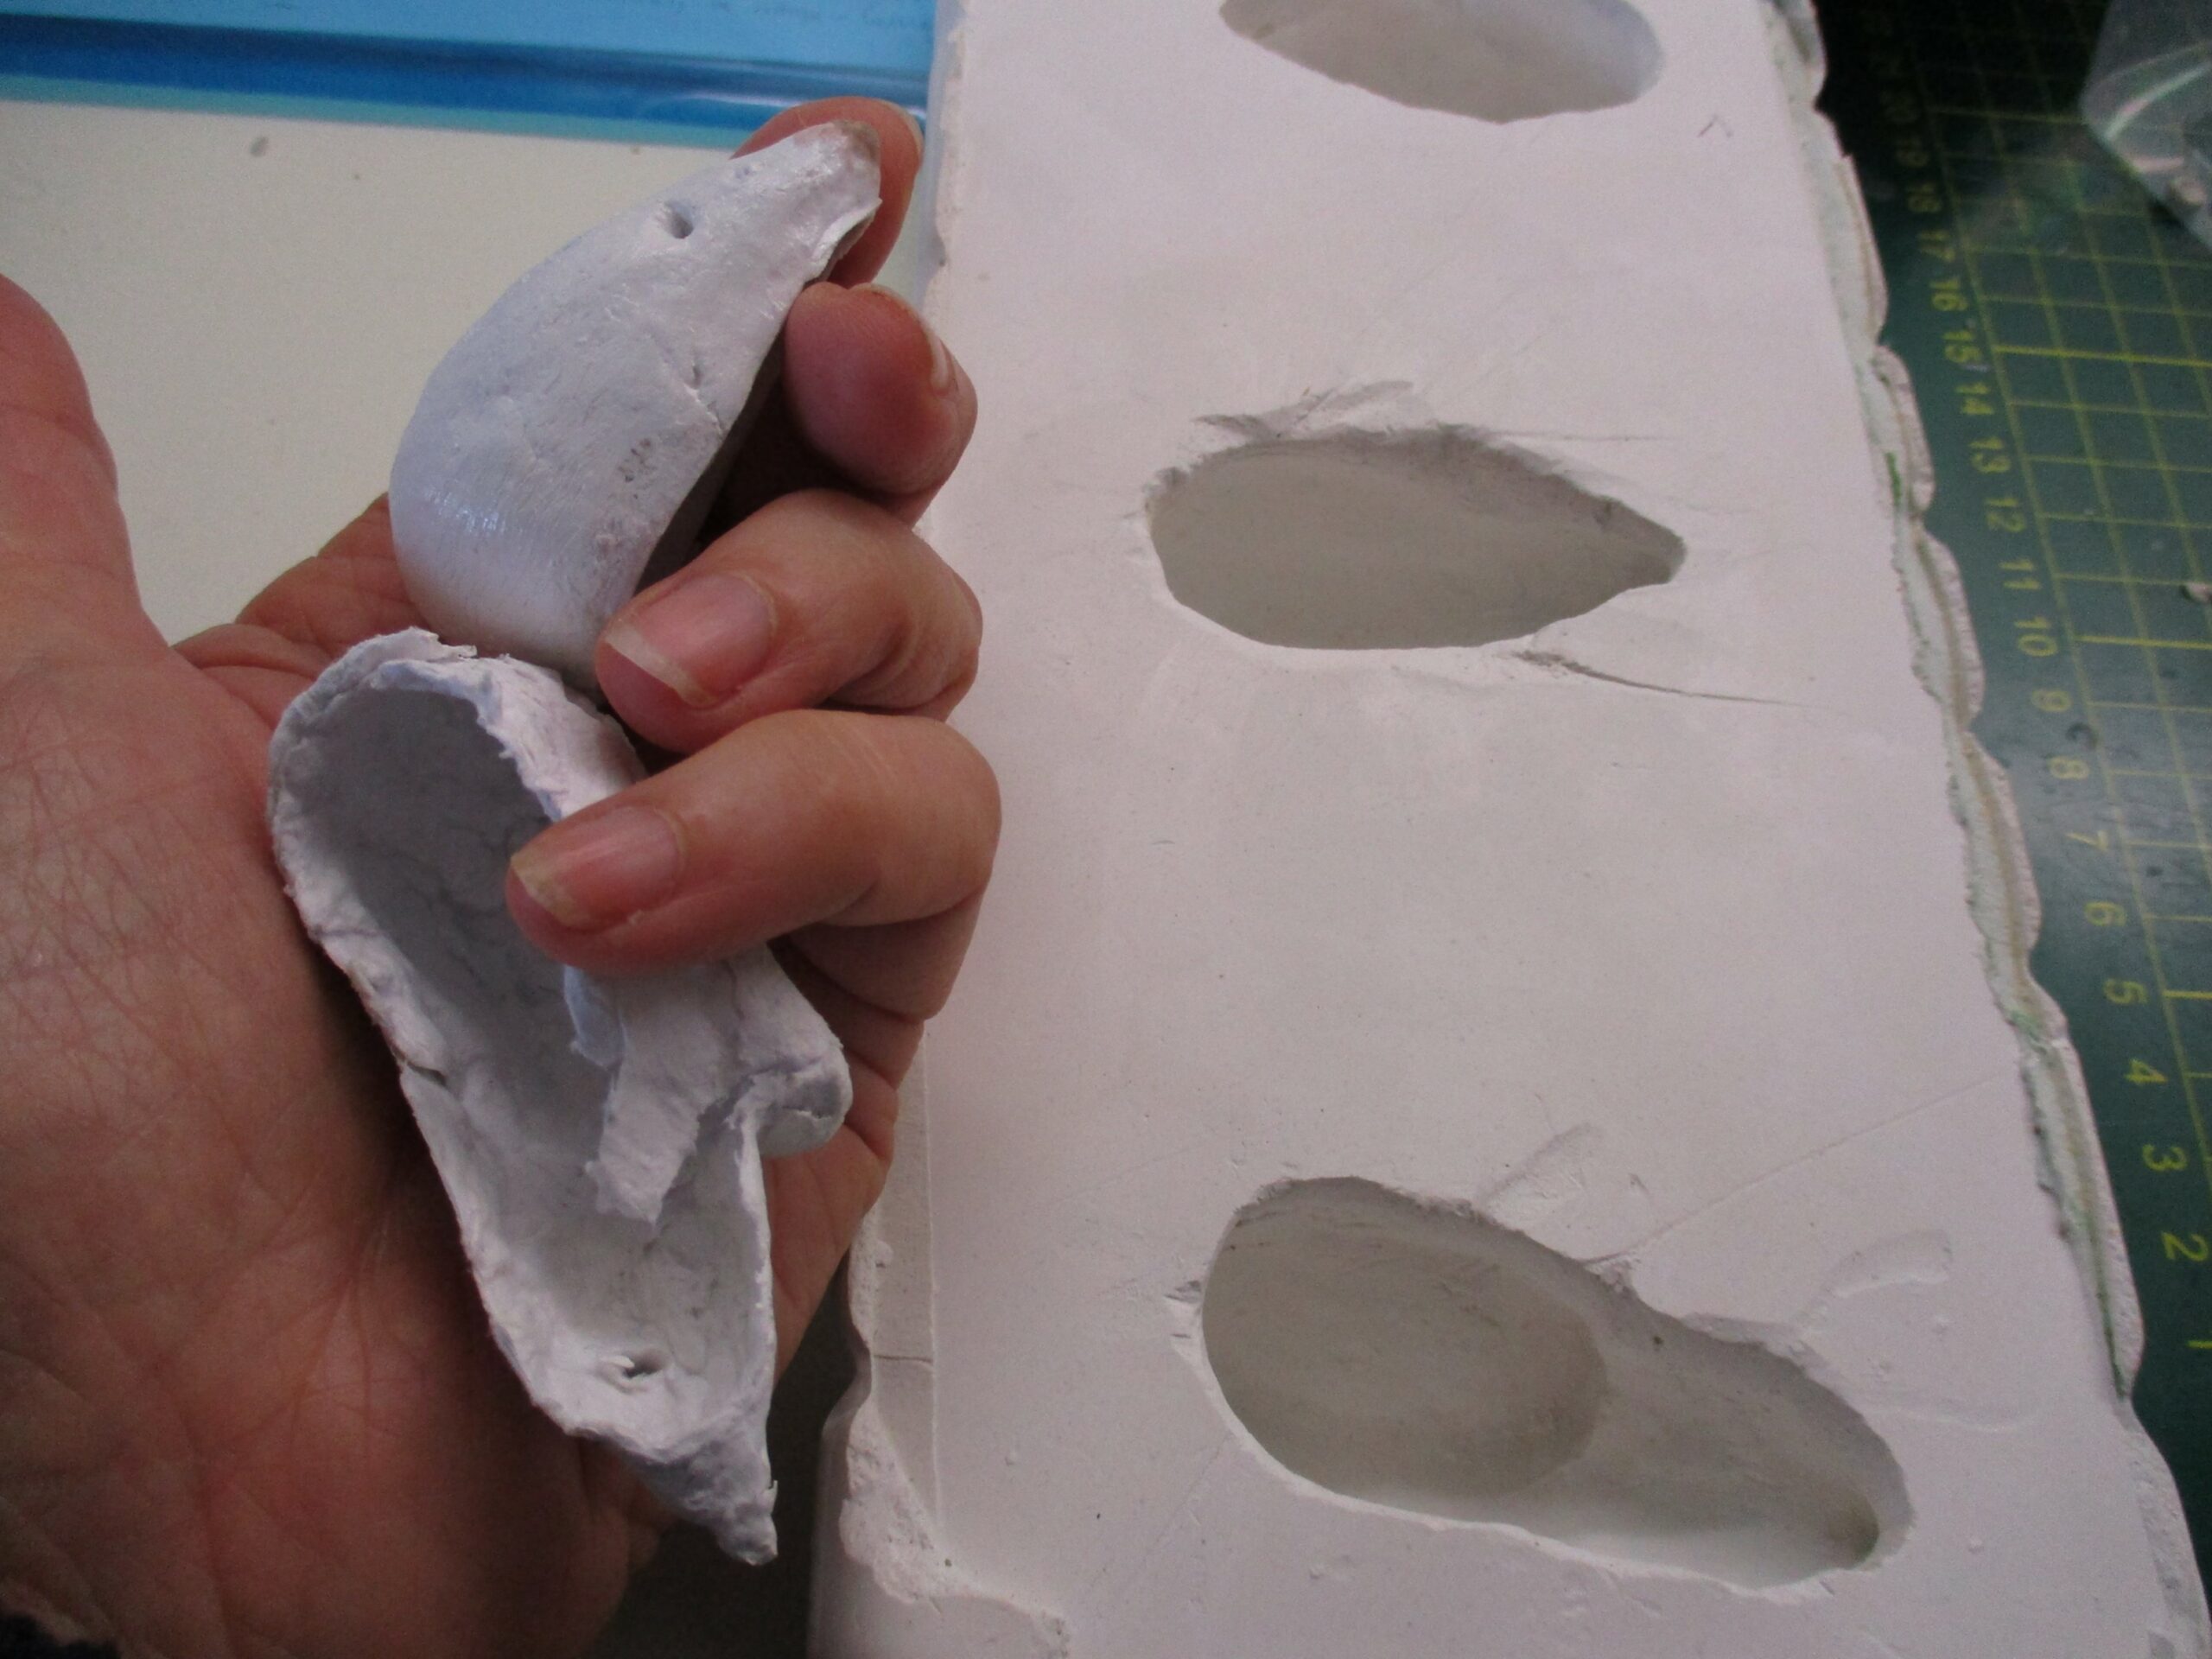
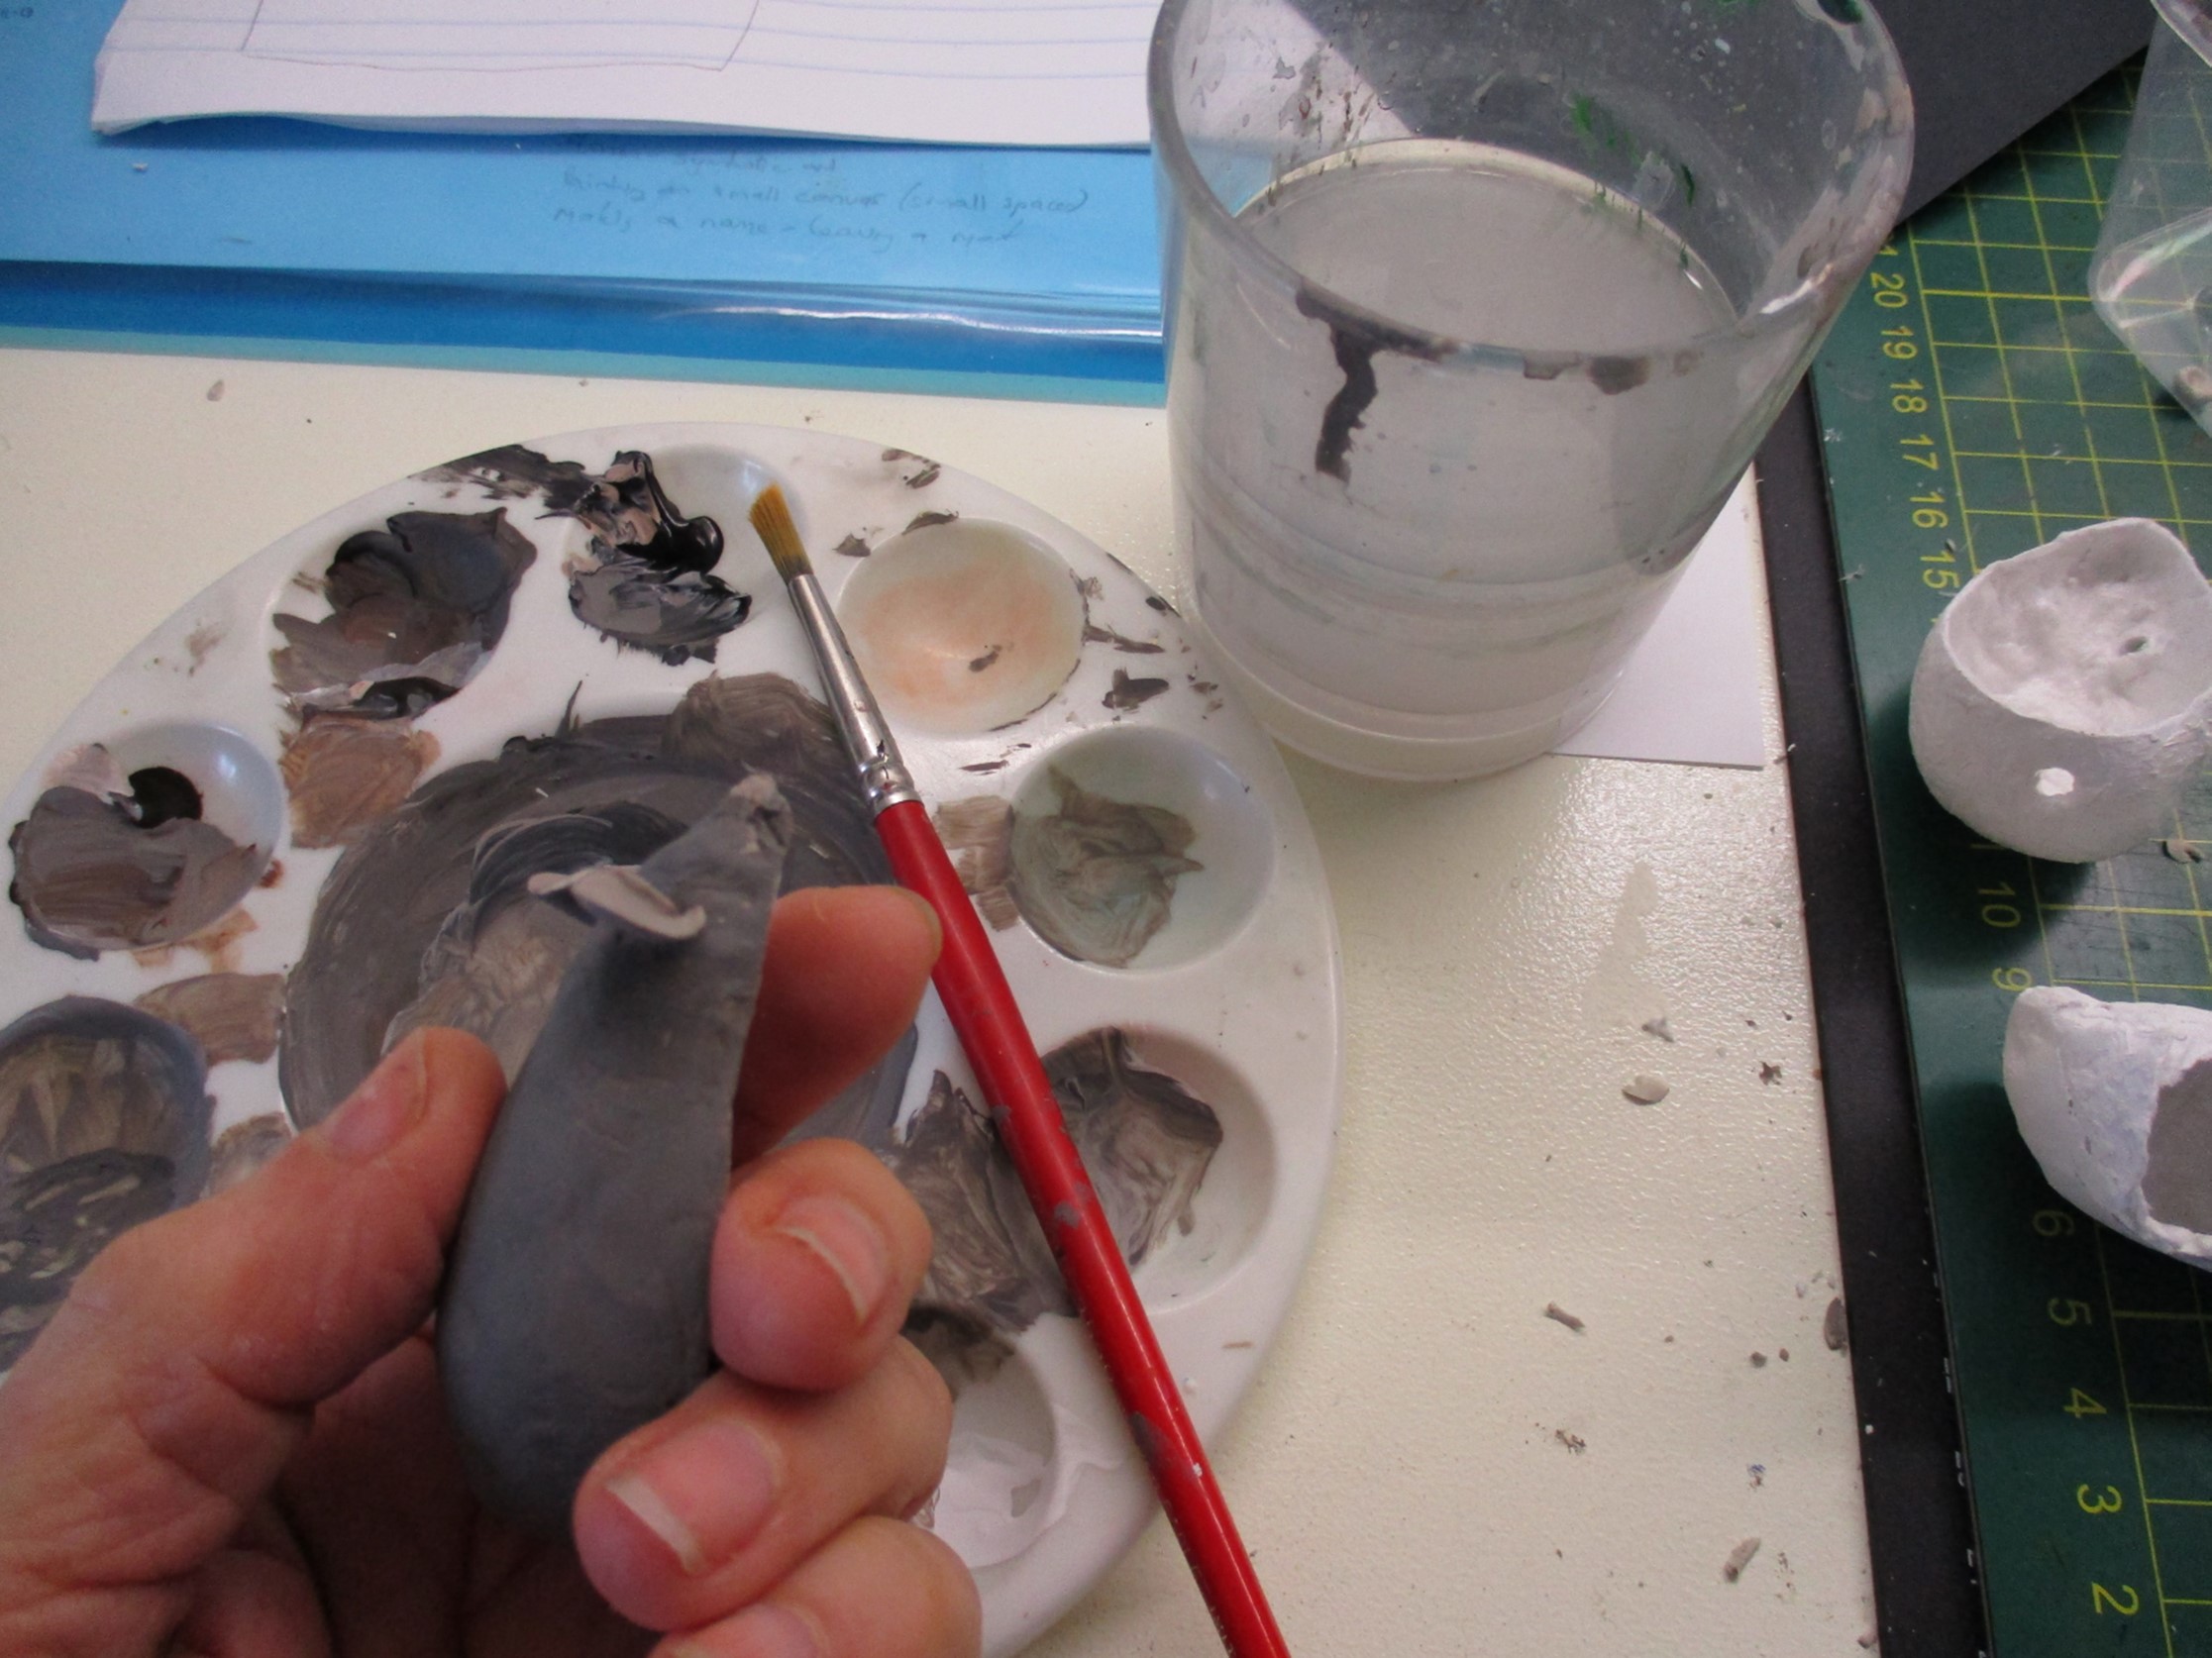
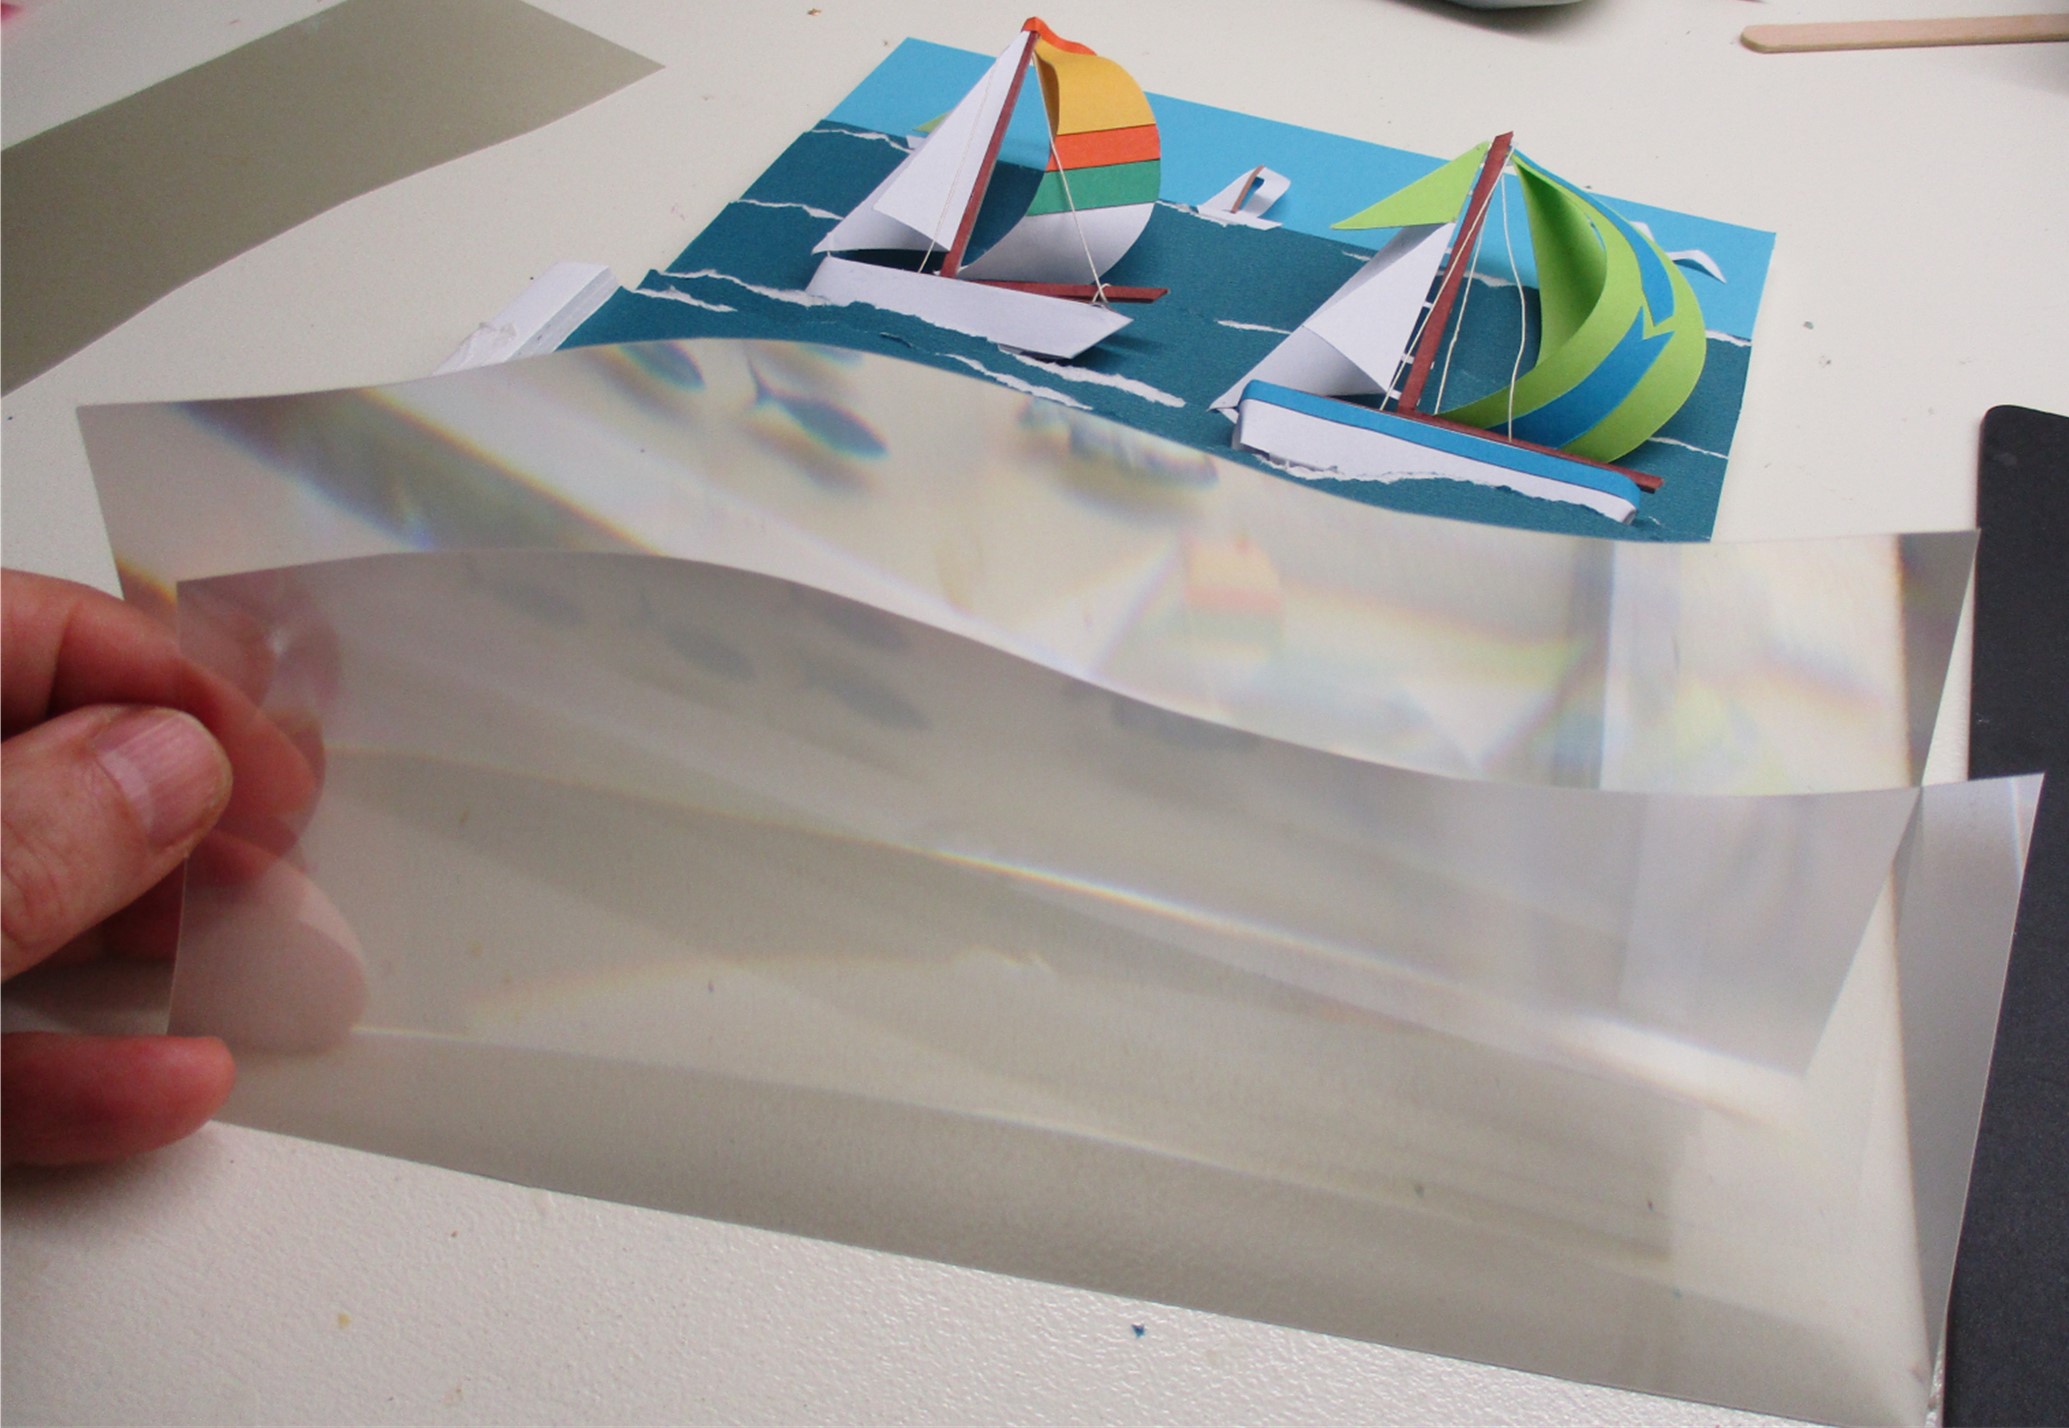
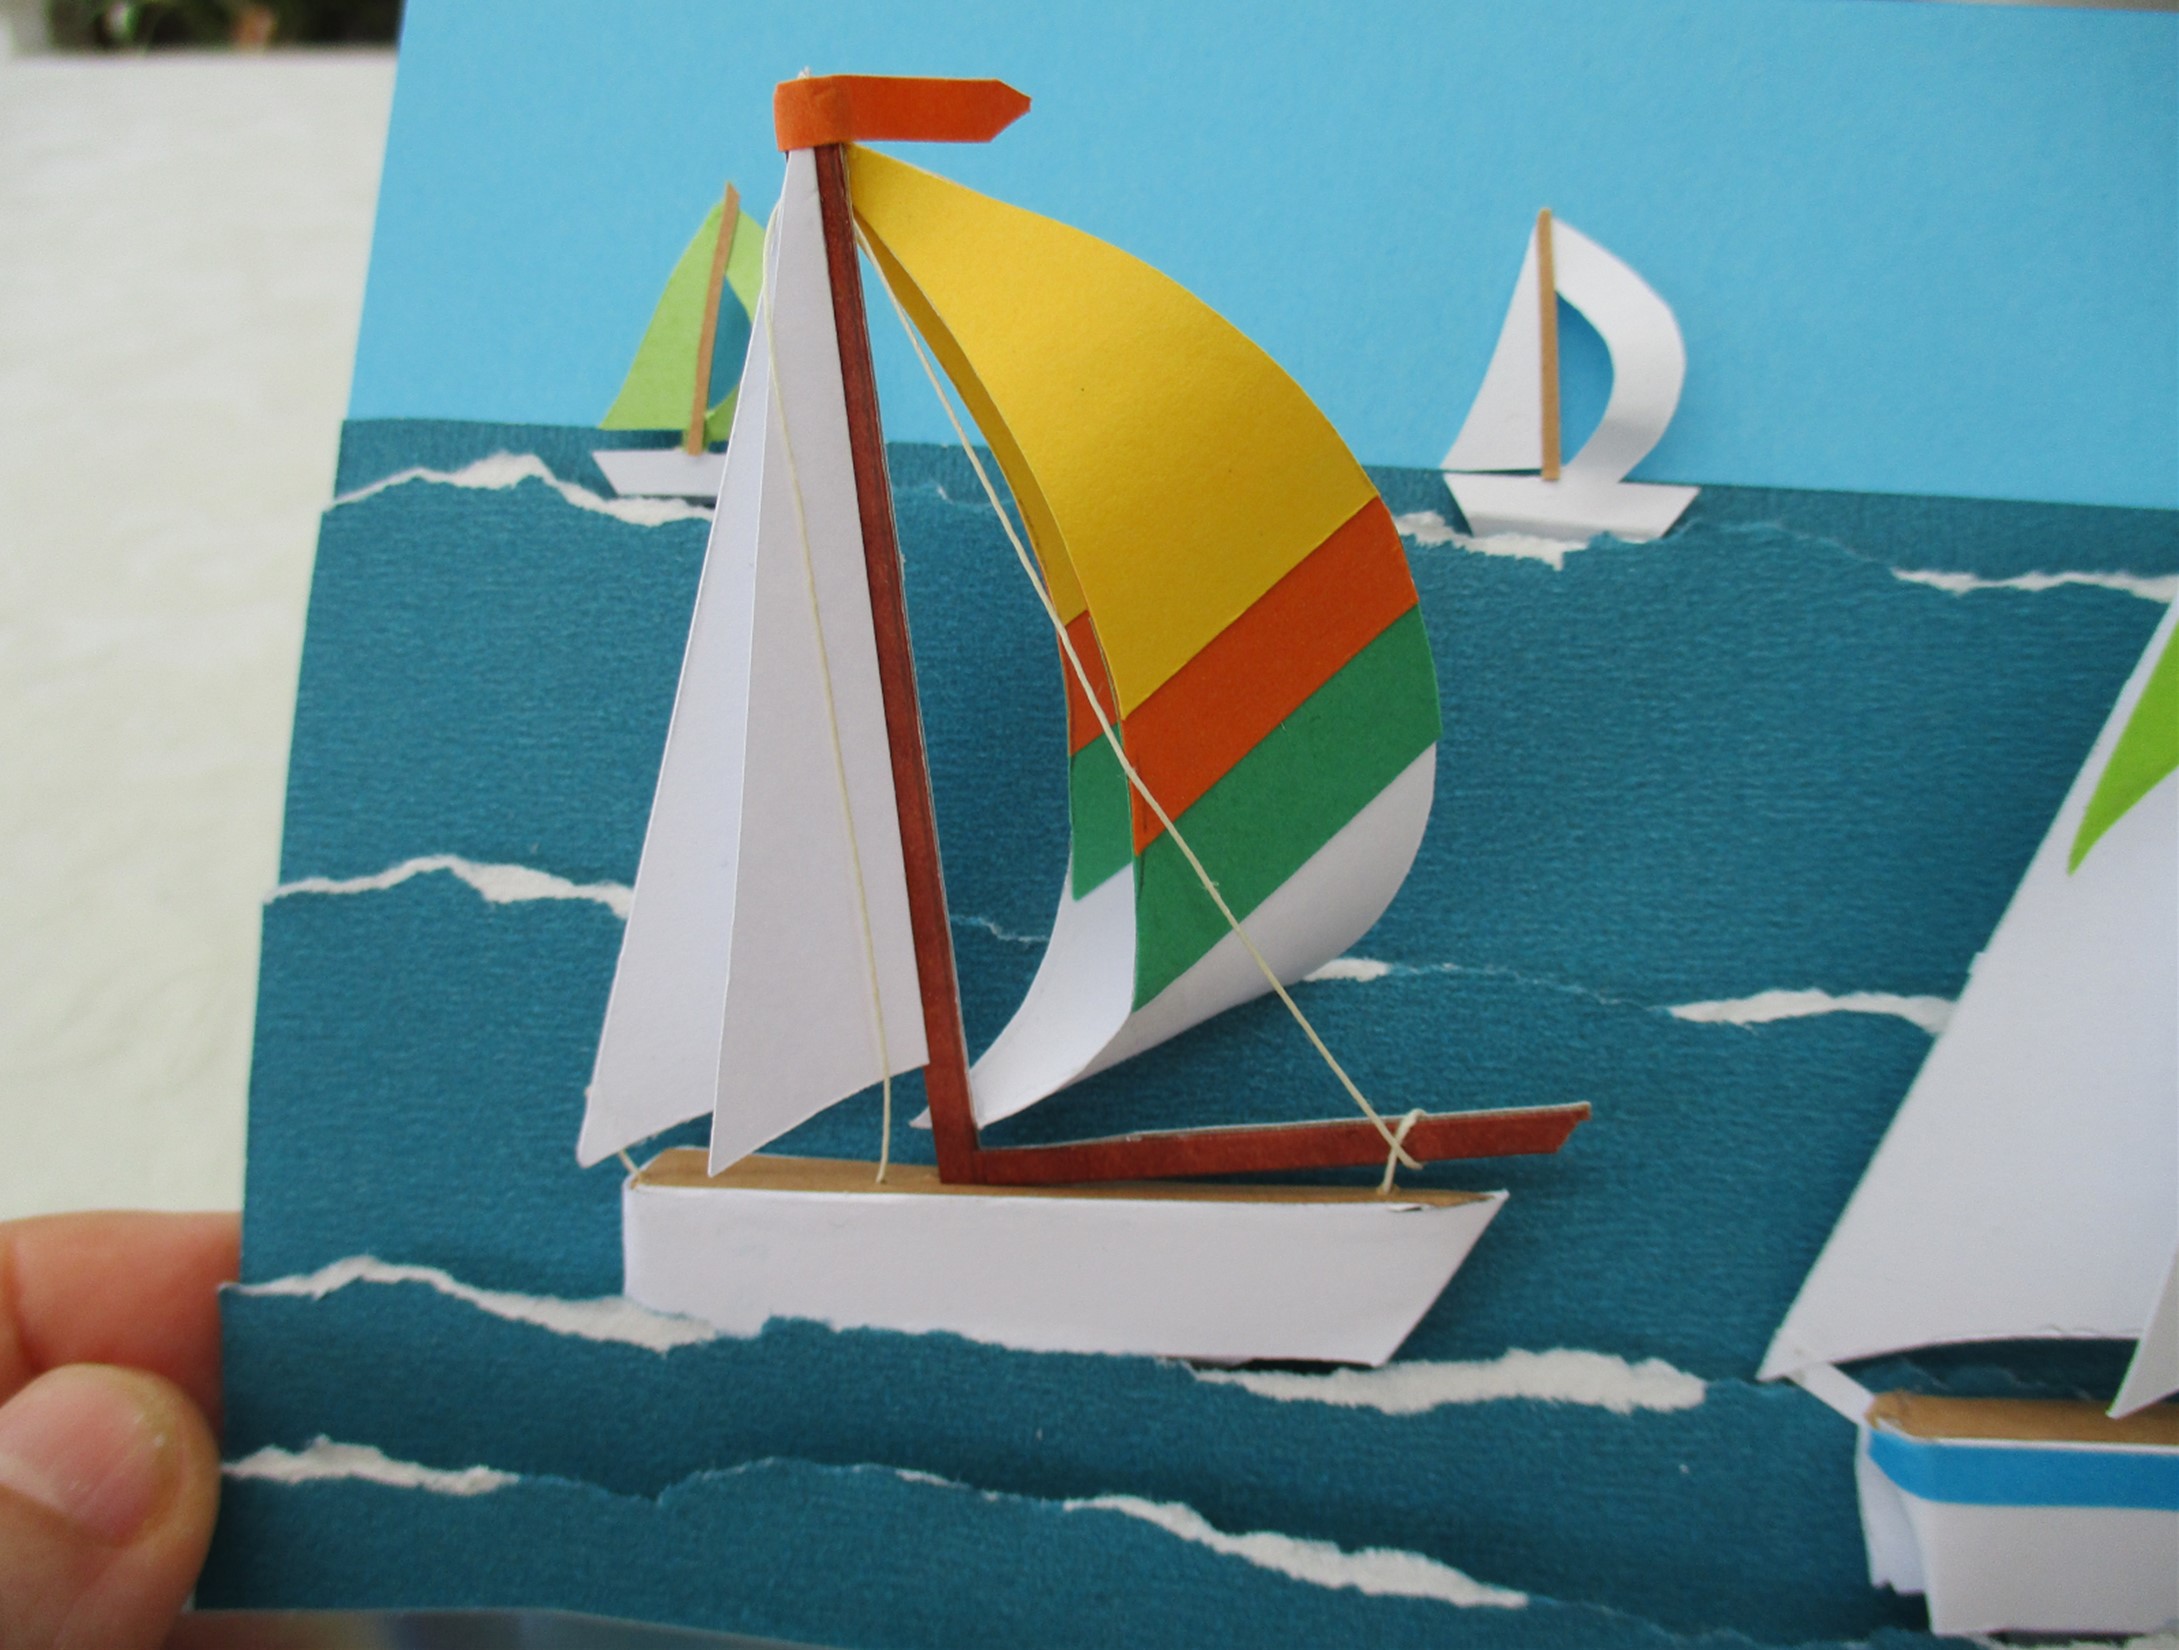
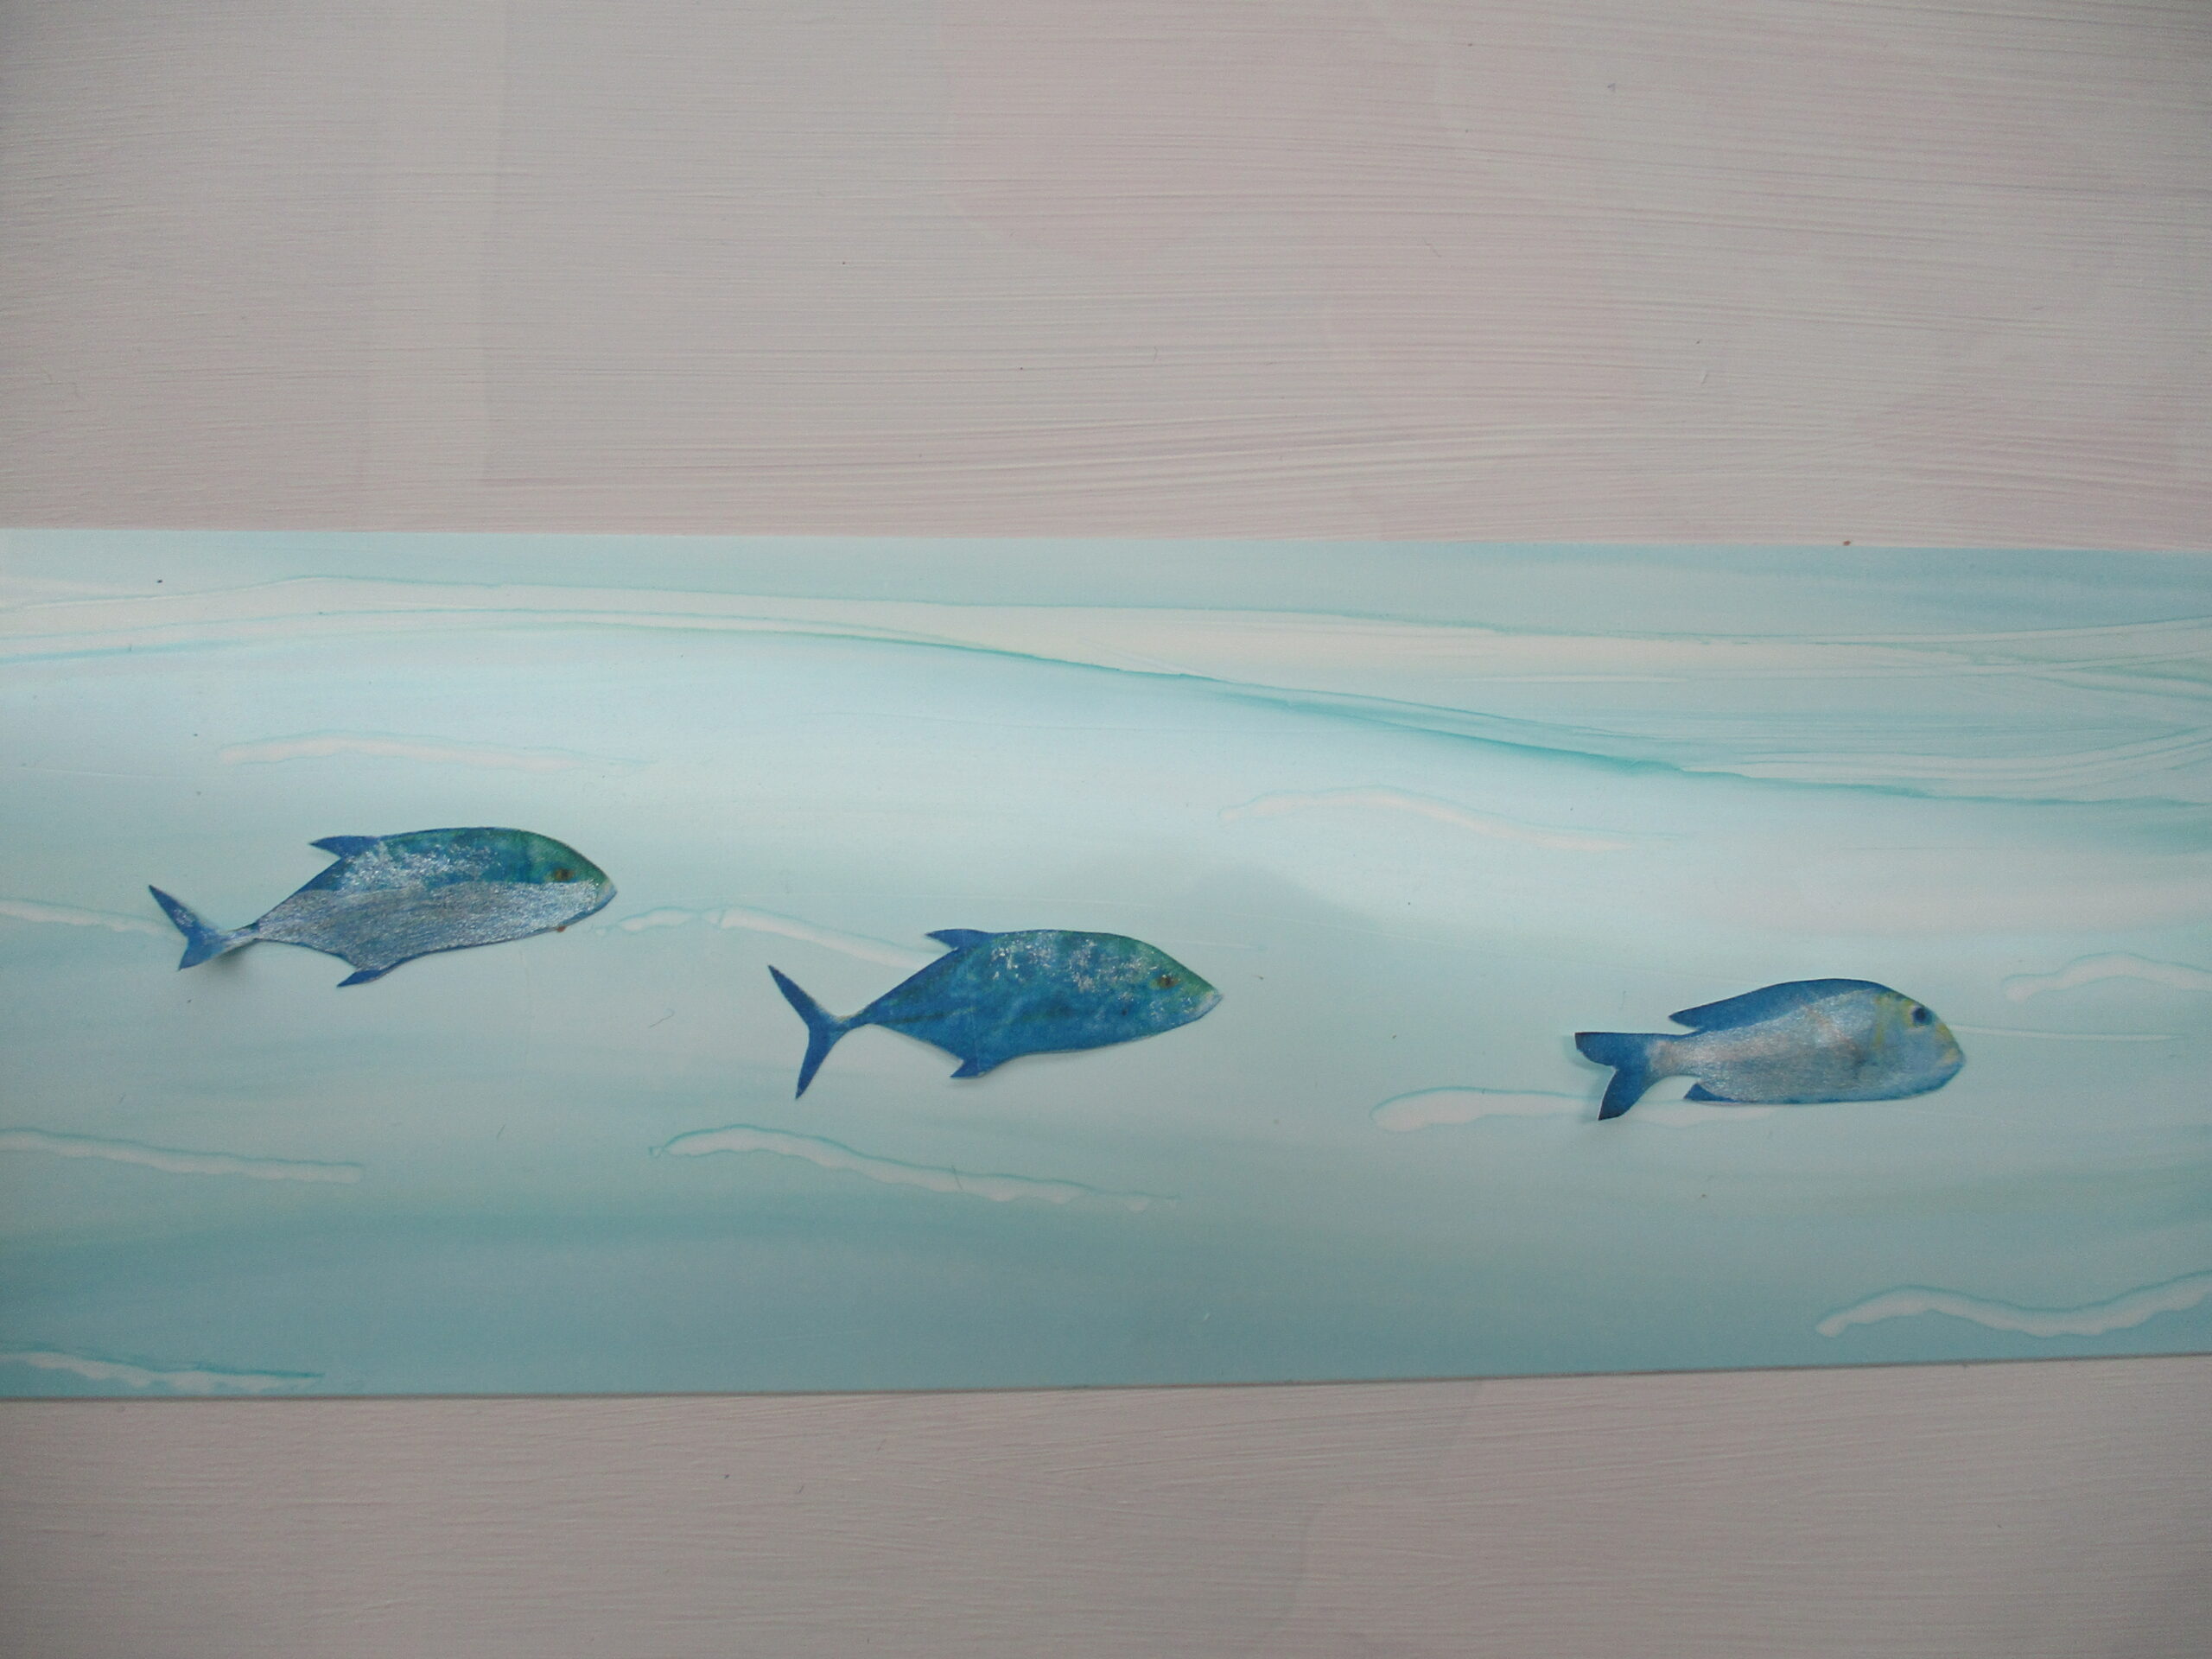
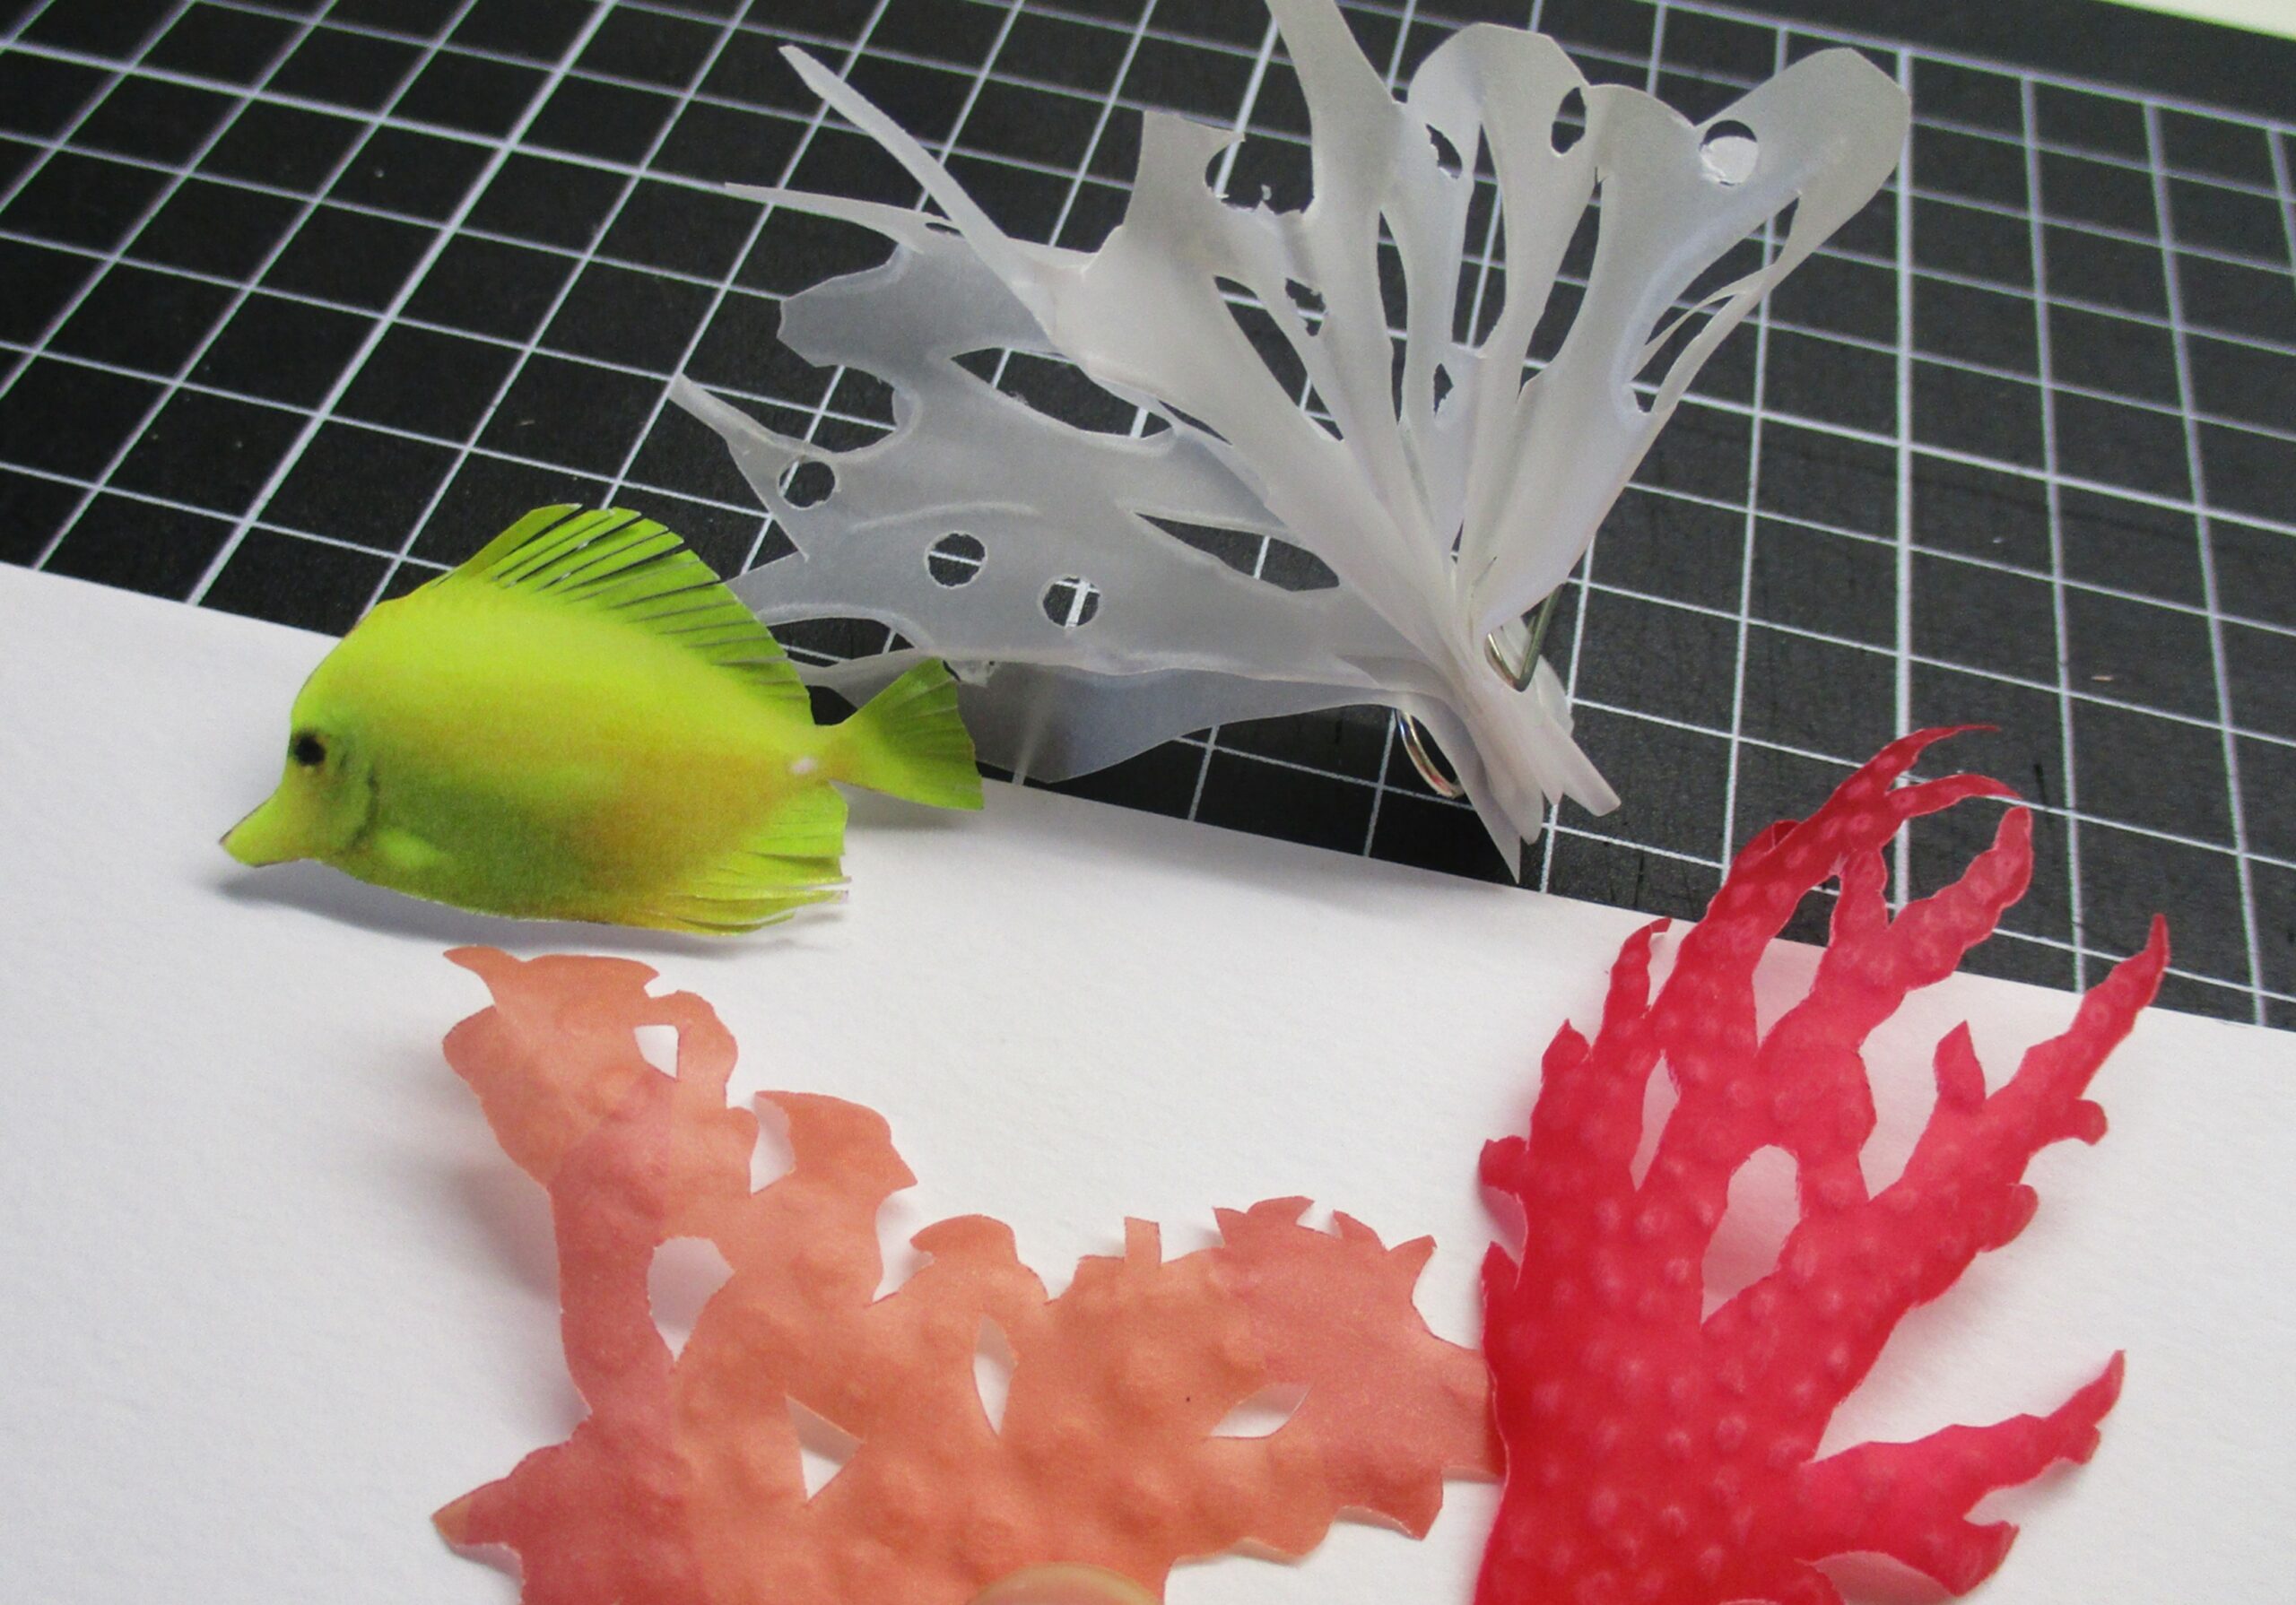
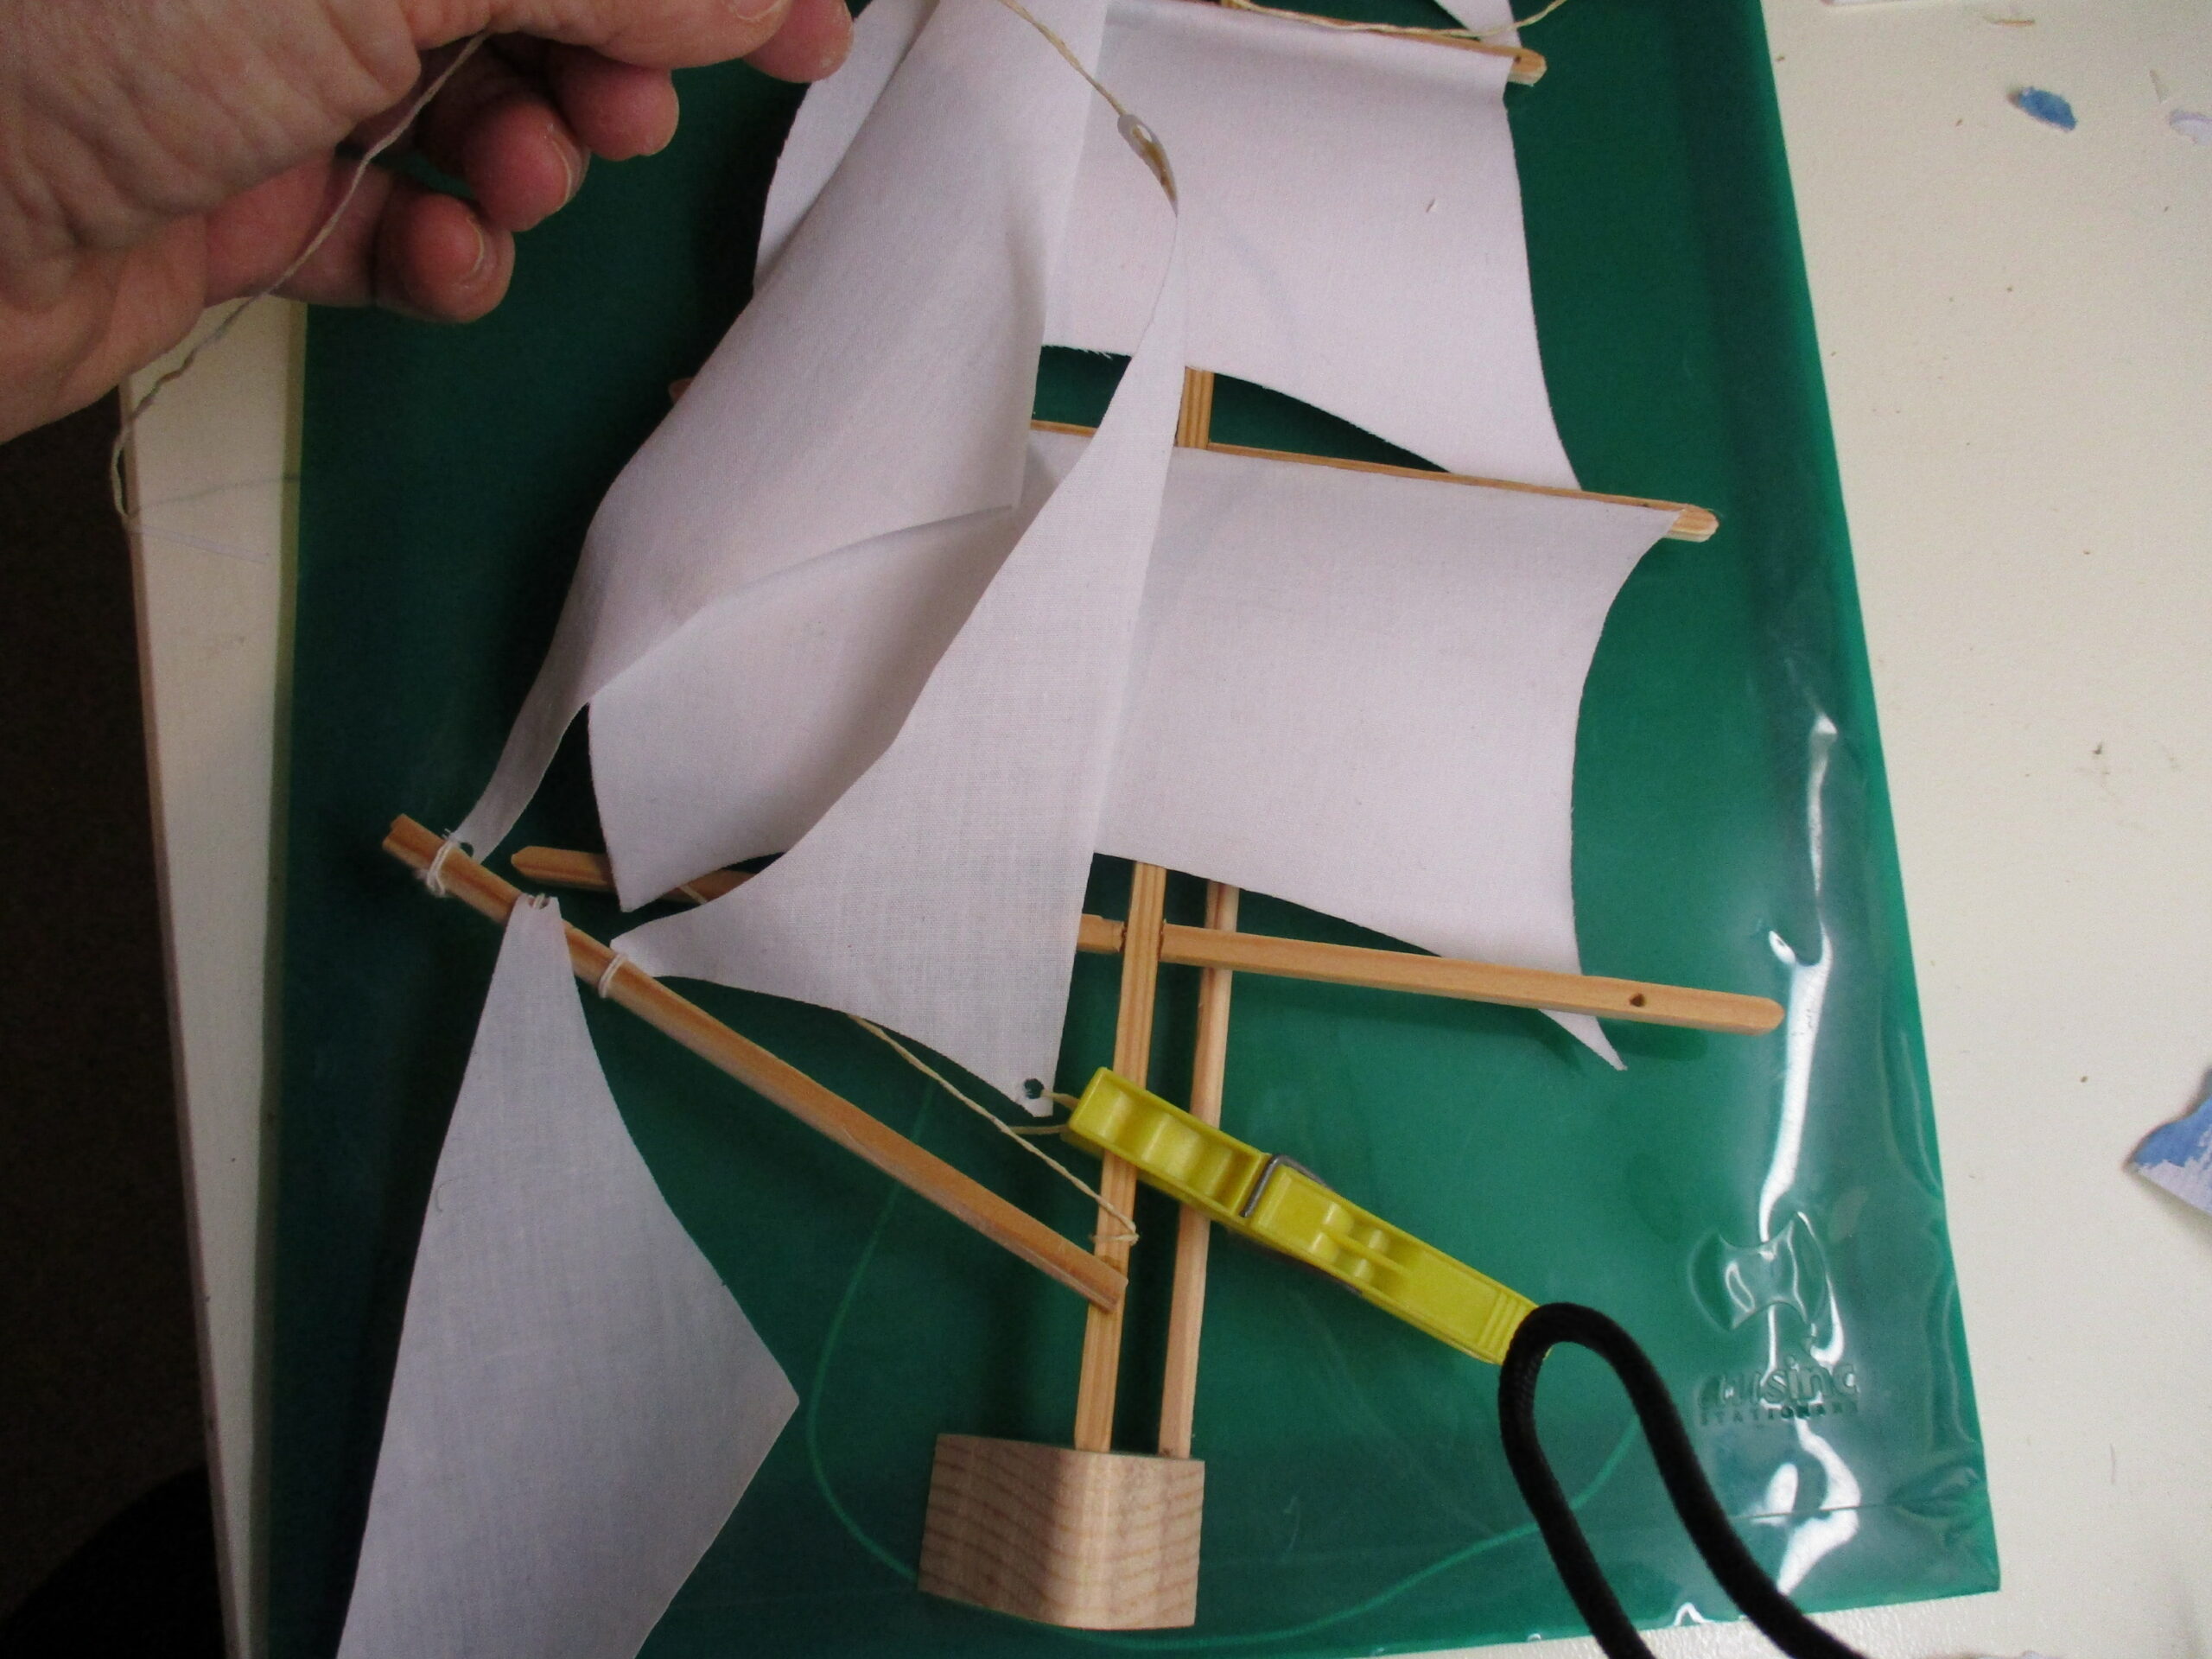
The body of the ship and the seagulls are moulded with paper clay, and the waves formed from torn sheets of paper painted with watercolours. The masts are cut with a scroll saw from scraps of wood and jointed together. The sails are recycled cotton, cut from an old sheet. I tried different experiments to shape the sails as though a strong wind was blowing, before finally using a heavy starch, together with shaped paper supports behind them. The rigging ropes are made from unraveled cotton cord.
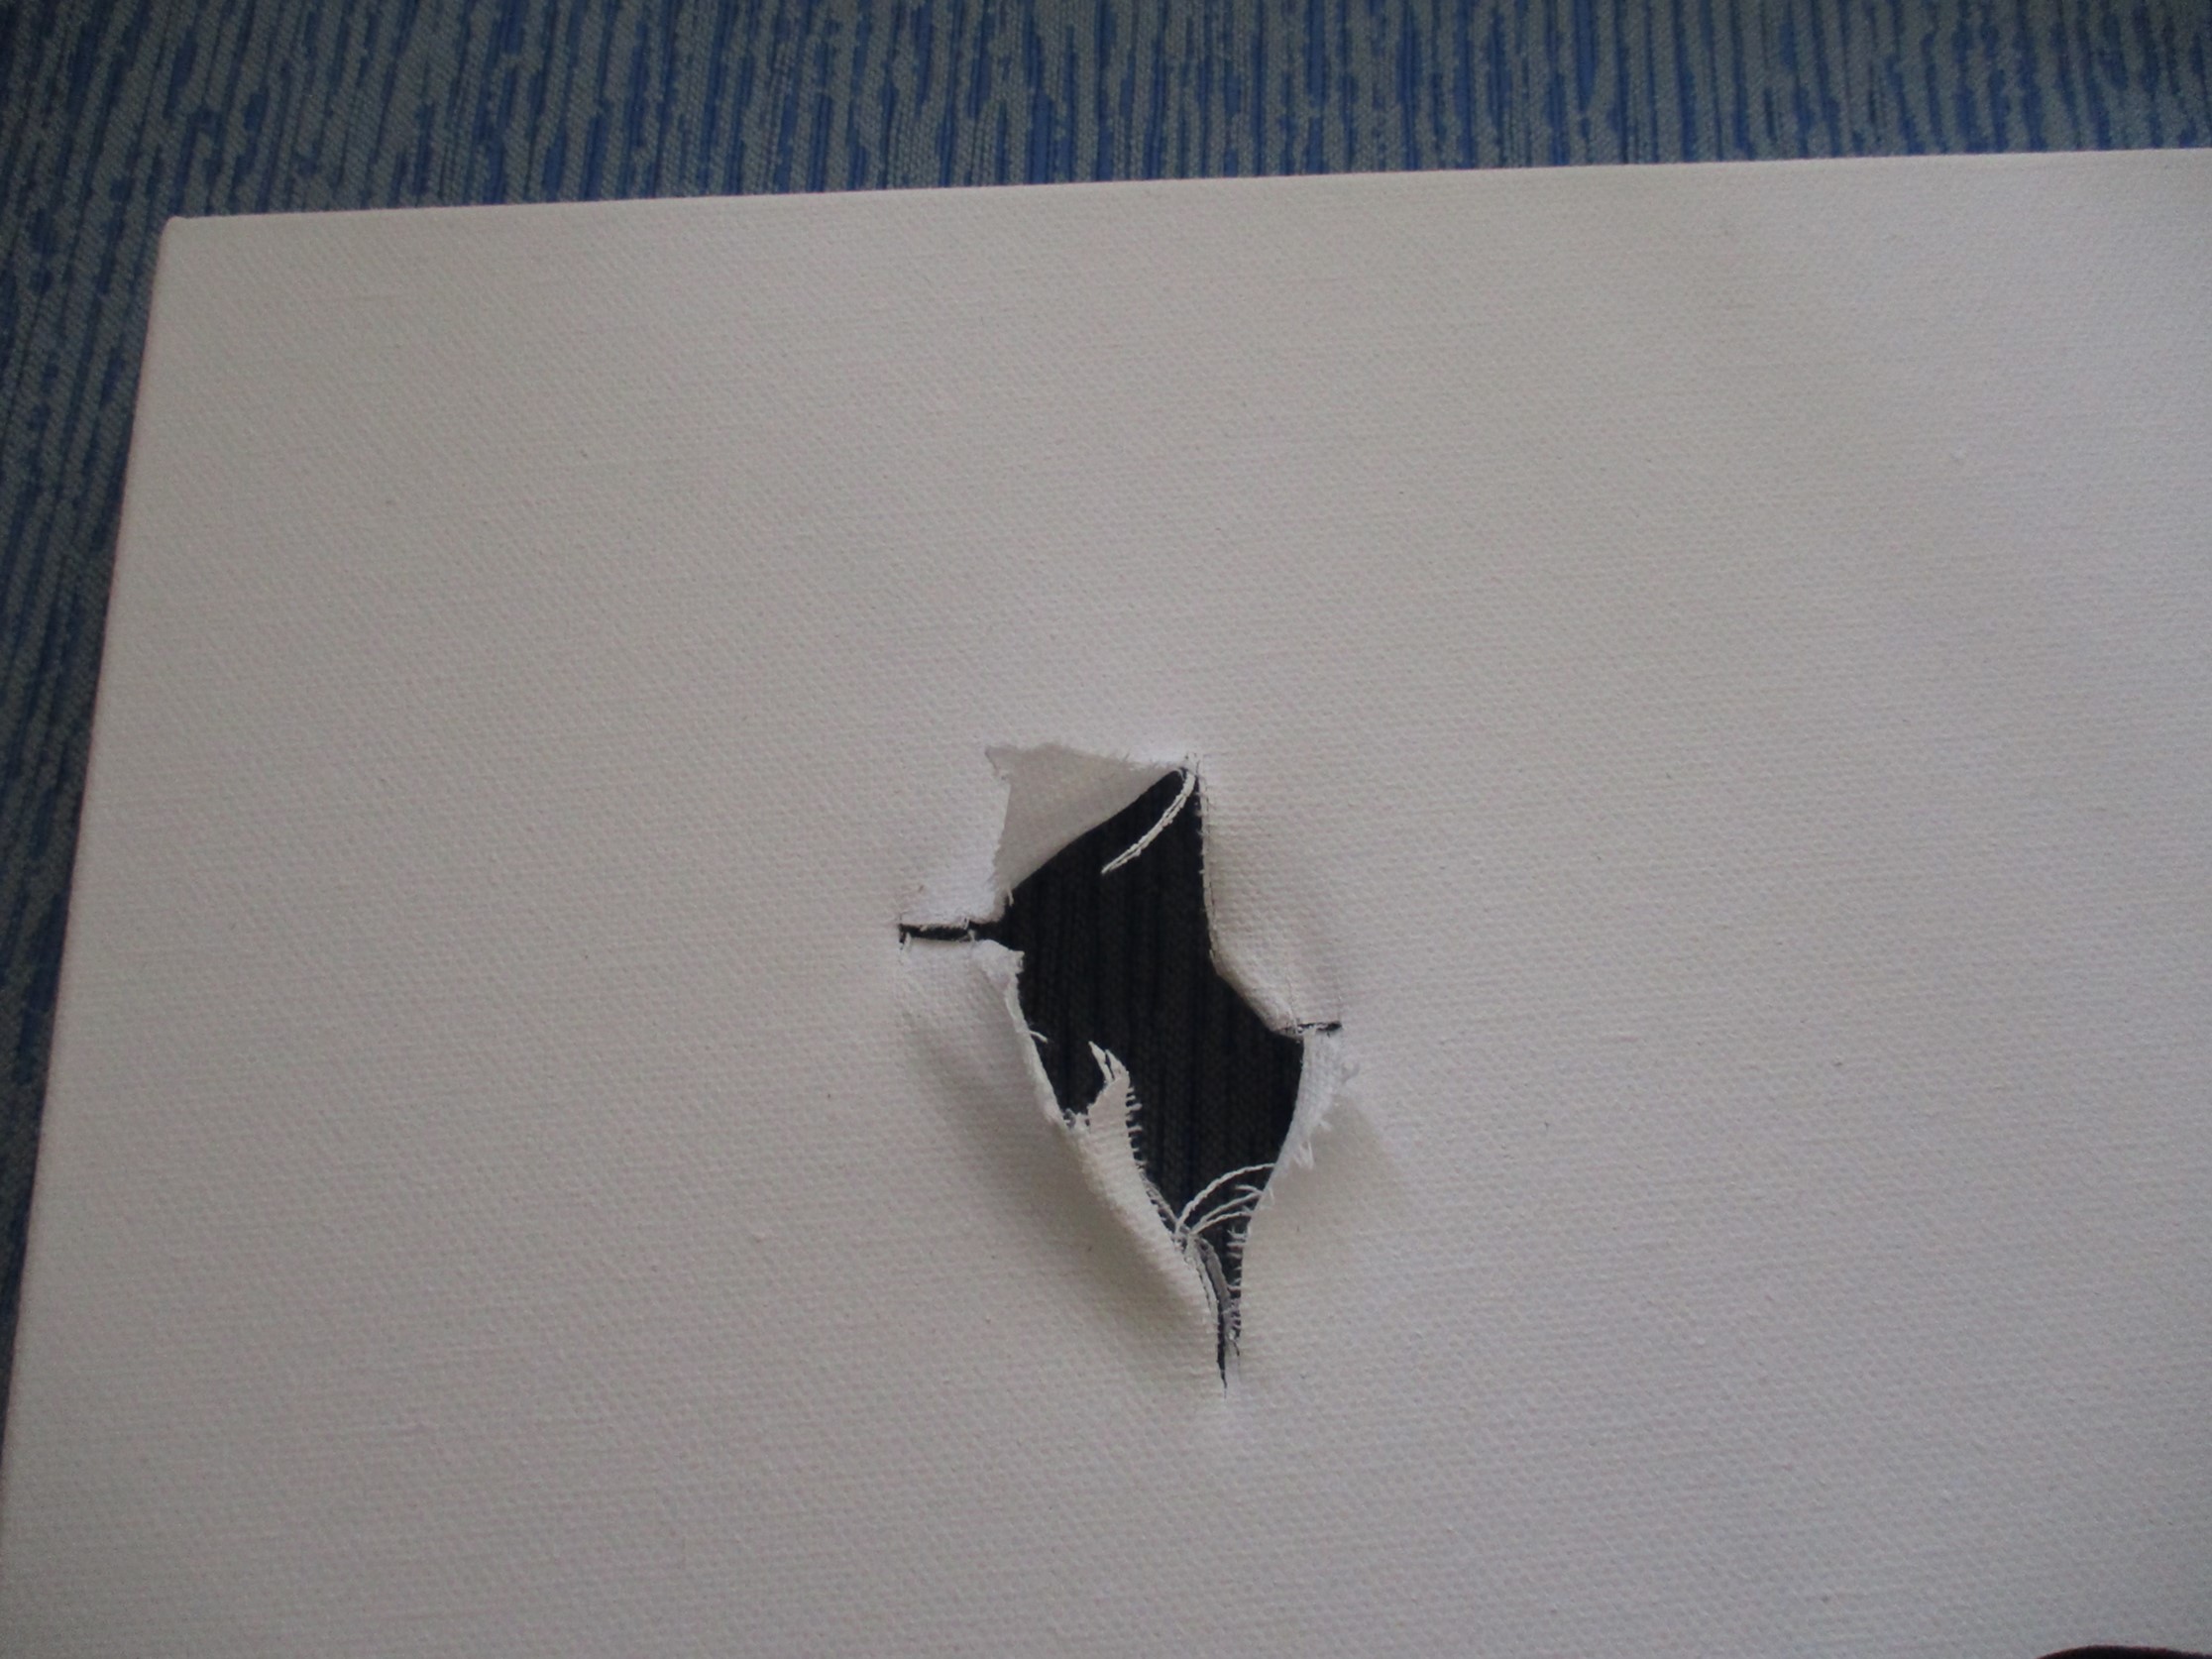
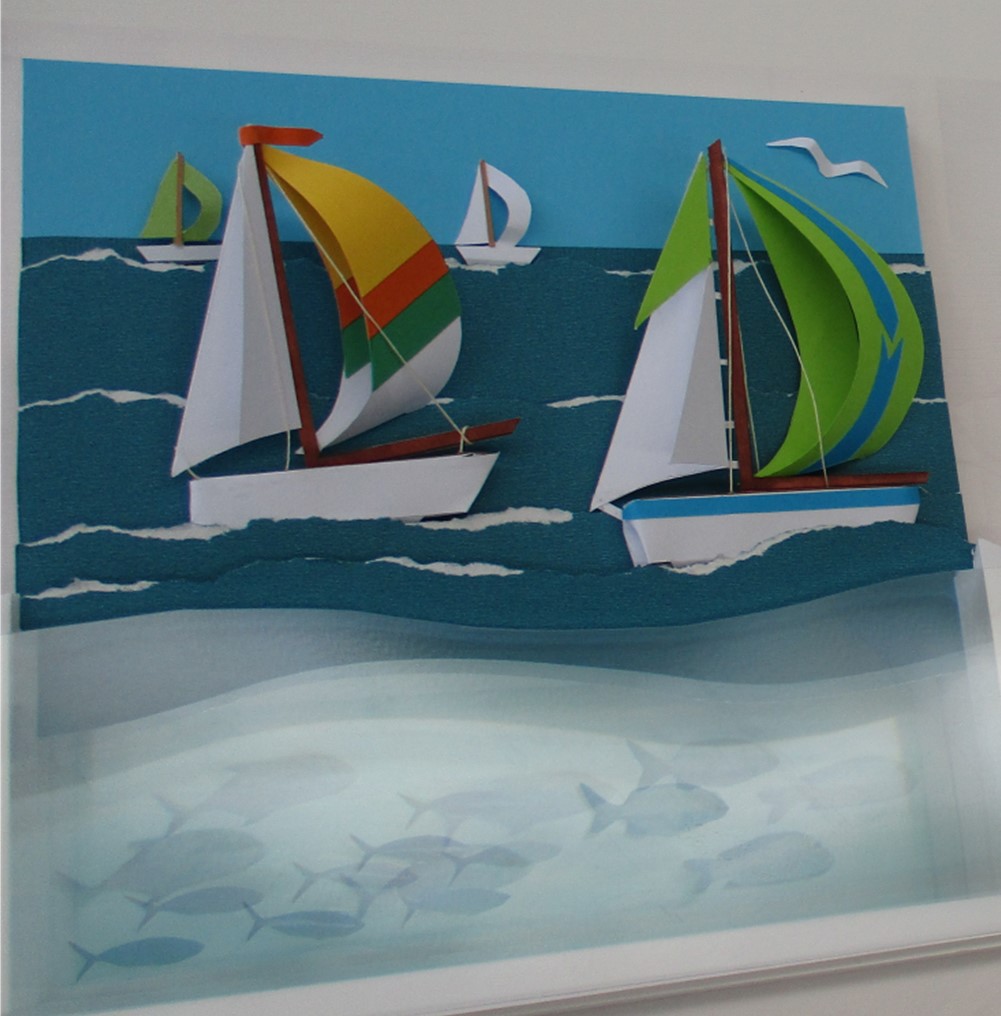
The frame is only 4cm deep, so once again I had to massage and adapt my original concept to fit, without losing its 3D perspective. (The original design was a 3-masted ship!)
While I can always identify aspects that could be better, overall I’m quite happy with the final project.
[Click near the top of the pictures to enlarge]
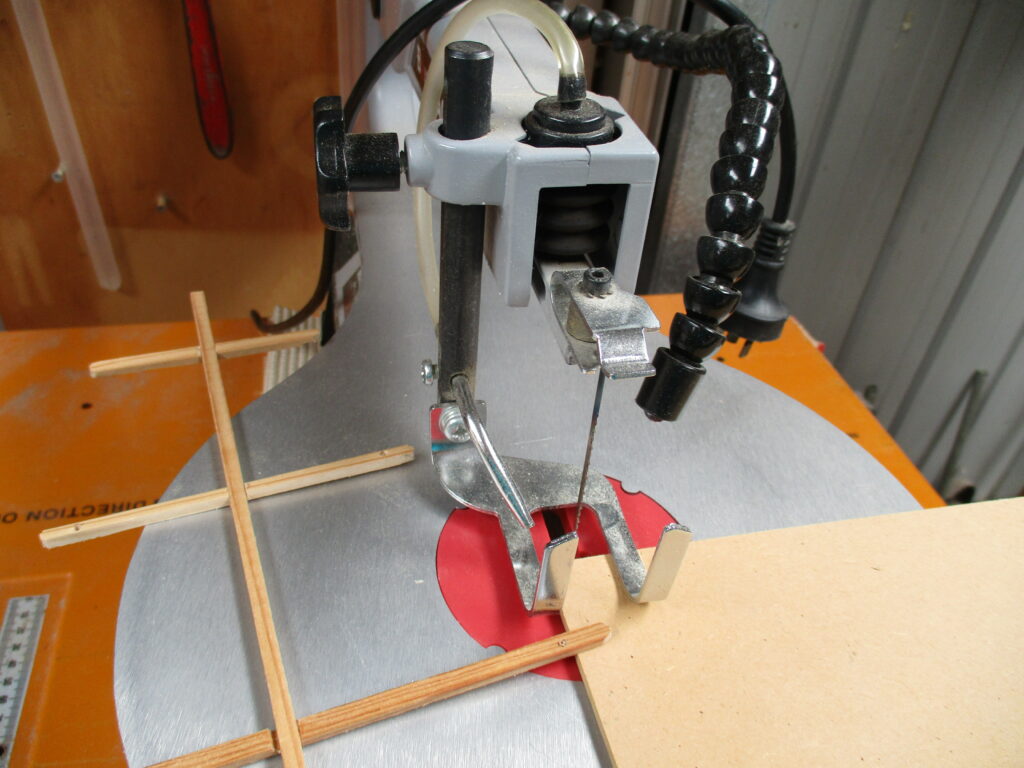
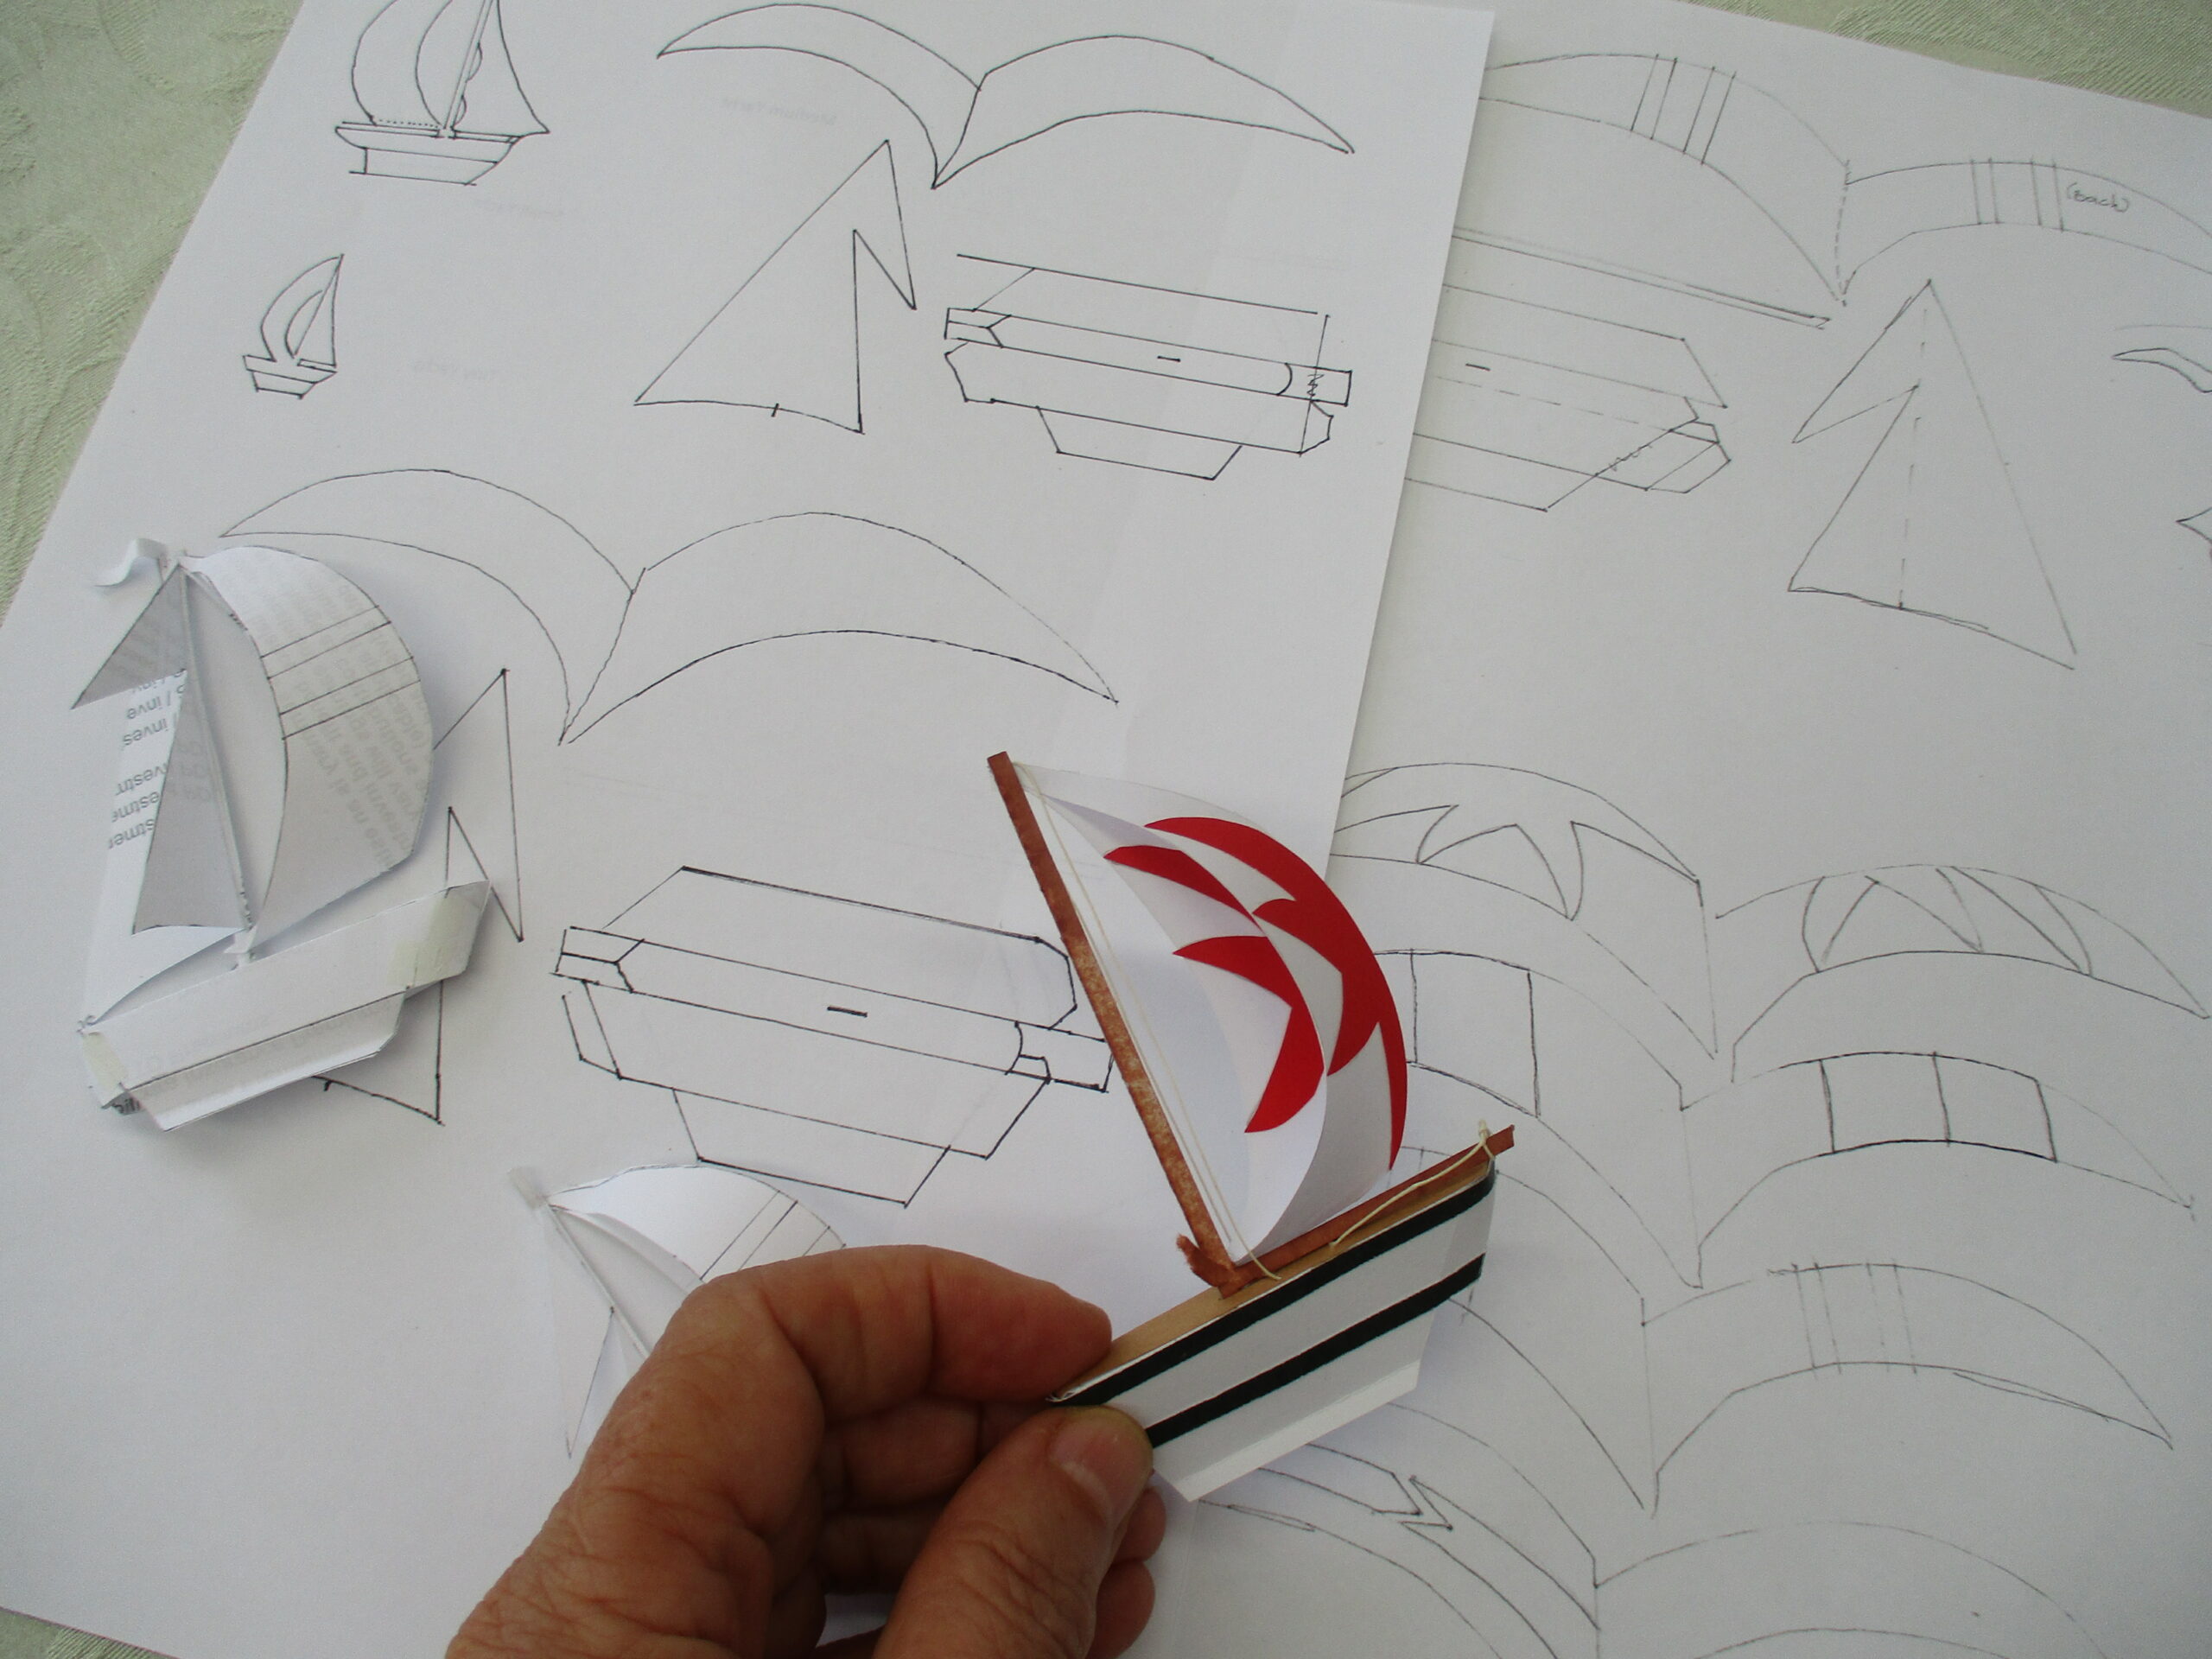
Making the Masts 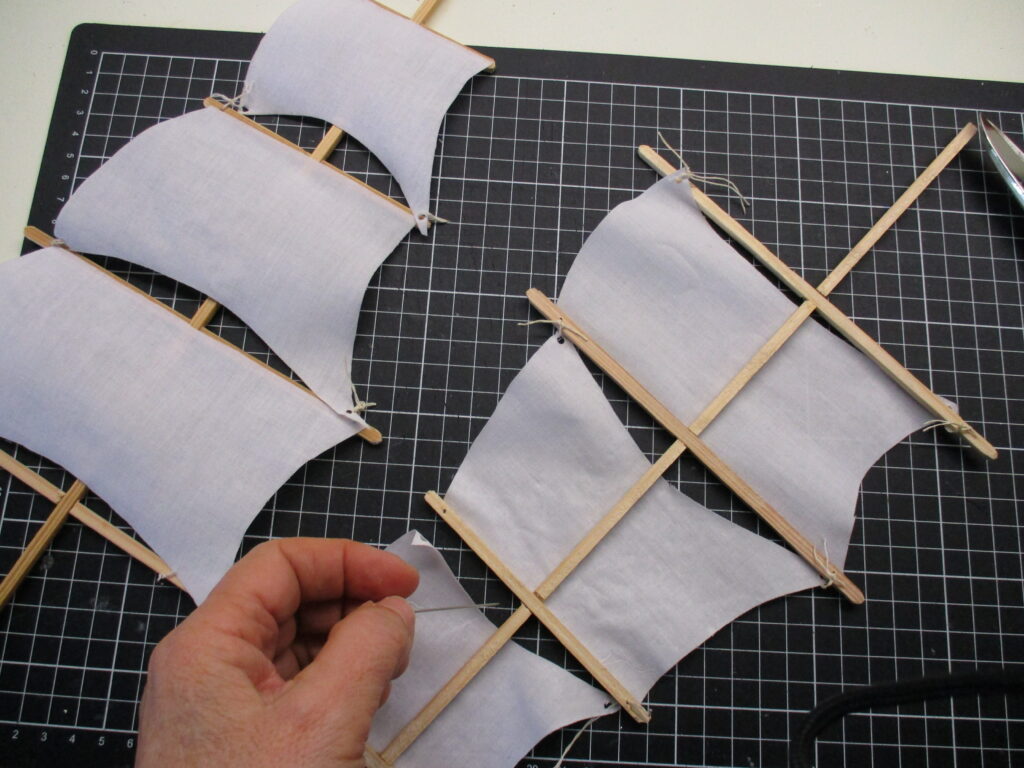
Attaching Sails 
Construction & Rigging


Making Waves! 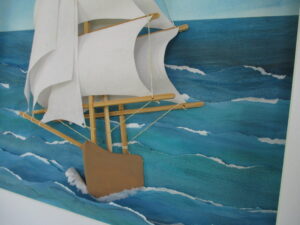
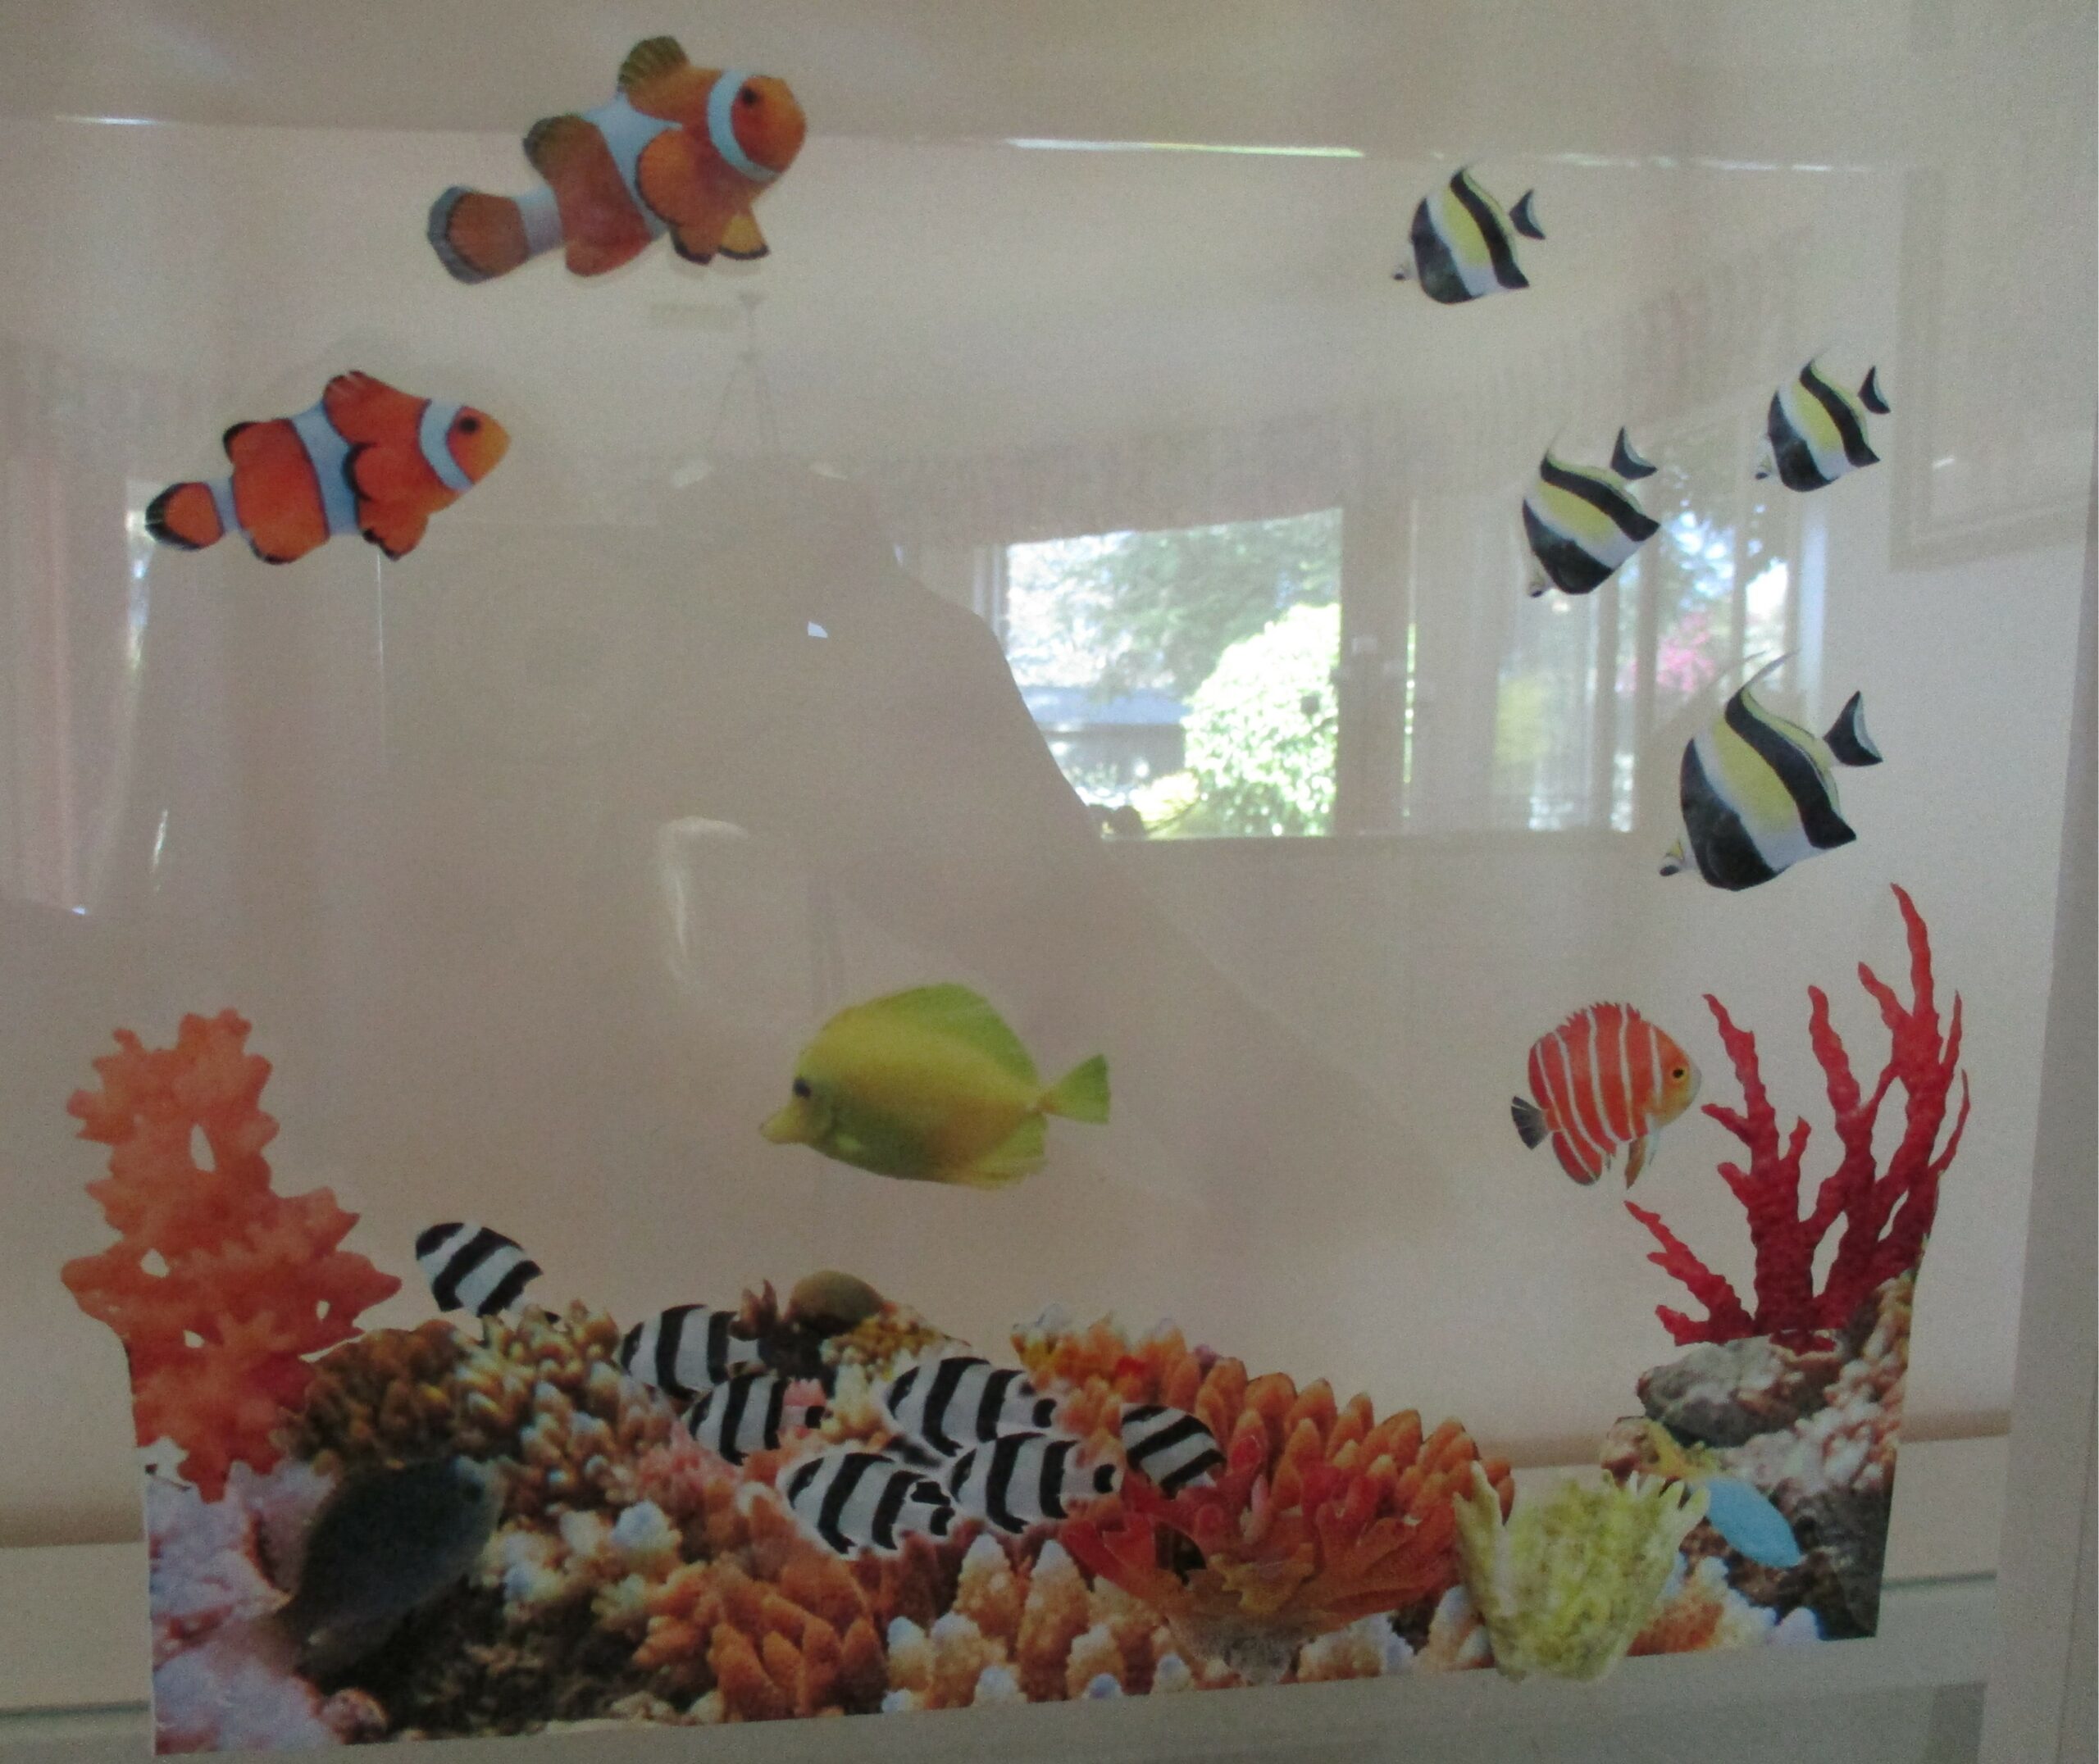
Assemblage 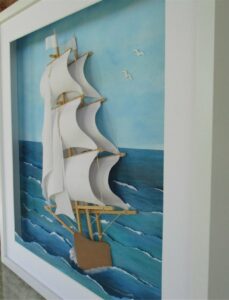
Side view of layers