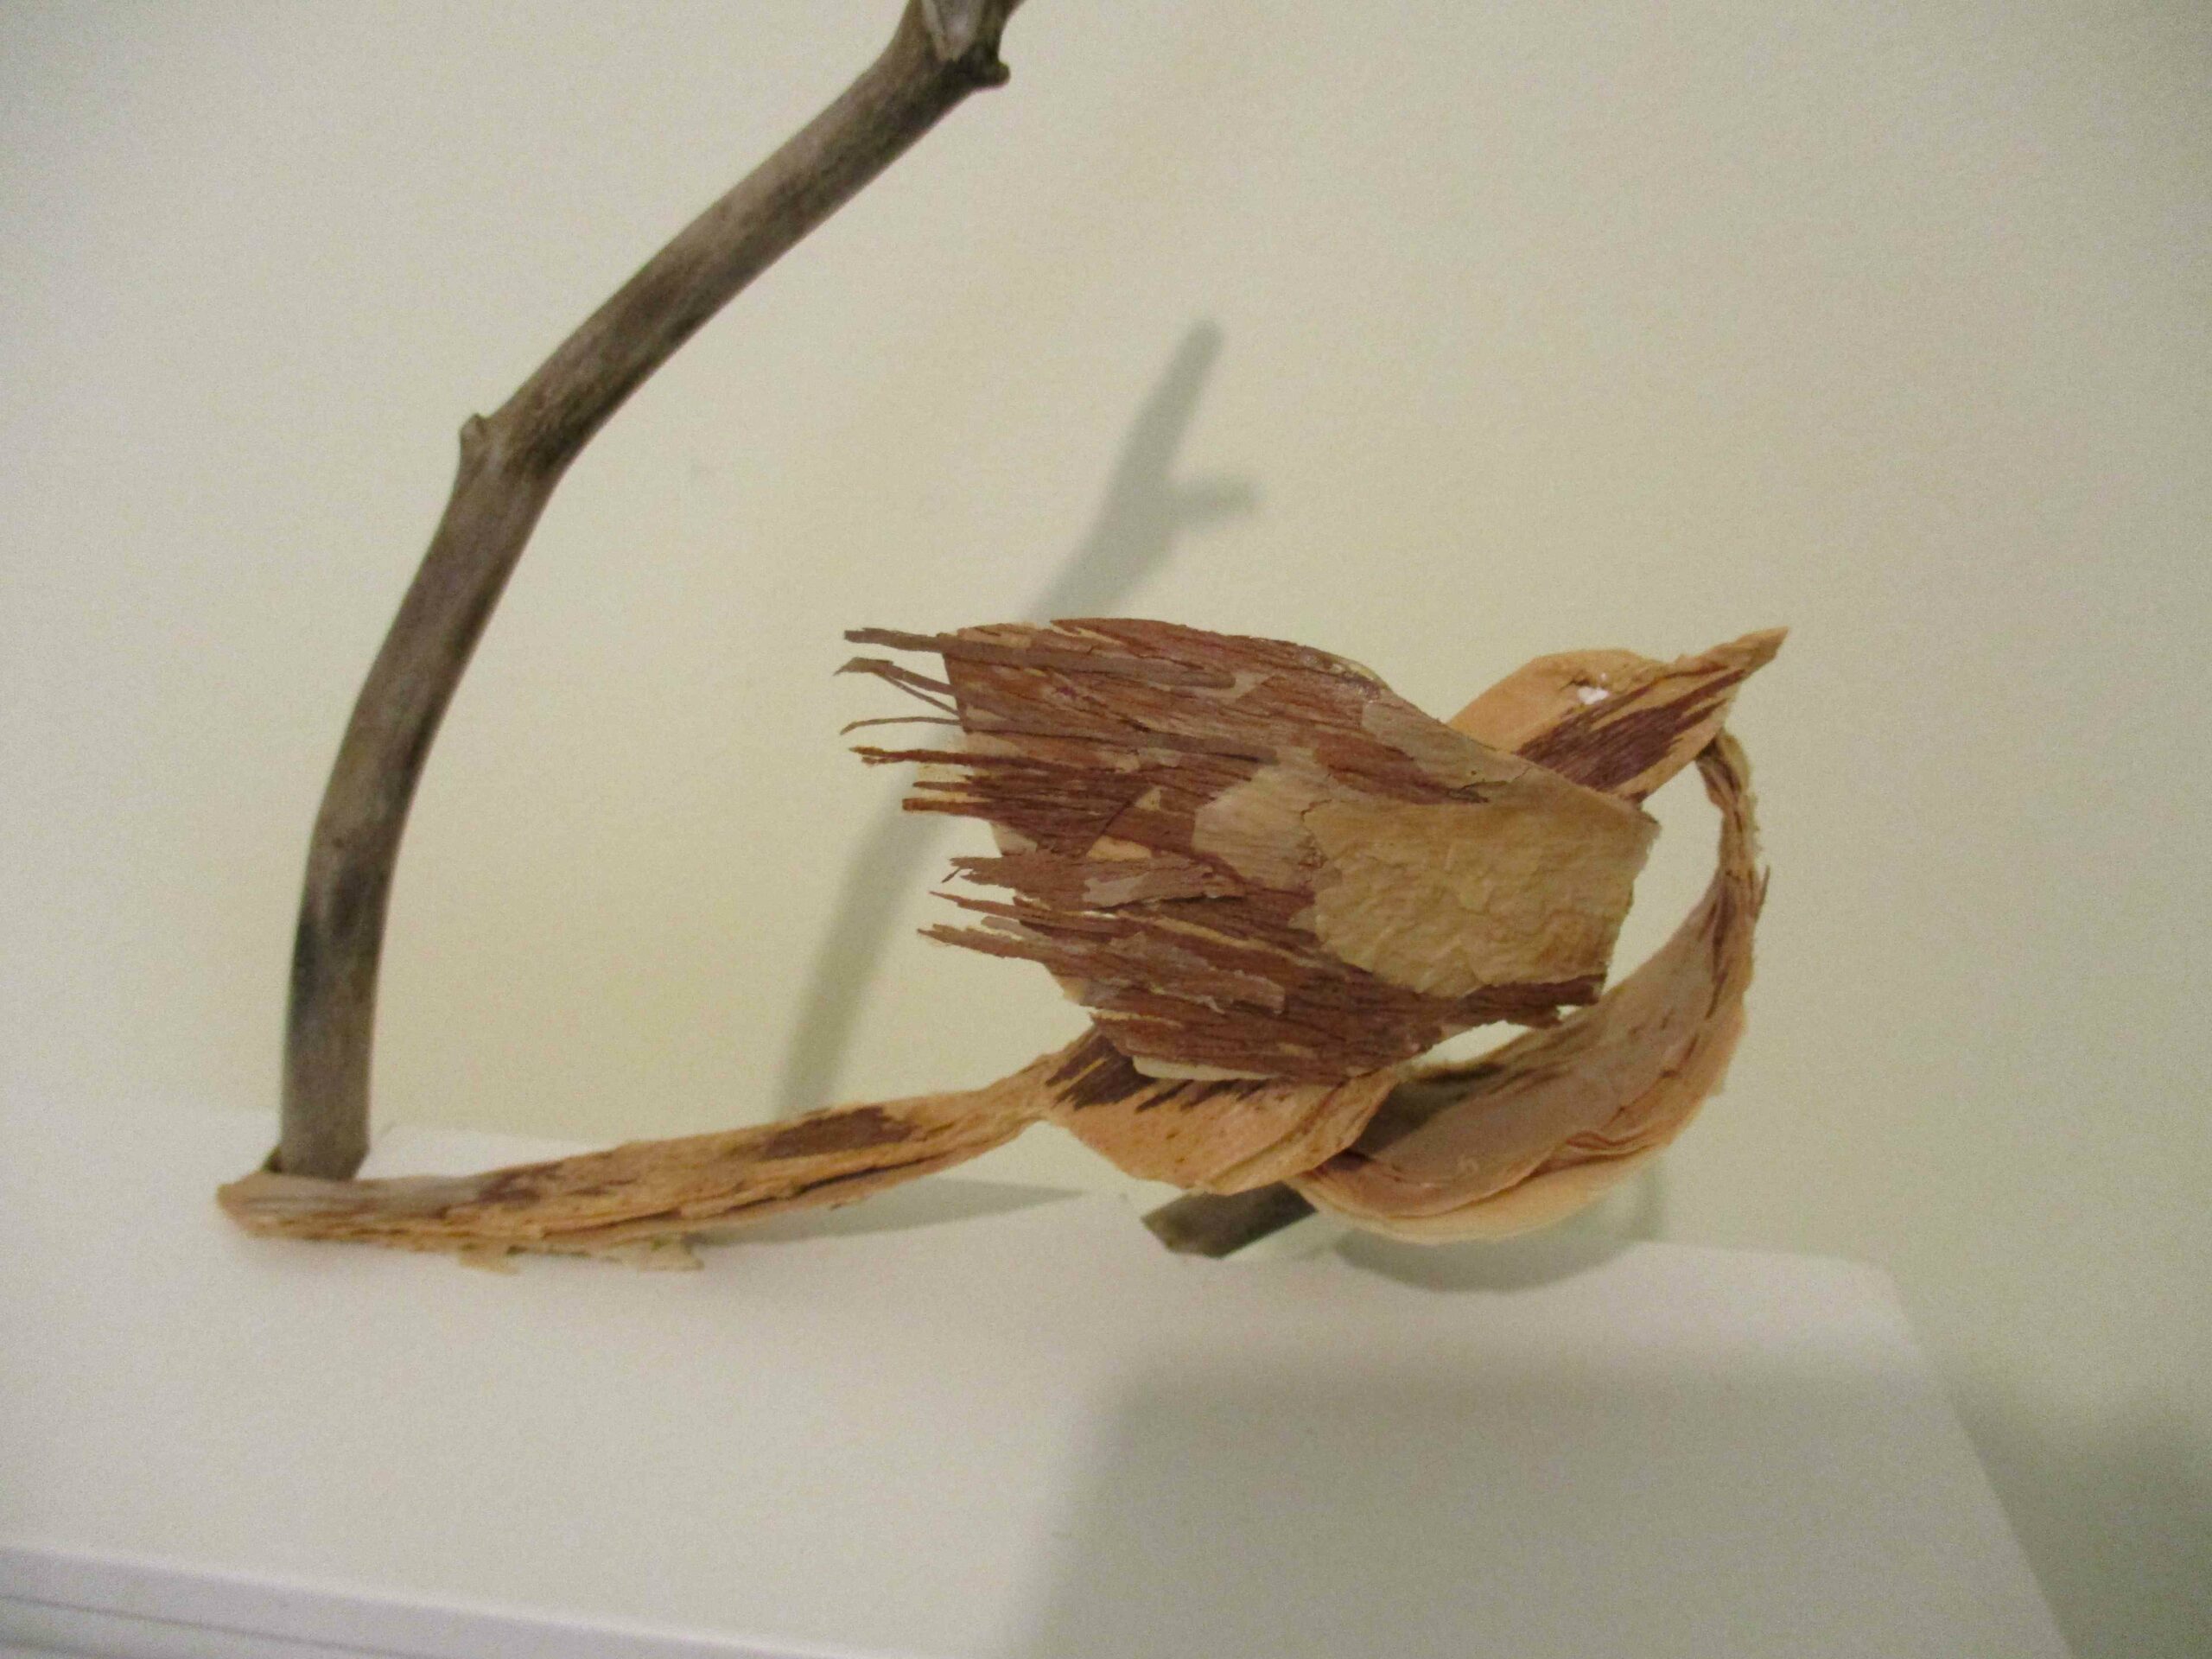
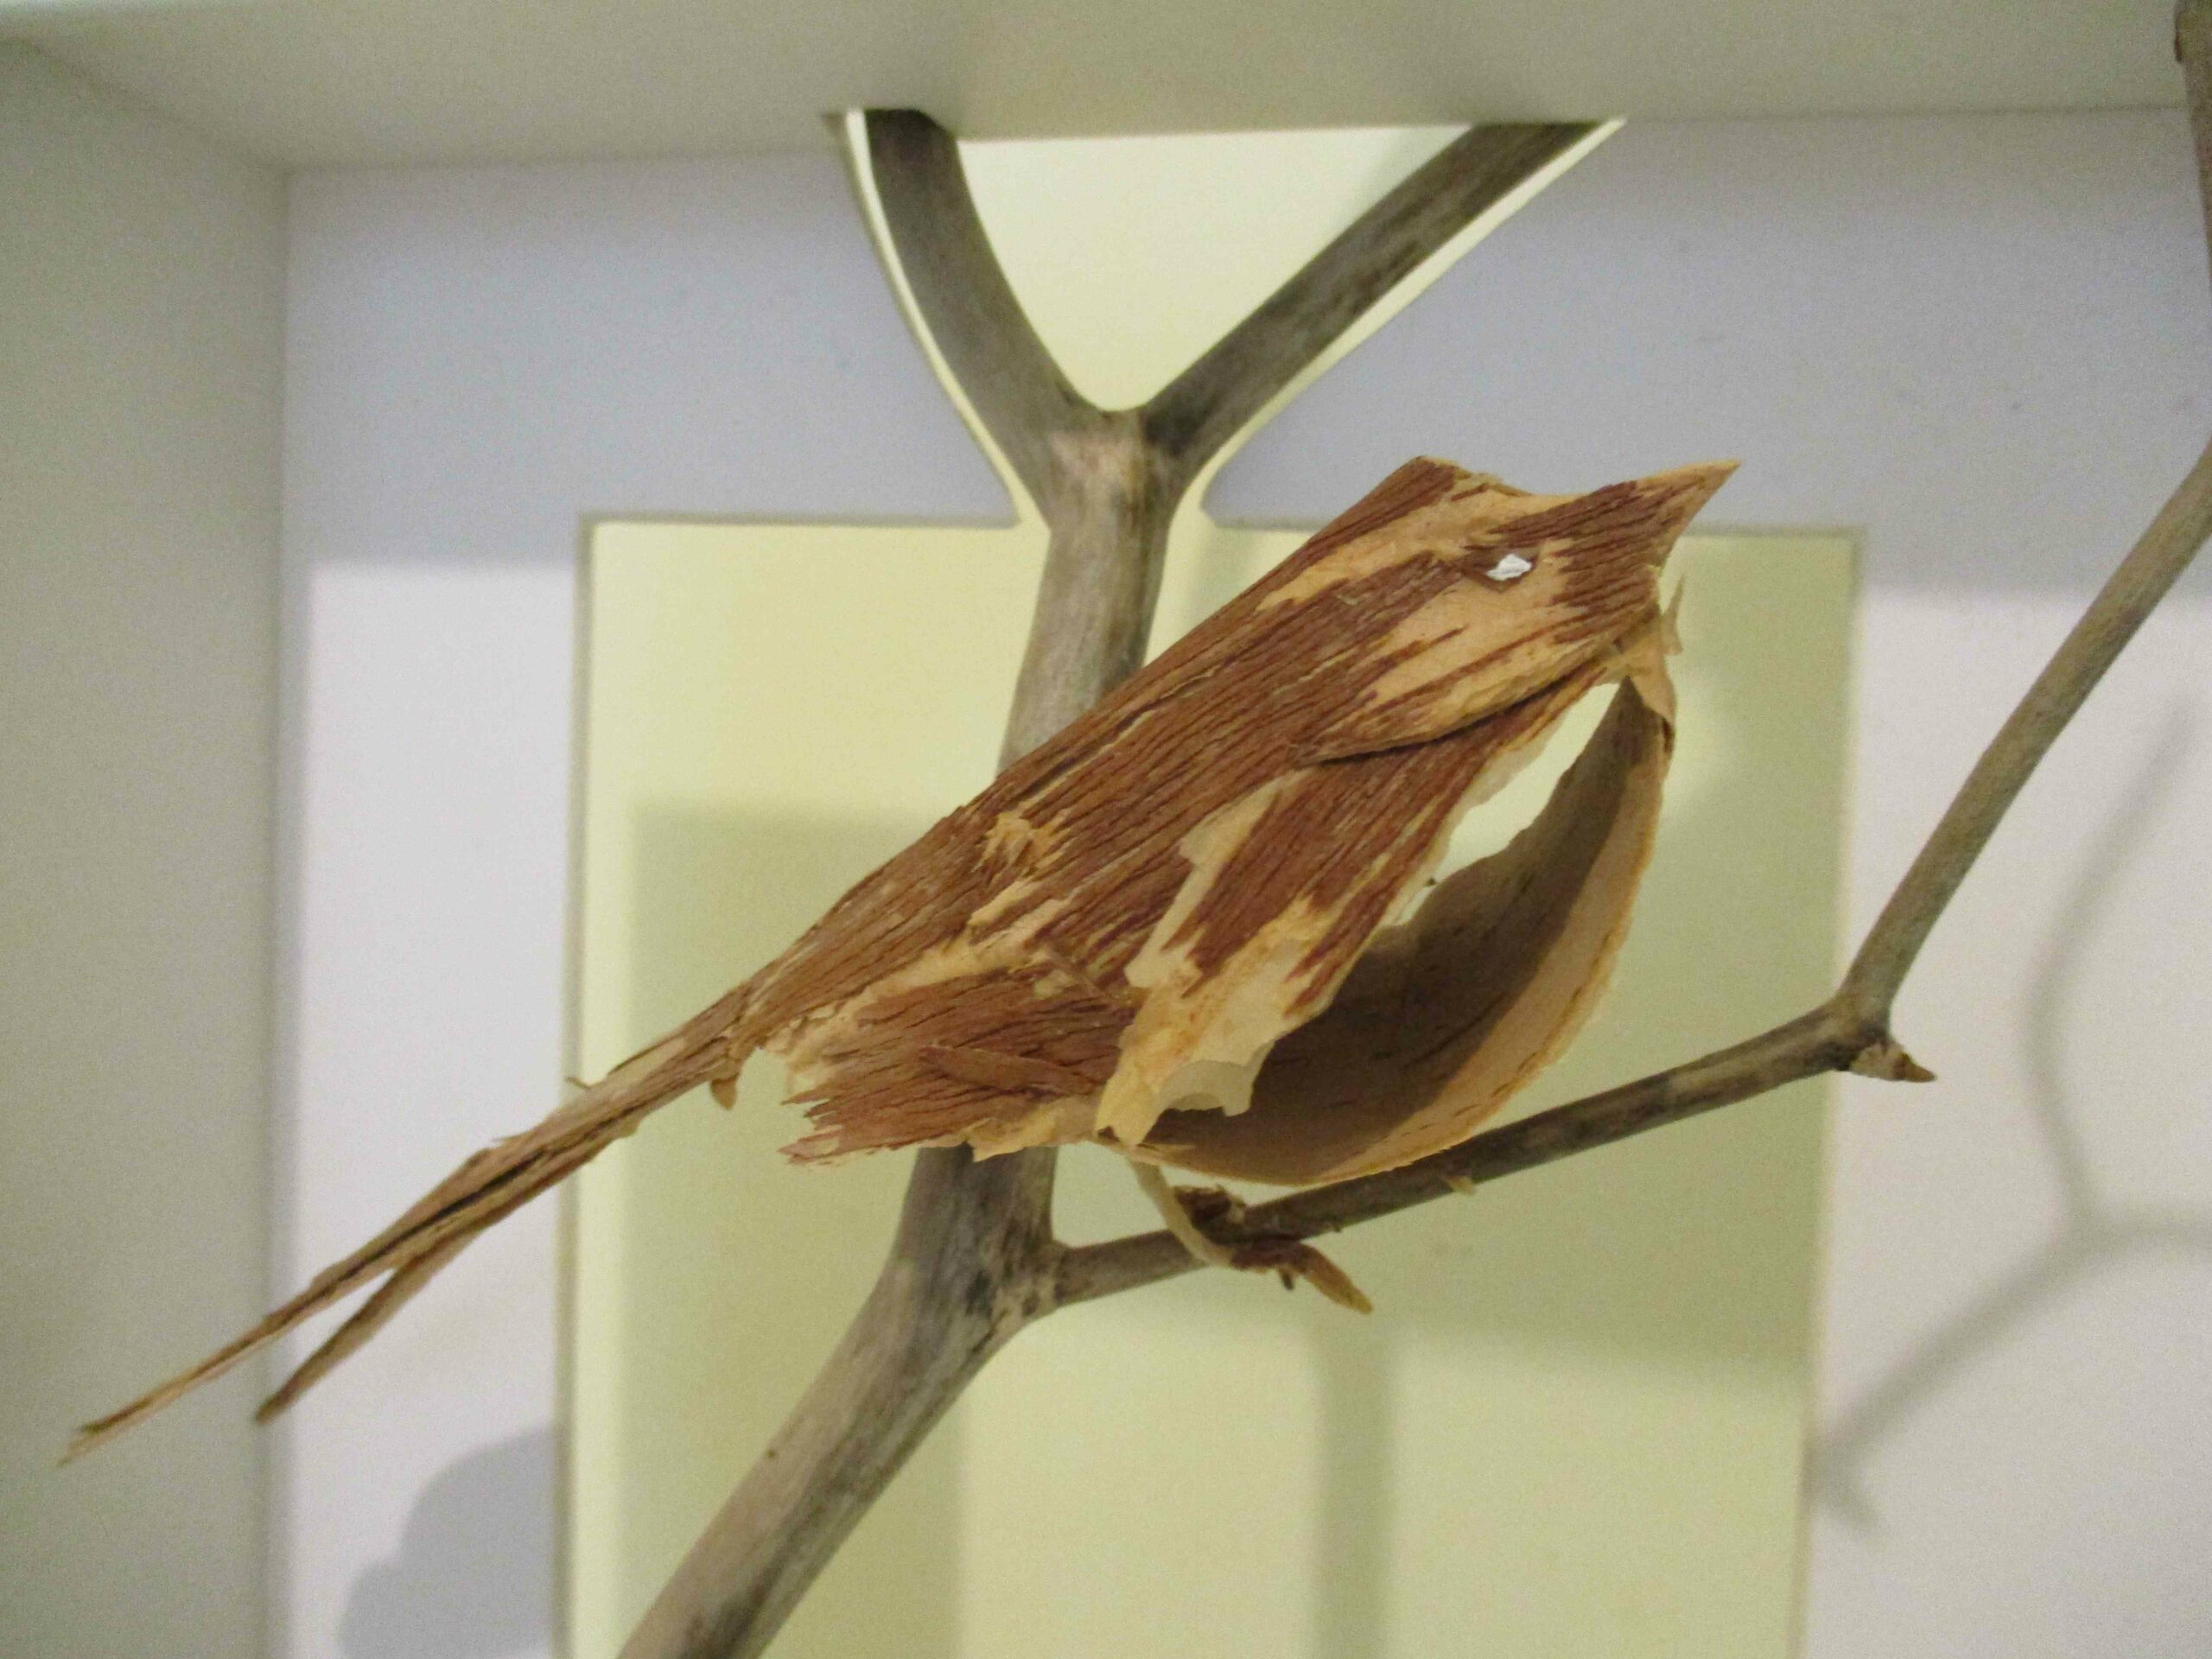
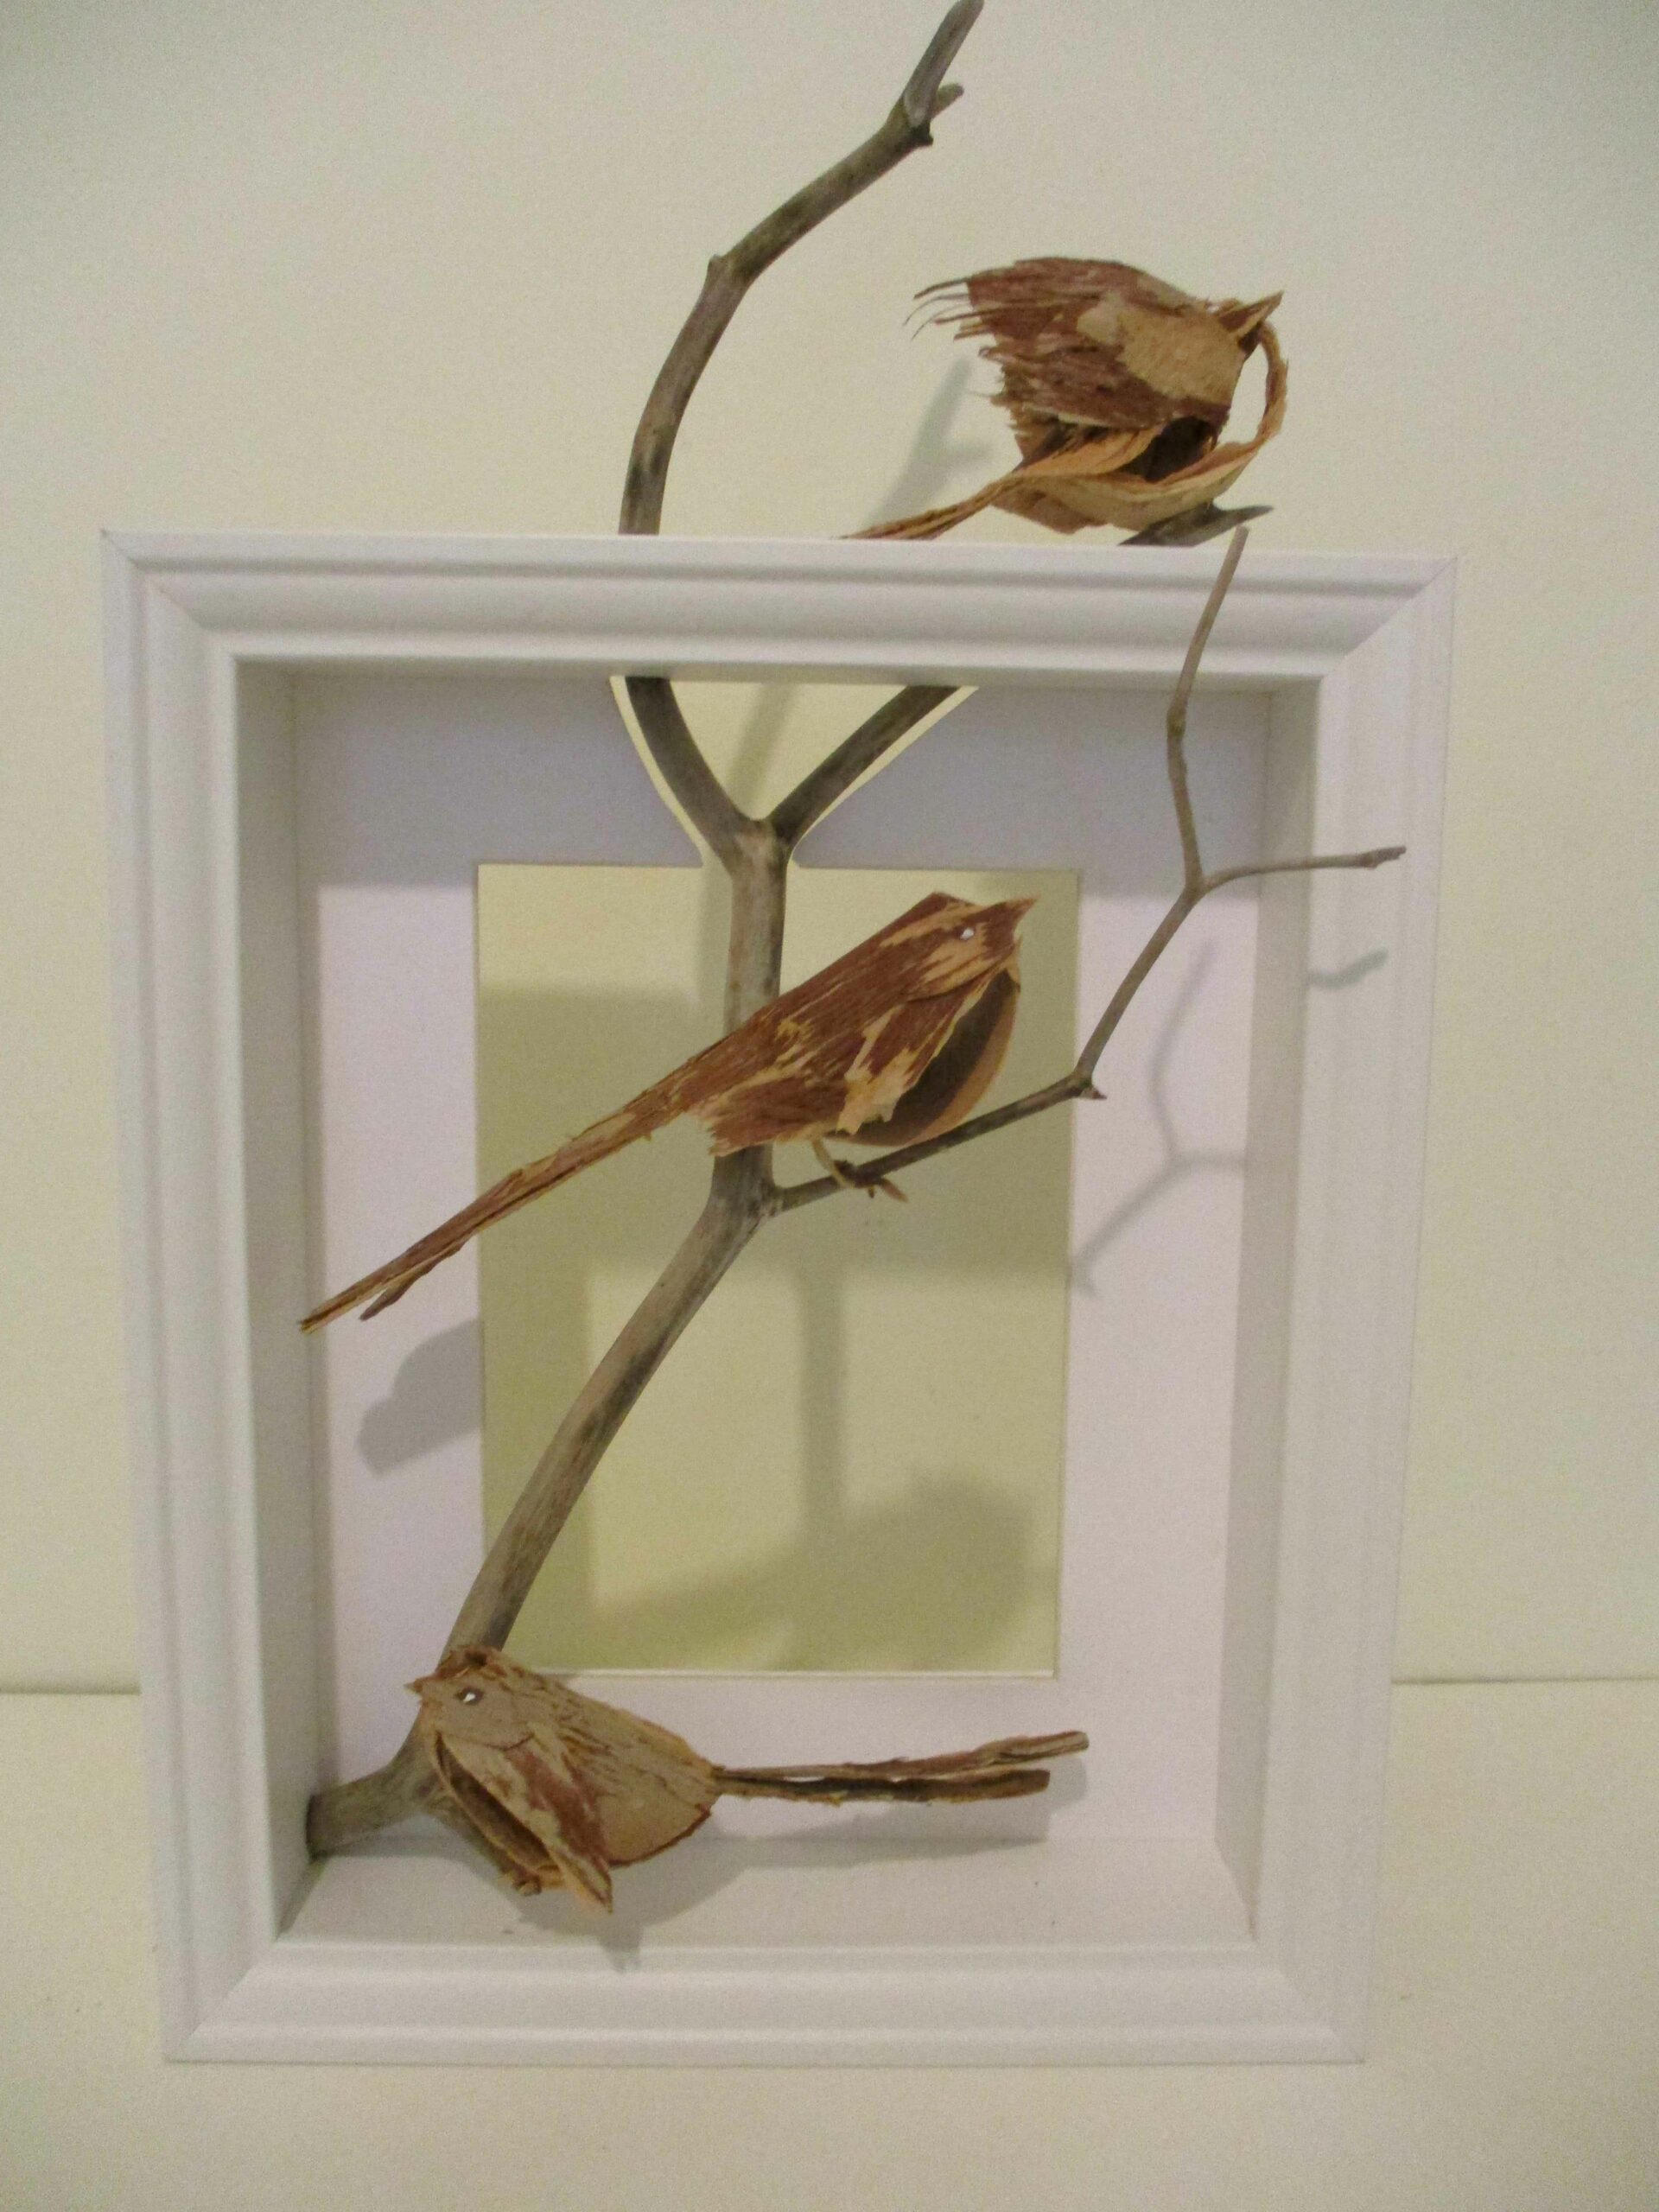
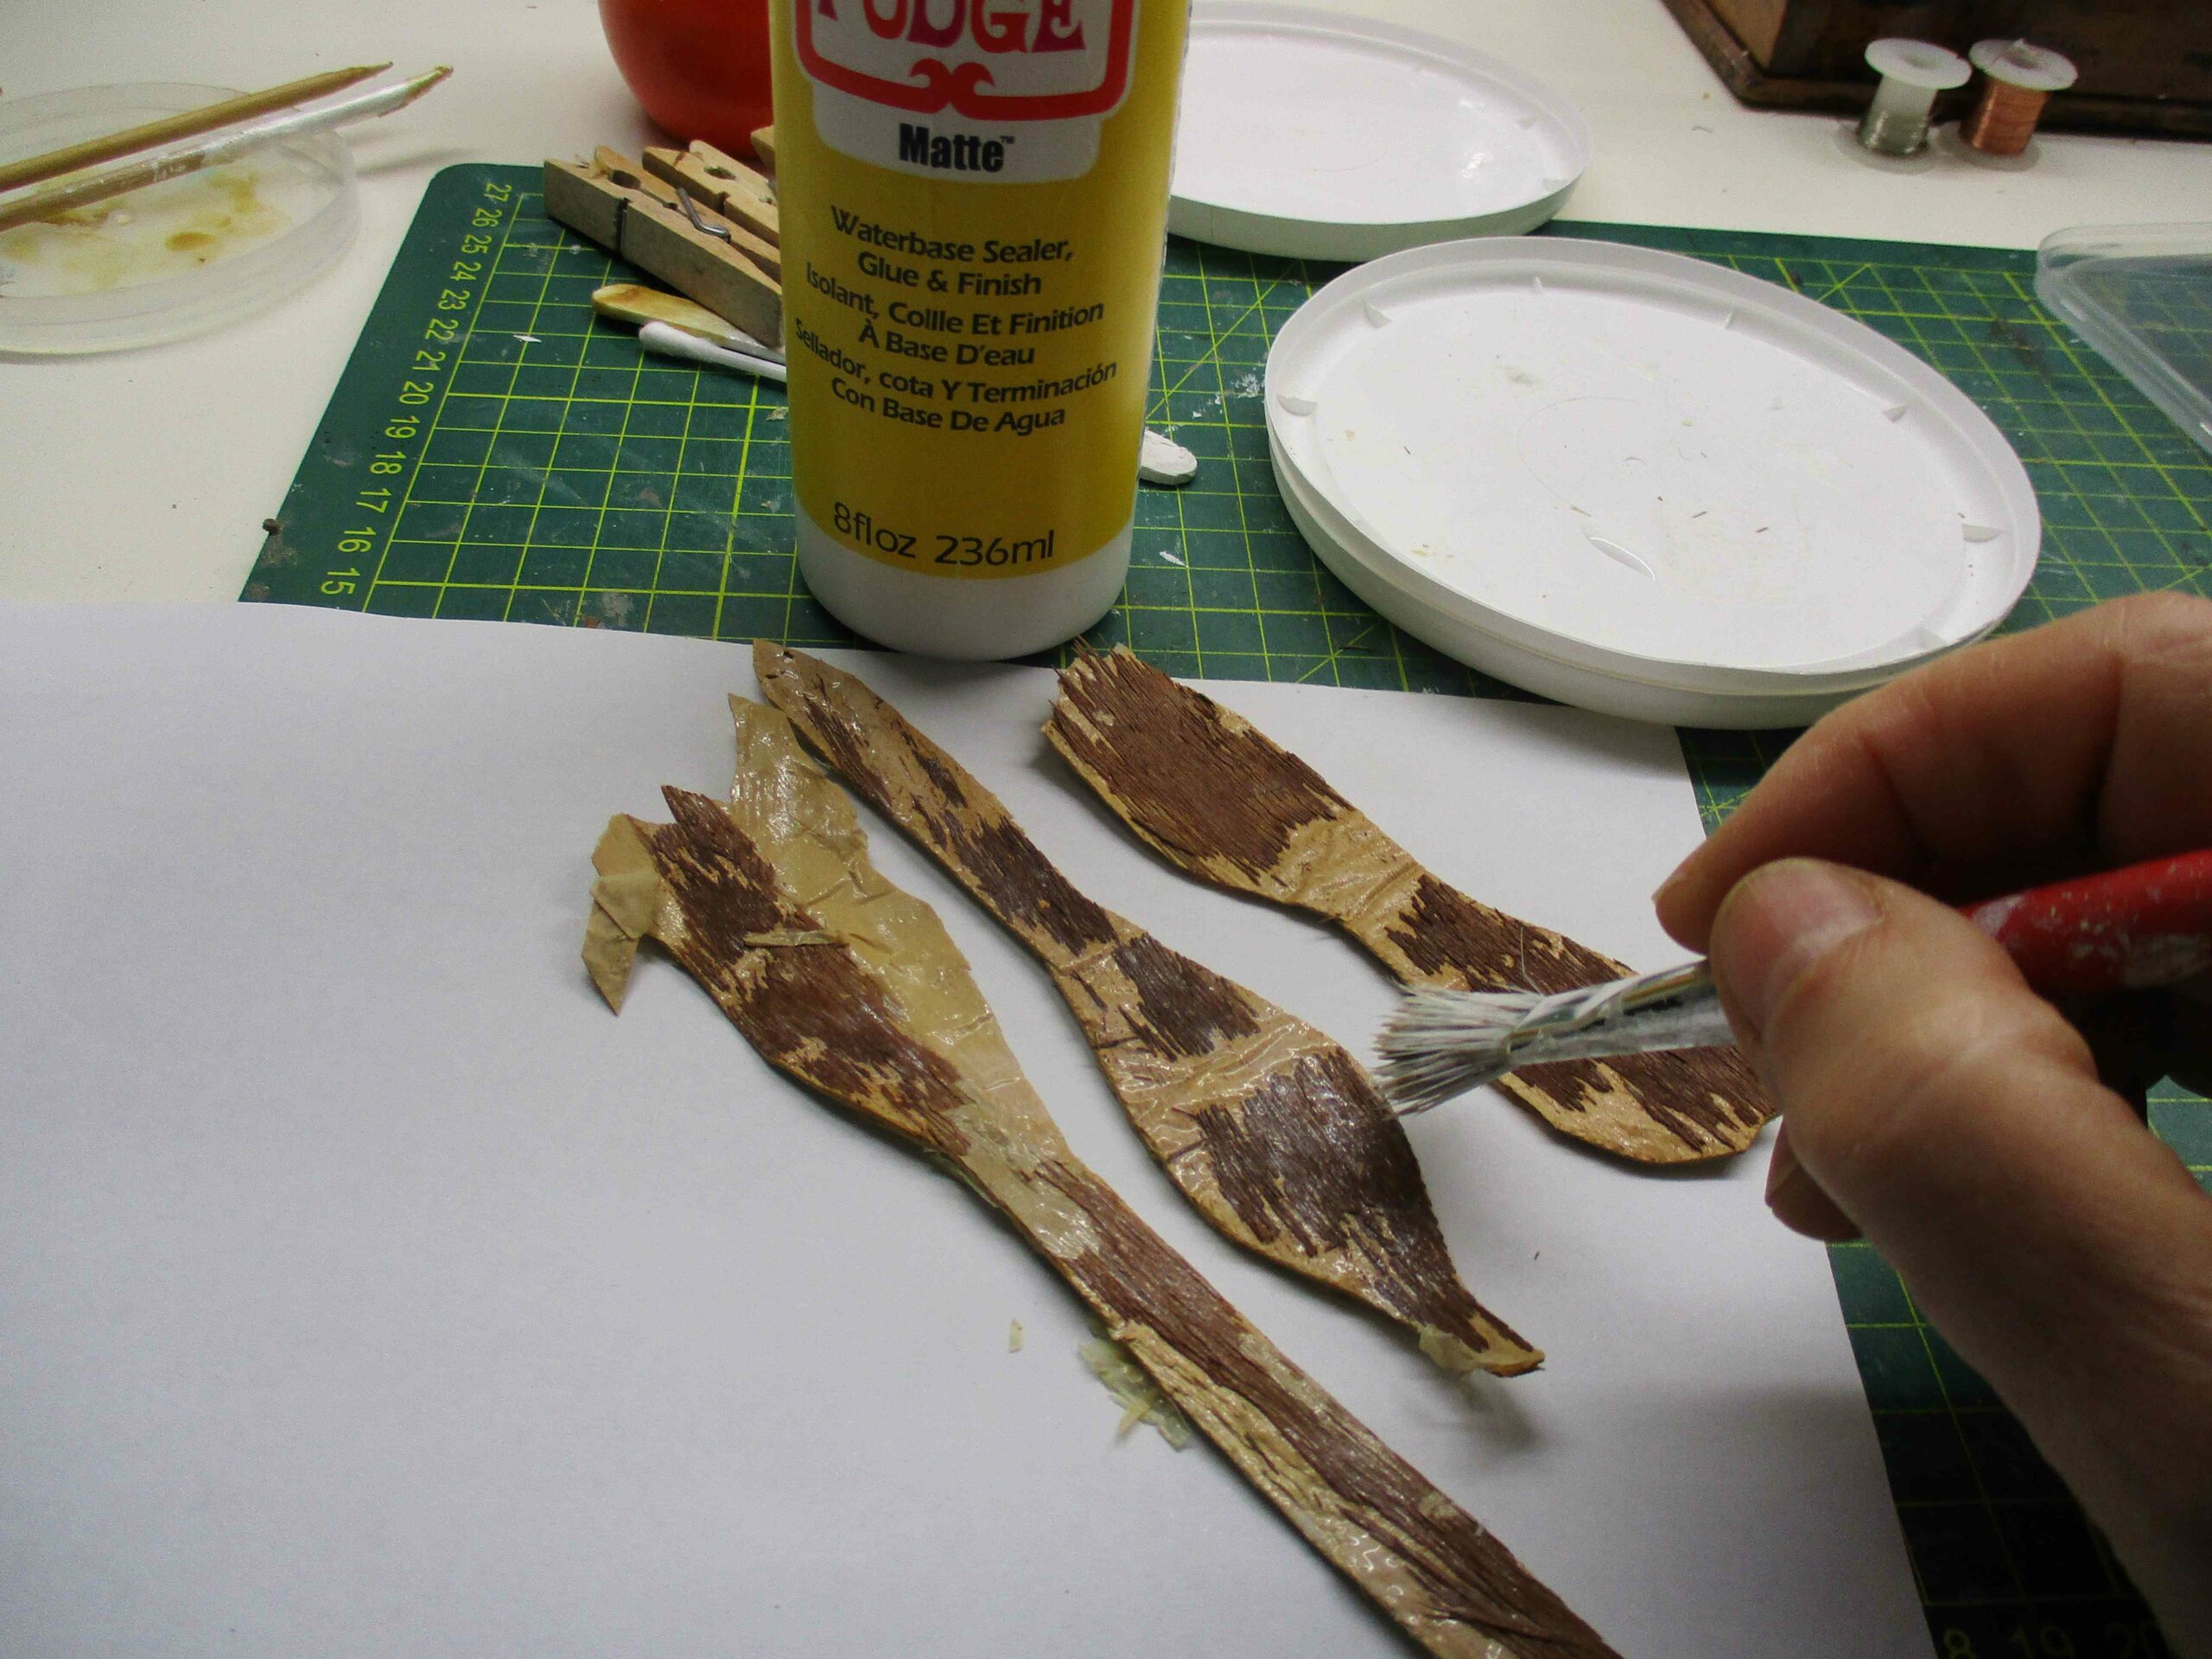
Walking along the river I found a long strip of bark from a paperbark tree (Melaleuca). The layered papery bark is very pliable and I’ve been experimenting with creating little birds from it. They are very ‘raggedy’ birds, but I liked the natural look and the colours and markings of the bark, so left it in its rough appearance. However, I have used a matt sealant to the surfaces to strengthen them. I also needed tiny thin wires between some of the layers to help hold their shape.
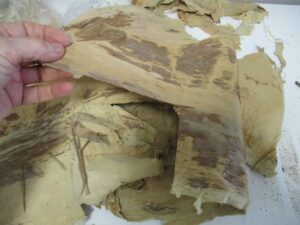
Raw Paperbark 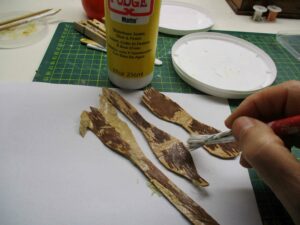
Sealing the surface 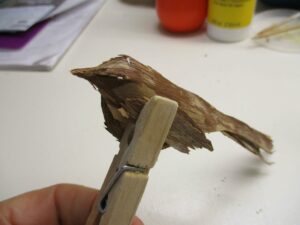
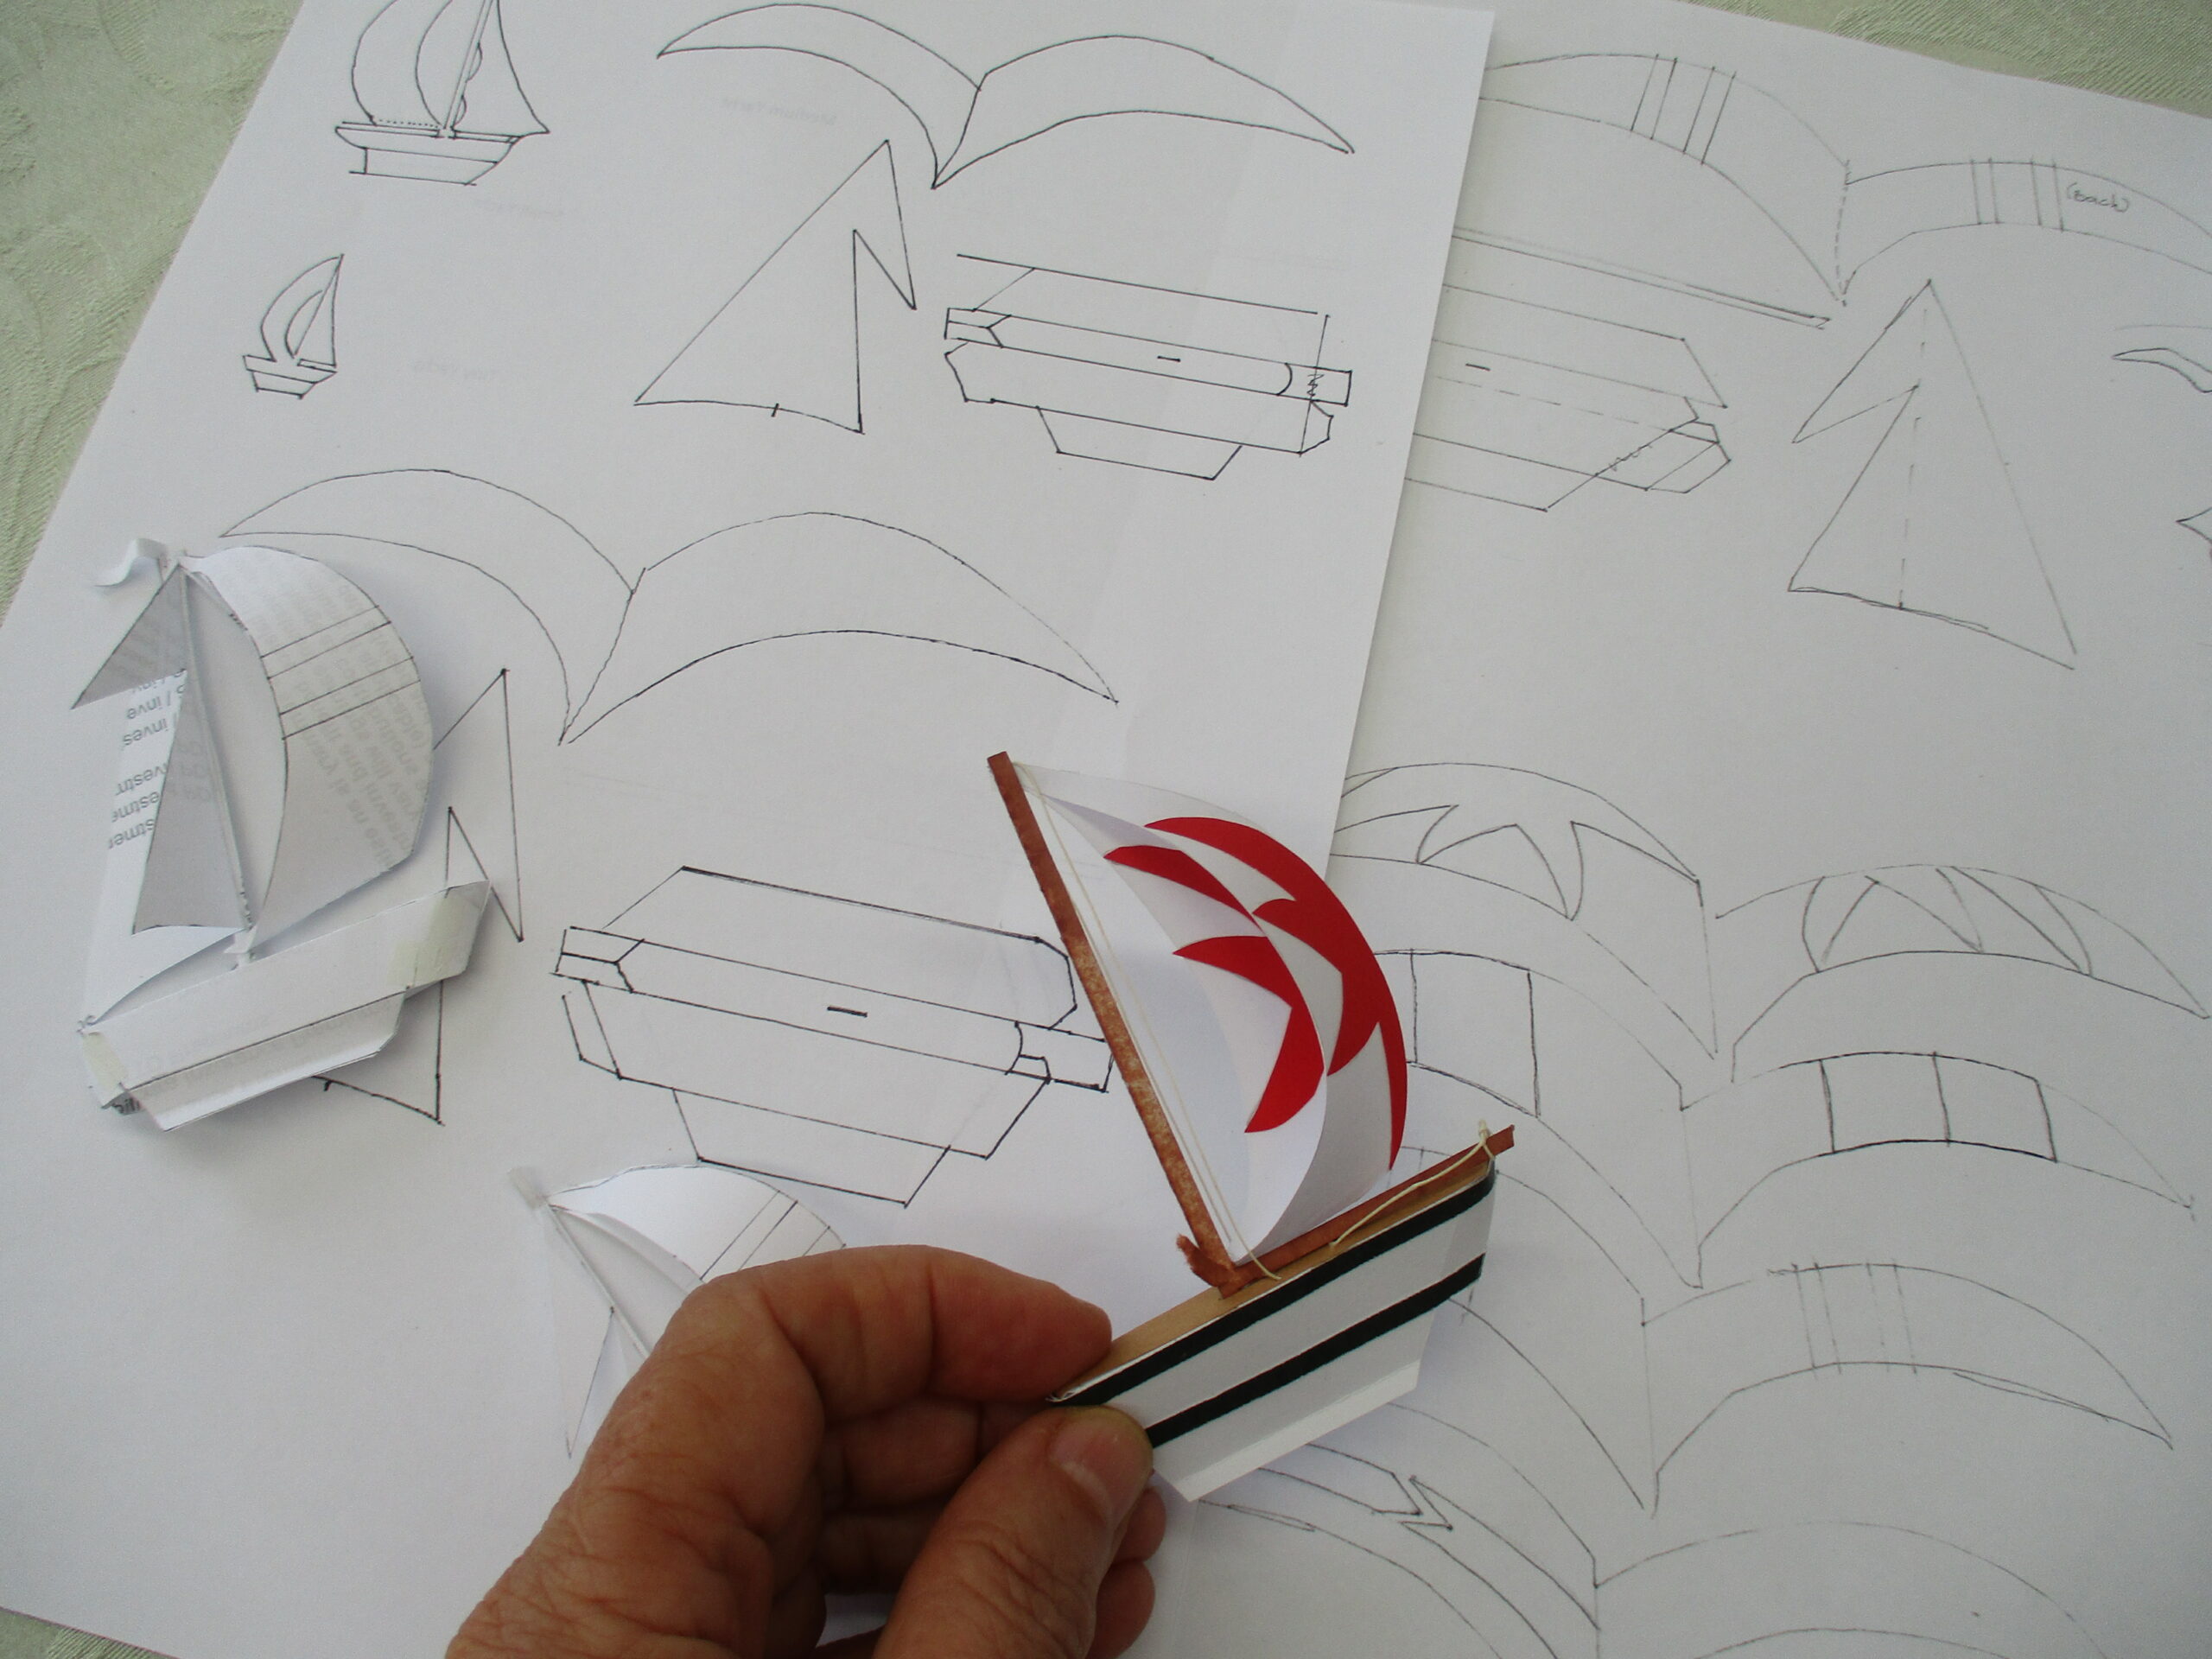
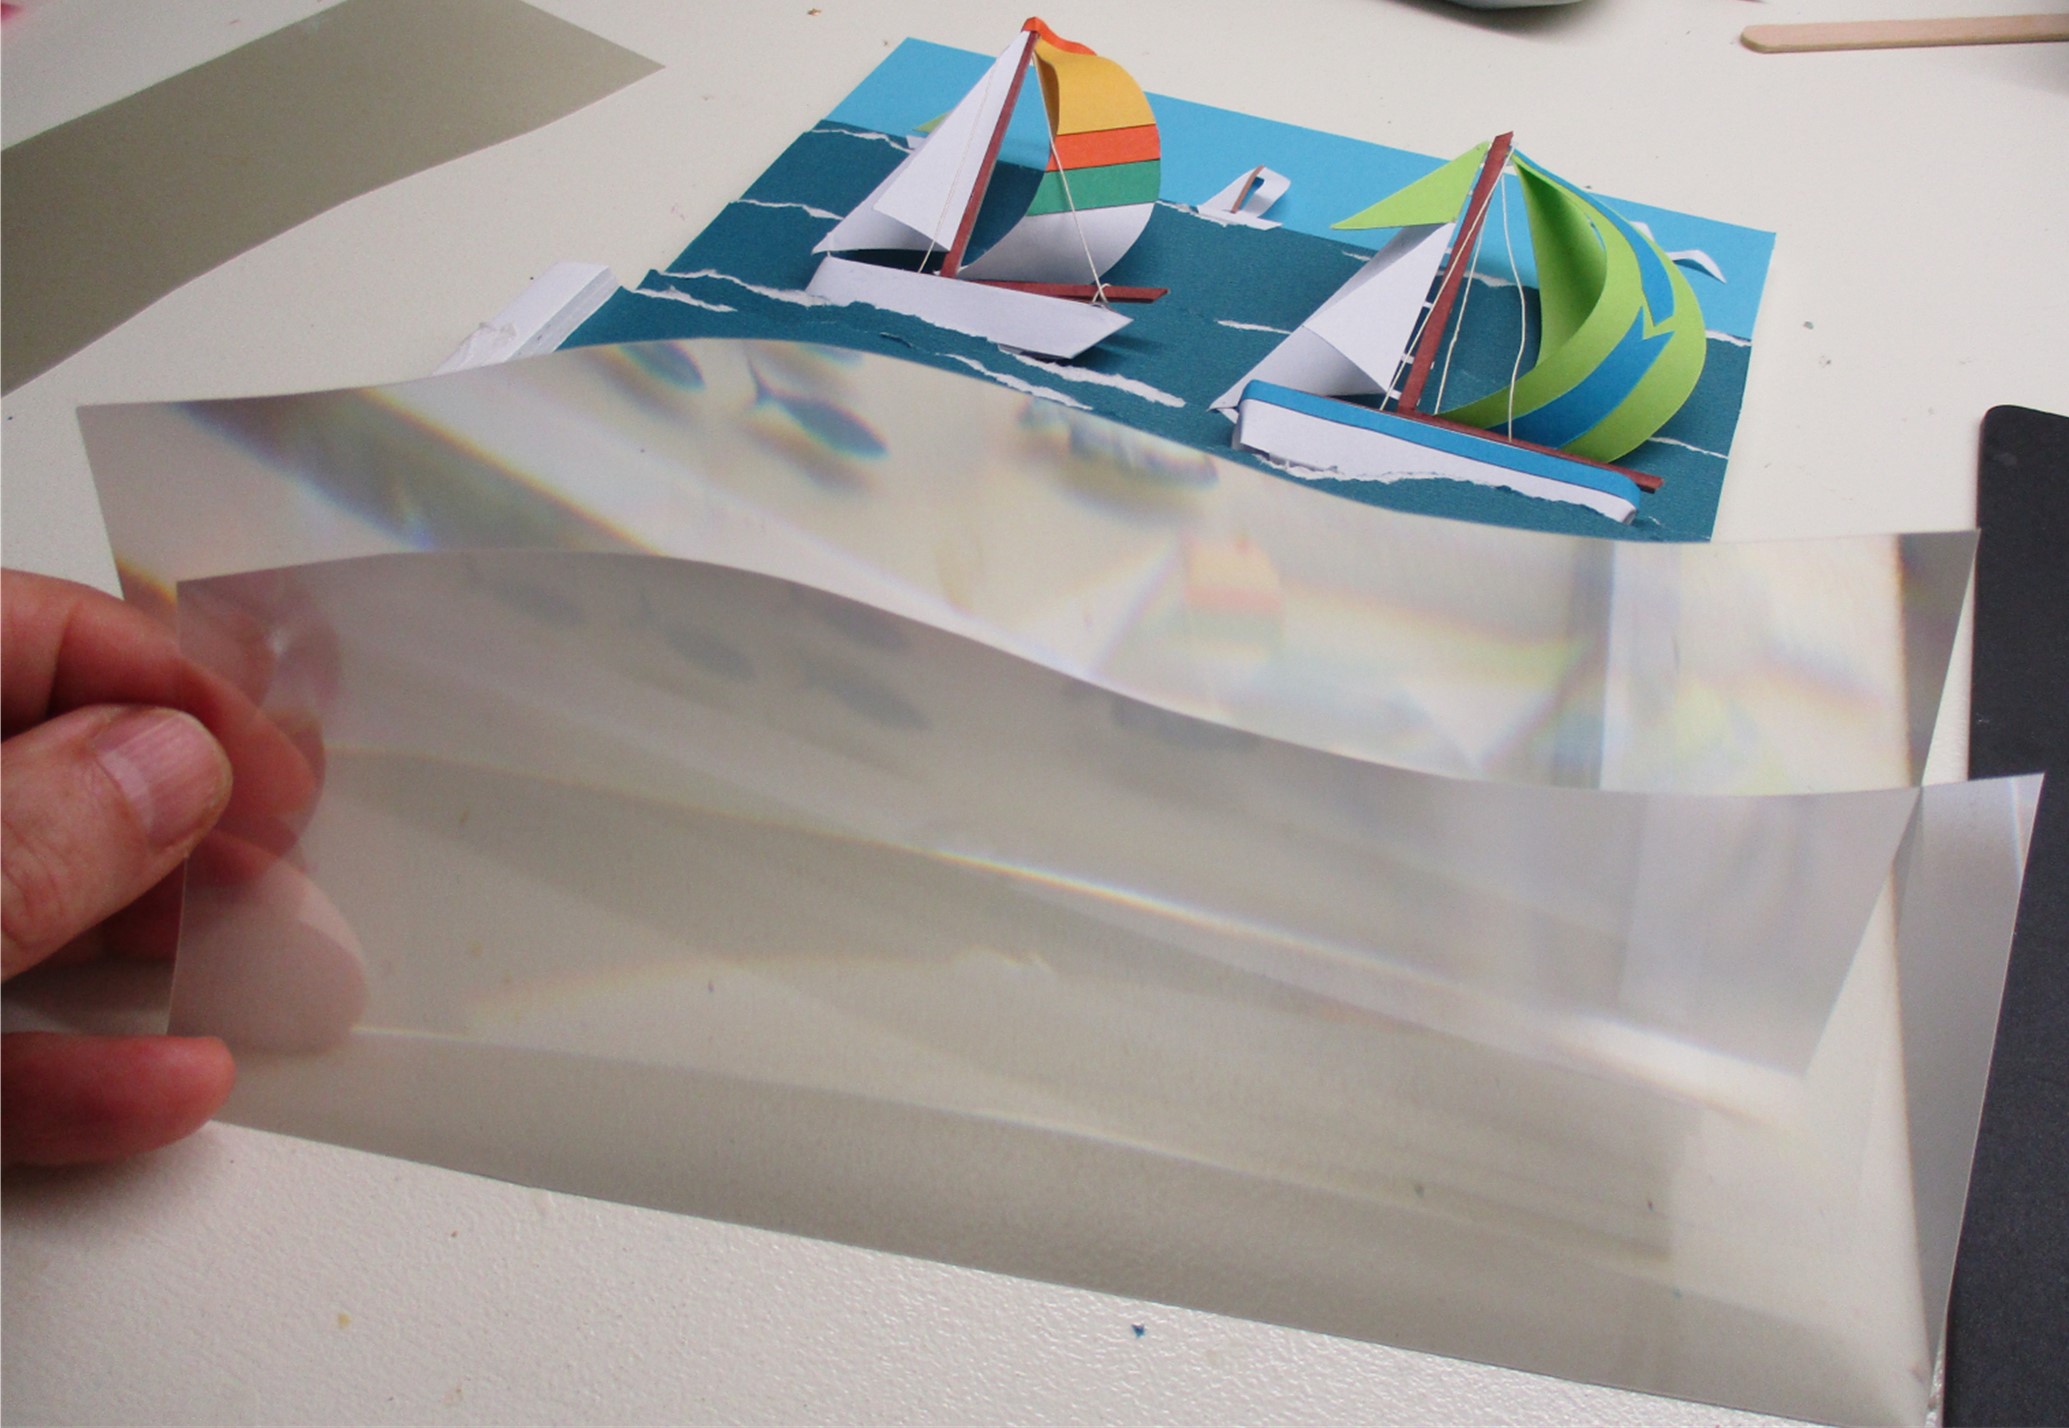
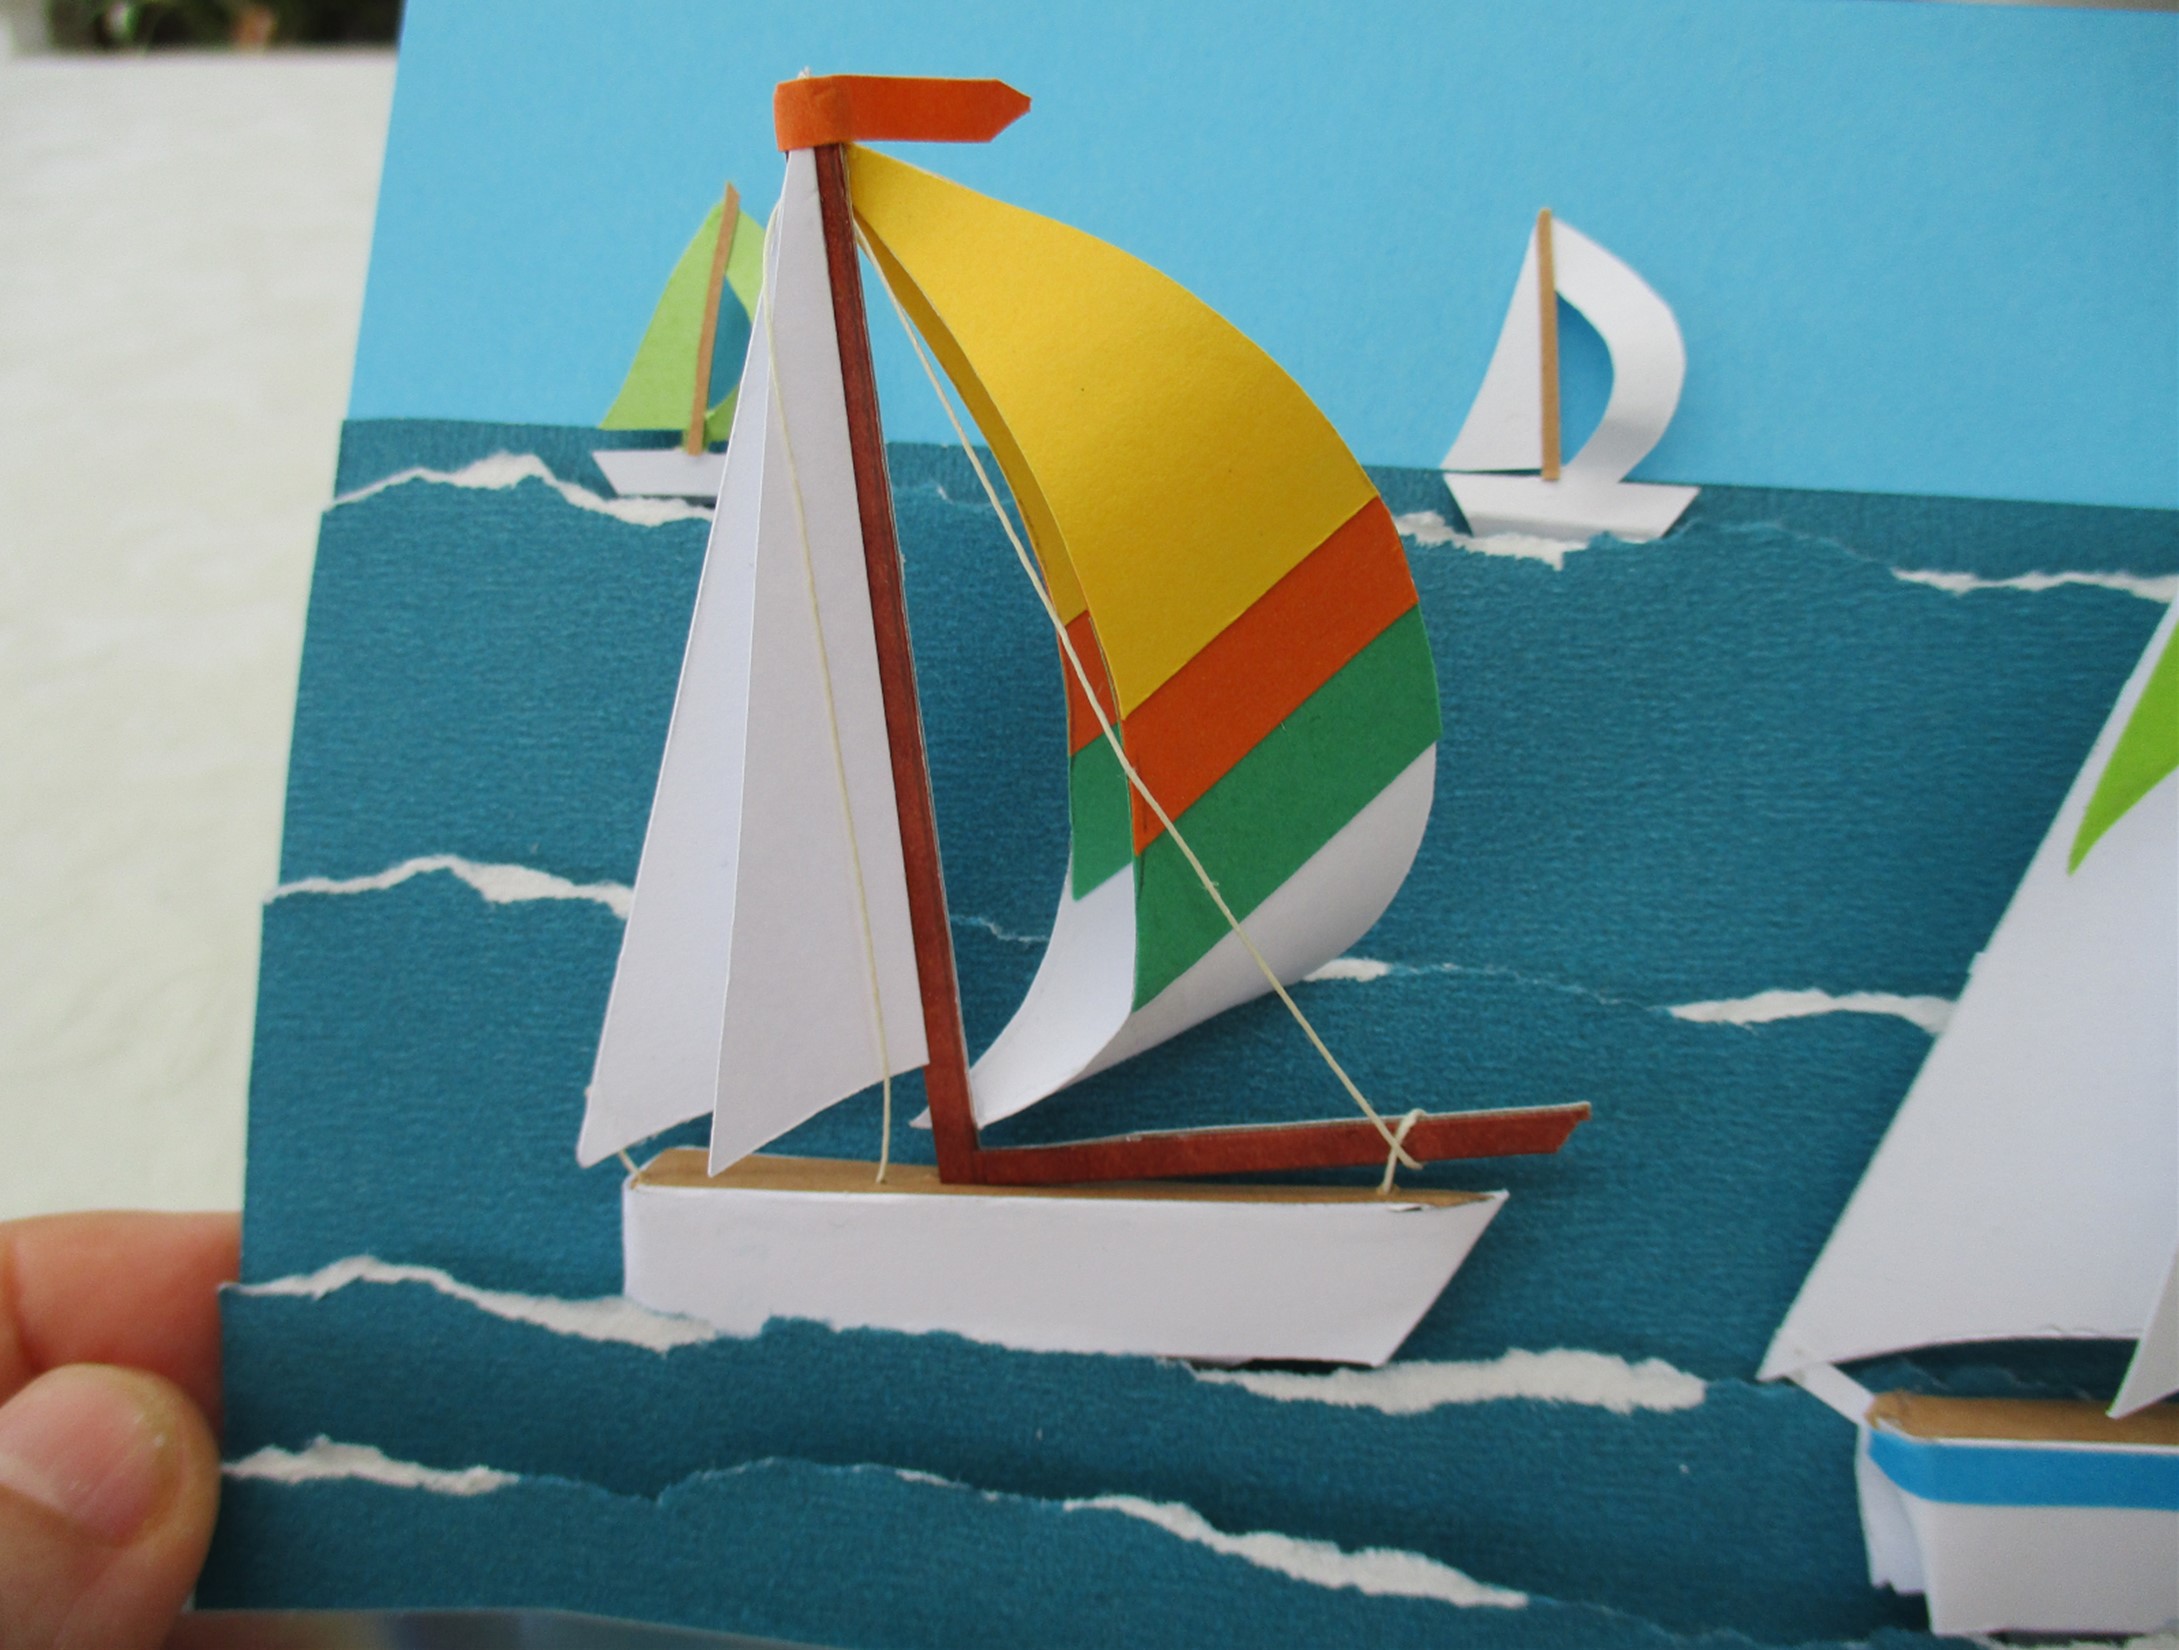
Construction


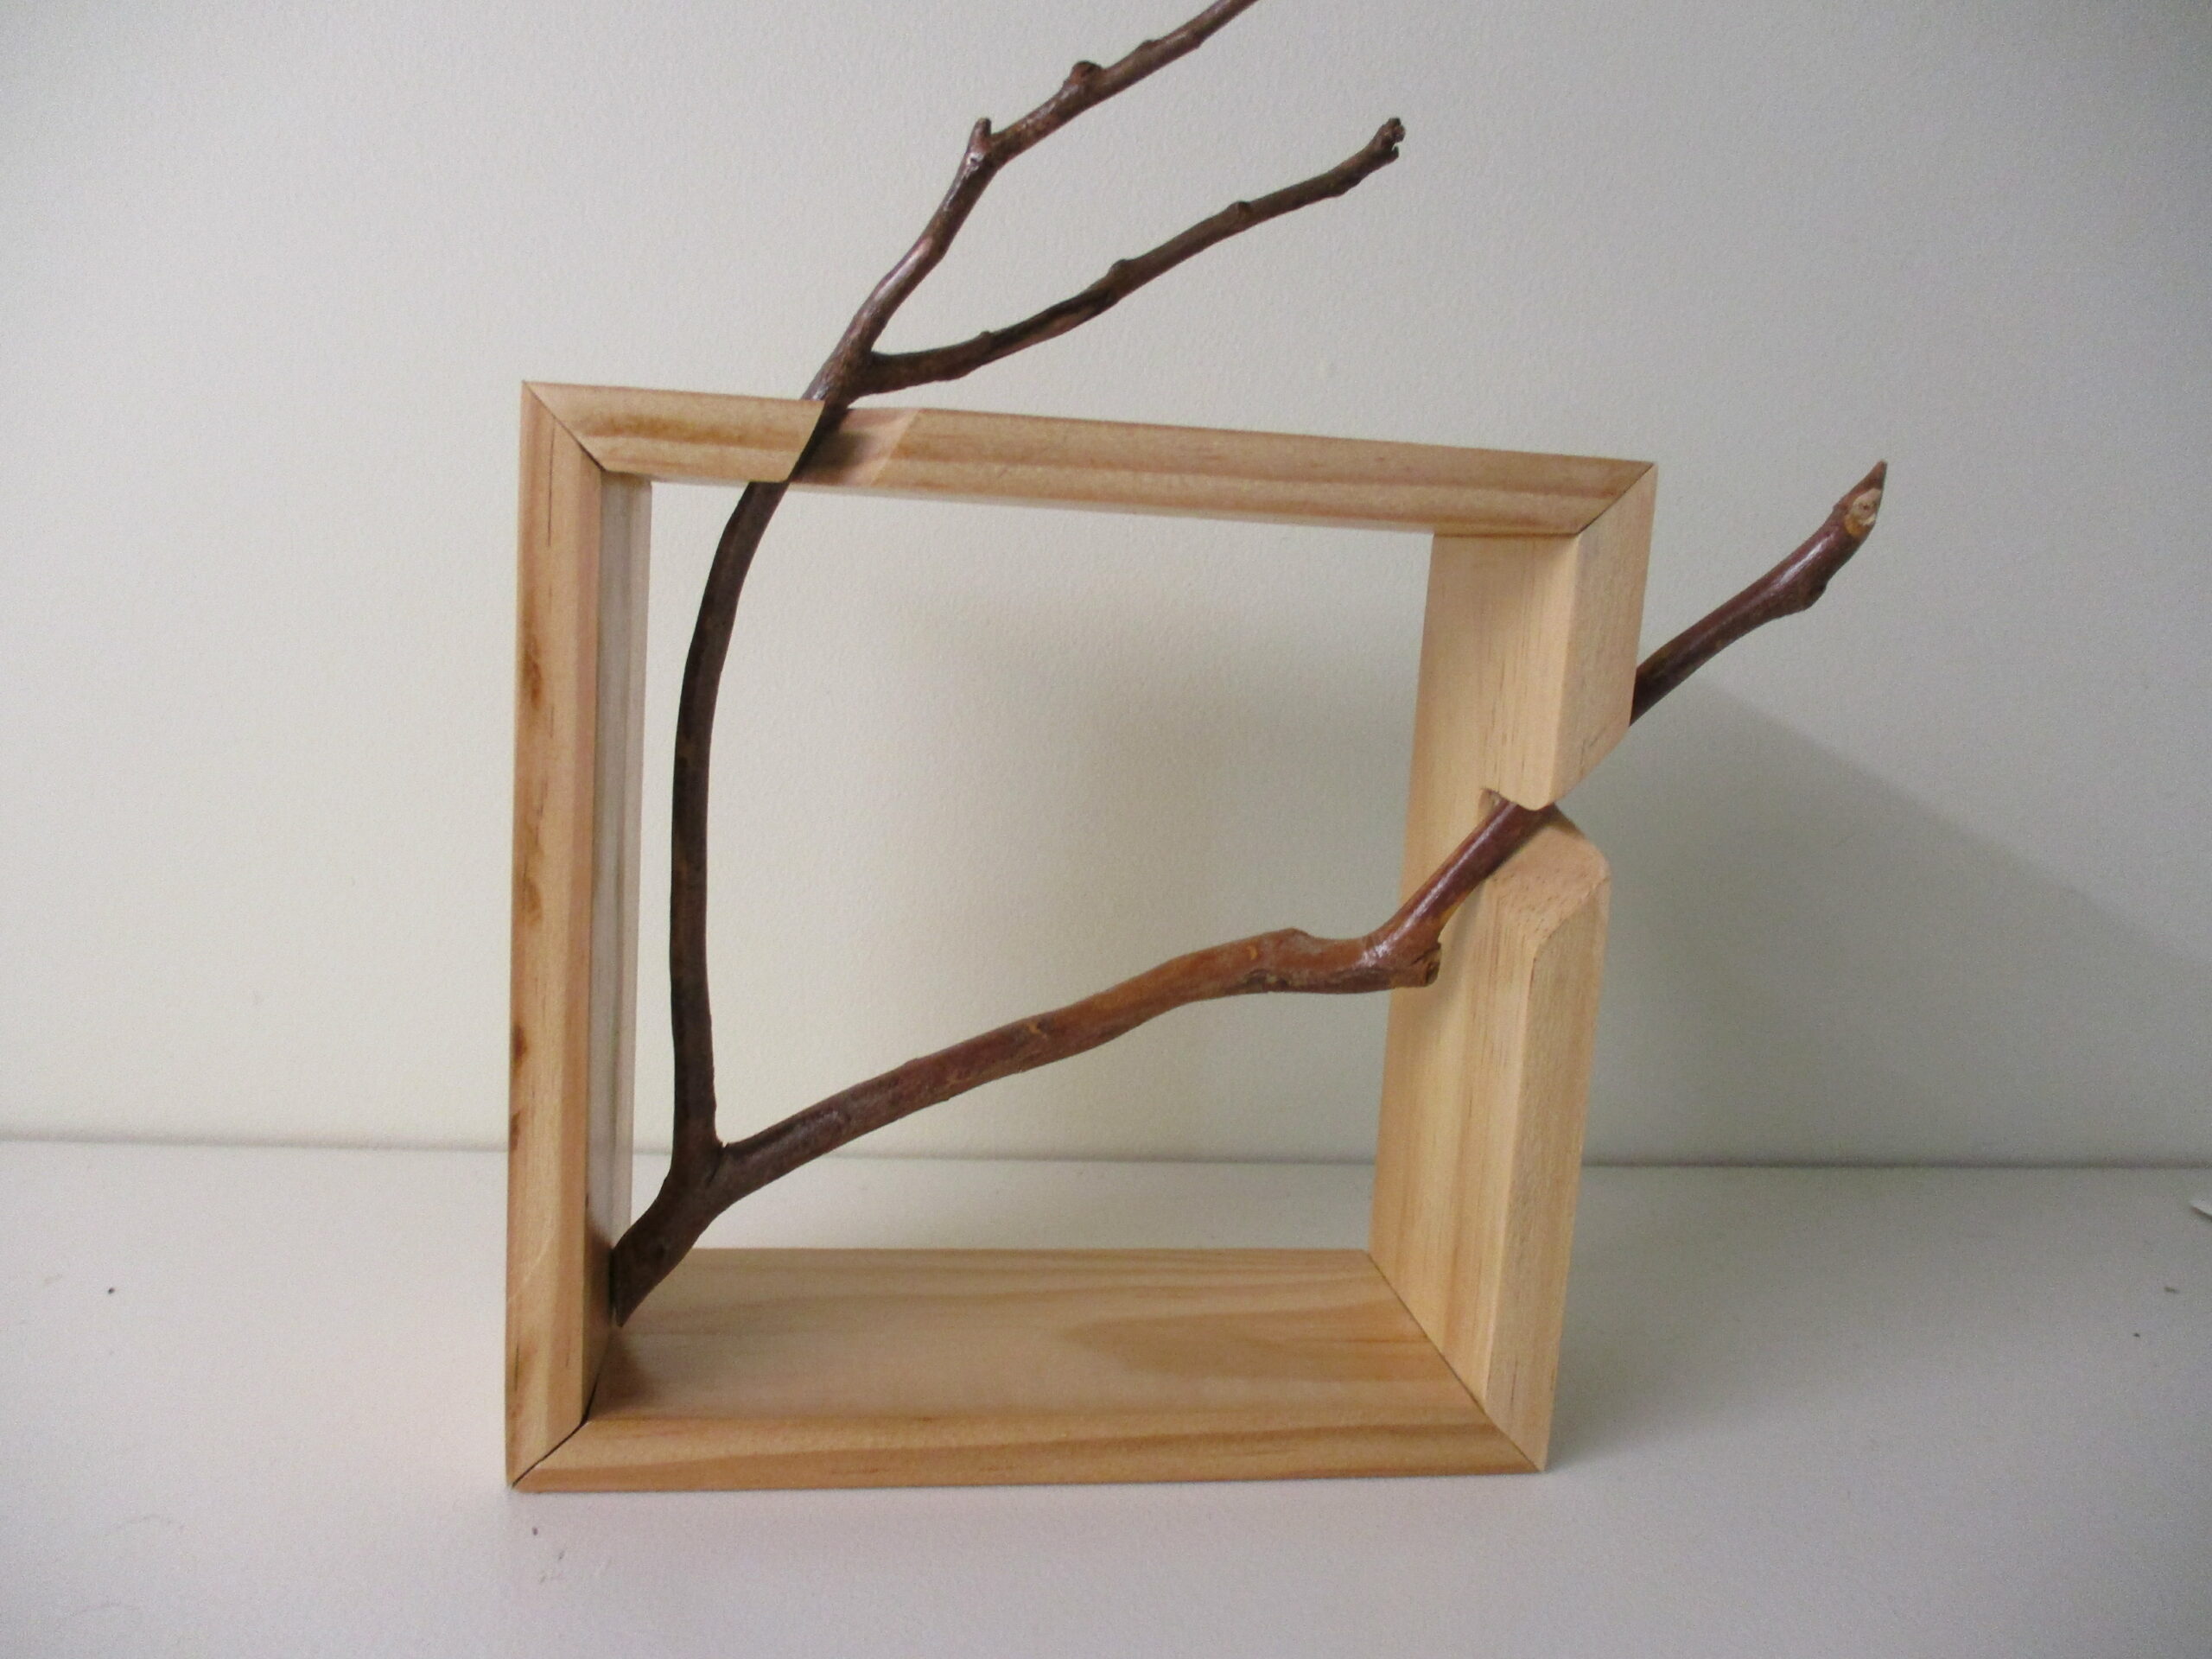
I’ve mounted the birds on branches, but instead of a traditional frame, I’ve cut into a frame to build the frame around the branch, so the branch extends beyond. Although they’re somewhat fragile as they’re not behind glass, I’m quite pleased with the effect.

Creating the frame 
Bird closeup 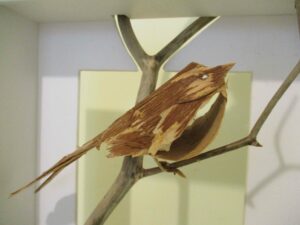
Bird closeup 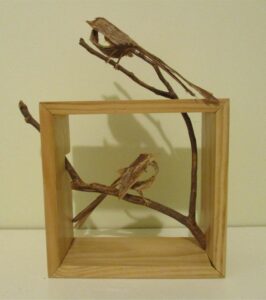
Finished piece 1 
Finished piece 2